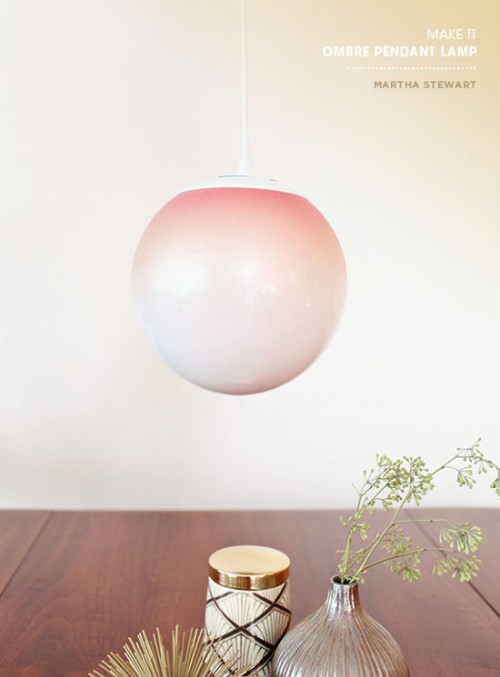
Ombre pattern looks very romantic and rather bright, it’s ideal to make a statement in any space. You can paint the walls with this effect, take ombre textiles or furniture and accessories. That’s why we’ve rounded up some cool tutorials to make ombre furniture or accessories. If you are ready to makeover some old furniture,...
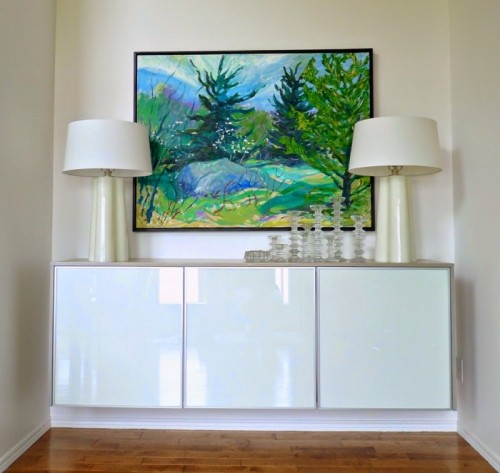
If you don’t have enough space for storage, some floating shelves would be ideal for your home. To hide the objects you want to store you can make a floating credenza! Prepare 5/8″ thick sheet of good one side veneered plywood, edge tape, old iron, edge tape cutting tool, stain , varnish, a brush and...
We’ve just told you of some whitewashed furniture, and today we’ll talk specifically about cabinets. Any old cabinet can be transformed using the whitewash paint, and it’ll get a cool shabby chic look. Whitewashed kitchen cabinets would be ideal for a shabby chic, vintage or Provence home décor, and for this you’ll need only a...
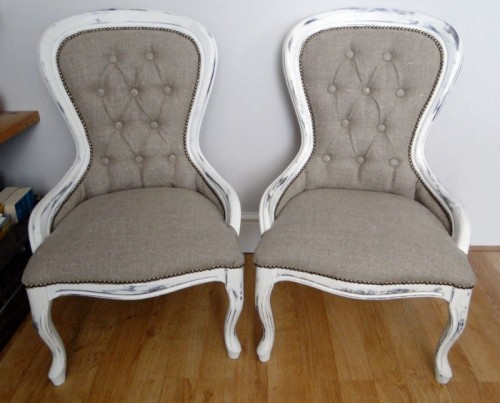
We’ve already told you about whitewashed headboards, and today we’ve rounded up whitewashed furniture tutorials. Whitewashed furniture will amazingly continue your décor – beach décor, shabby chic, vintage or girlish. Whitewashing is a very easy technique, for this you’ll need only the special paint. You can actually distress any furniture piece you like: a chair,...
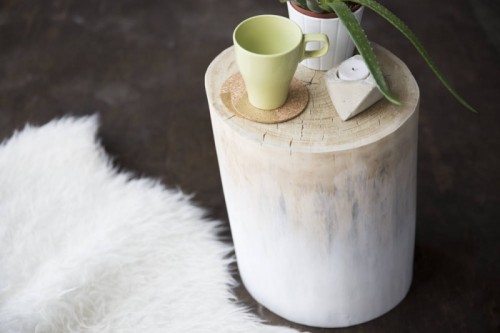
Stumps are a fantastic material for rustic creations! I think that in spring such a piece is actual more than ever. So, what can you make of a stump? The options are endless: planters, vases, candleholders, bedside and coffee tables, stools and so on. Let’s have a look at the stools and coffee tables that...
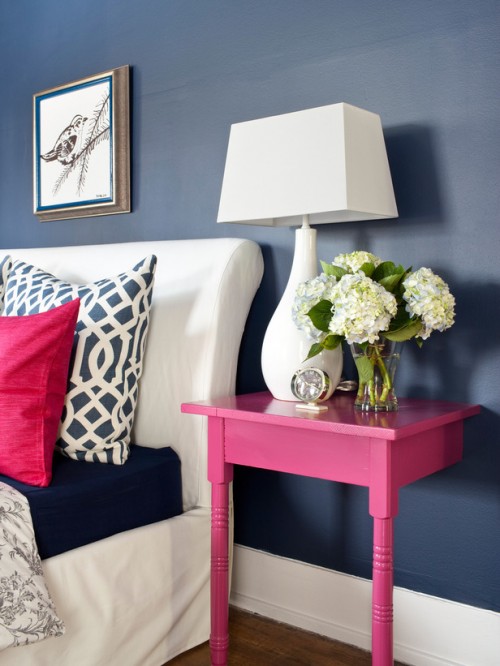
A nightstand is a necessary thing for every bedroom, it’s a place to put your books, glasses, laptop, lamp, a glass of water and so one. Should a nightstand look universal? I don’t see anything bad in personalizing it, especially for a girl. Then, how can a girlish nightstand look like? There are hundreds of...
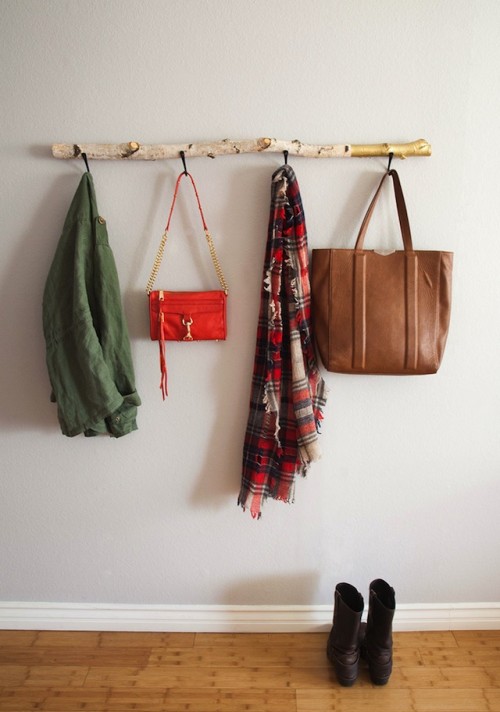
We’ve already told you of some cool driftwood crafts, and here’s one more idea to use it – a driftwood wall hanger! The supplies are a piece of drift or reclaimed wood, coat hooks, a screw driver, spray paint, blue painters tape, 2-3 screw eye hooks, screws. Tape of a portion of the drift wood...
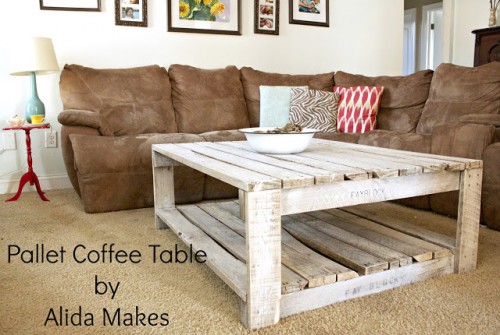
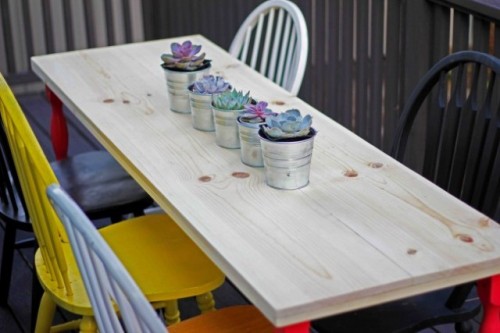
This cool table is inspired by some pieces from IKEA, so take 1”x 12 “x 6’ whitewood pine boards, 1”x 4” X6’, a handsaw, 1 box of 1 ¼” wood screws, a power drill, ½ pt polyurethane clear satin finish, a quality synthetic paintbrush, Ikea Nipen legs, 120 grit sandpaper, a mouse sander, 220 or...
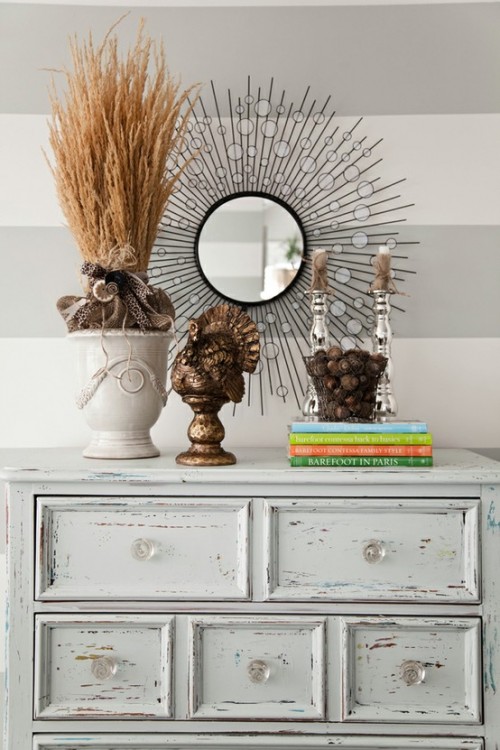
Distressing is the activity of making a piece of furniture or object appear aged and older, giving it a “weathered look,” and there are many methods to produce an appearance of age and wear. In distressing, the object’s finish is intentionally destroyed or manipulated to look less than perfect. Distressed furniture looks very calm, shabby...
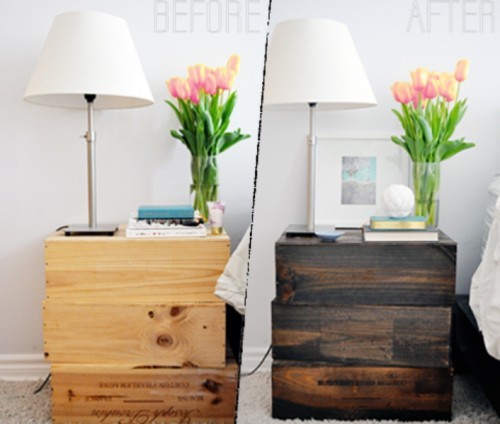
A rustic and vintage nightstand for $3? Possible! You’ll need old wine boxes, a can of stain and some paintbrushes. All you need to do is to stain the boxes with two coats and let them dry for about three days. If they are sticky, apply a coat of Mod Podge on them and let...
