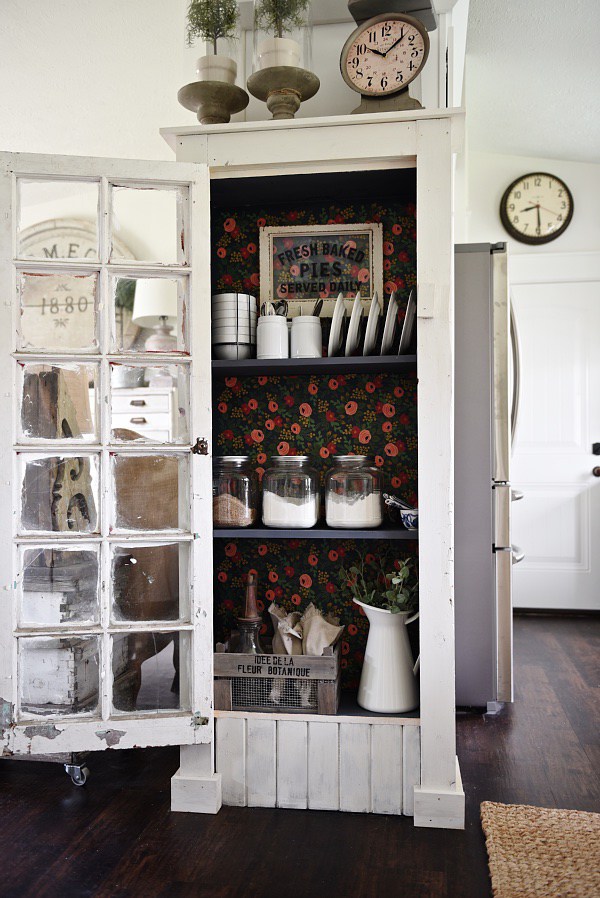
If you have an old window, don’t throw it away, just keep it for this cute vintage-inspired cabinet. Besides it you’ll need (2) 1×10 @6ft common board, (1) 1×10 @10ft common board, (1) 1×12 @6ft common board, (5) 1×4 @6ft common board, 1/4 inch 4′ x 8′ sanded plywood, 2 inch finishing screws, mid-grade hinges,...
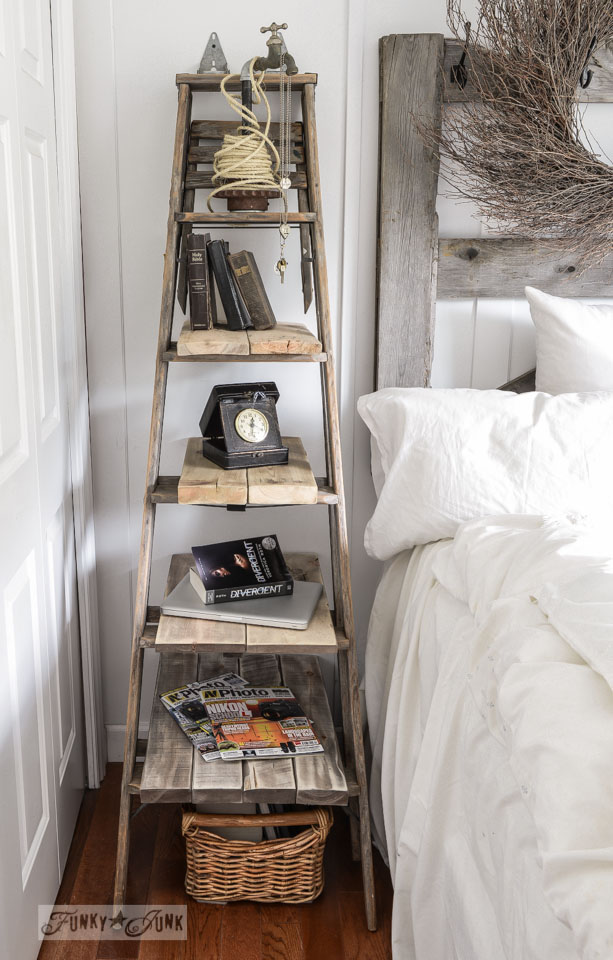
A ladder can become a very functional piece! It’s perfect as a nightstand because you can store a lot of things, so let’s make one. Select boards for shelves, wall supports, and something to connect the ladder to the wall. Lean the full ladder against the wall at the desired angle. Attach ladder to the...
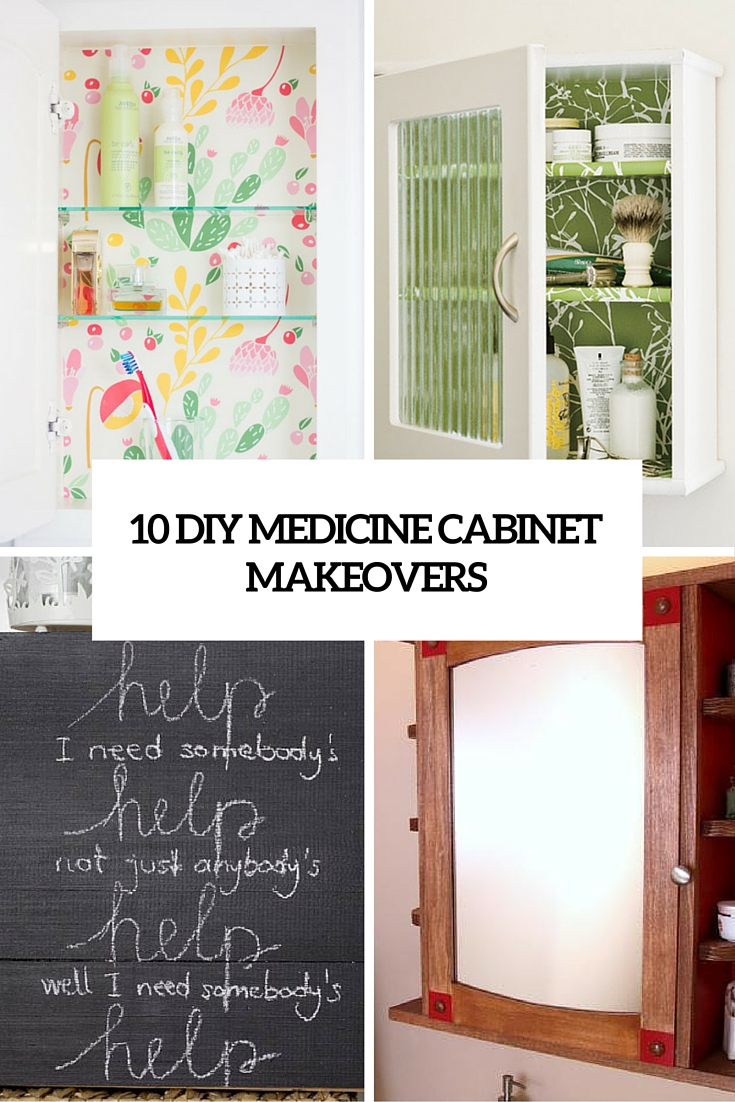
A medicine cabinet is a usually a piece above your bathroom sink or on the wall next to it, where we store some medicines, first aid remedies and maybe some kind of bathroom stuff. You can make one yourself or renovate an old one and use it. It’s usually an antiseptic spot in white with...
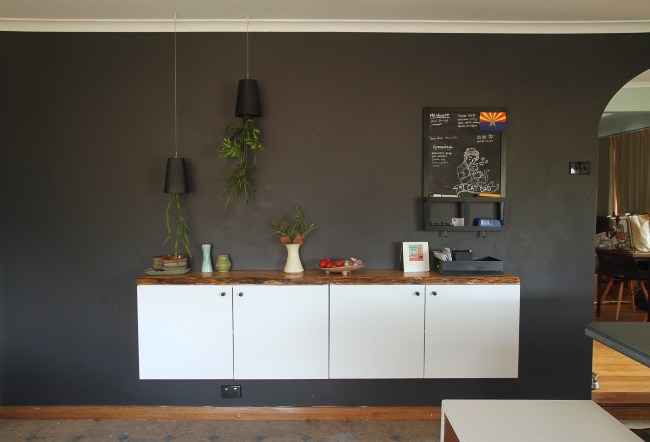
What’s cool about floating buffets? They’re easy to assemble, versatile and fit in a variety of spaces. They’re modern, yet neutral and let’s not forget — they provide tons of storage for cheap! Let’s make one, prepare cabinets, handles, a pencil or chalk, tape measure, studfinder, level, timber screws, another set of hands, or something...
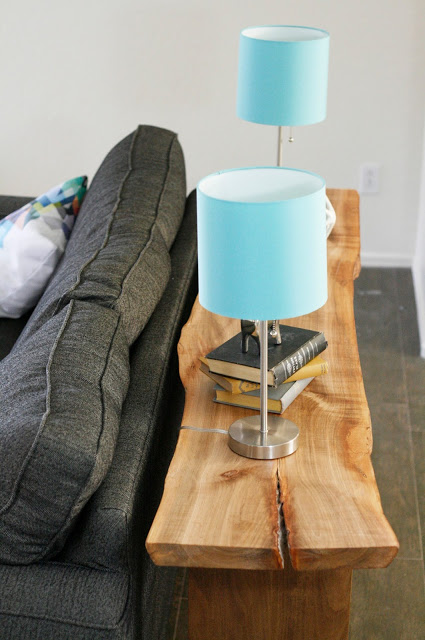
Have you noticed the live edge slab trend that’s going on? A live edge slab is a board of wood that has only been milled on two sides, leaving the natural curves and imperfections from the outside of the tree. Here’s a furniture tutorial with slabs, you’ll need (1) 1-1/2″ x 14″ x 72″- live...
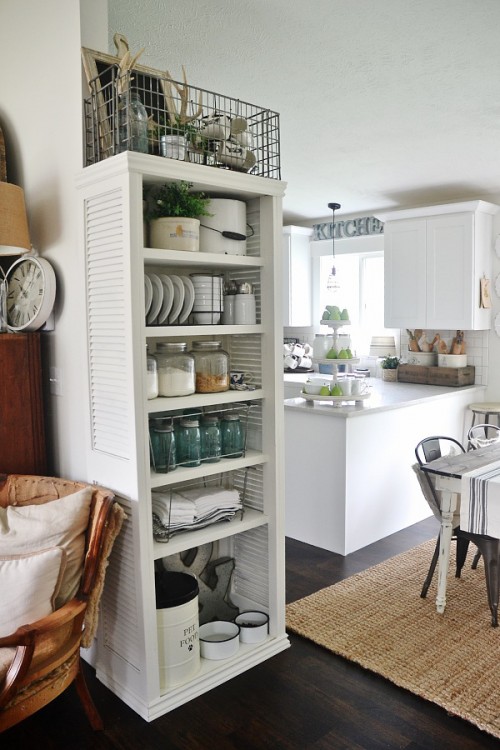
The DIY kitchen bookshelf has sides that are created from one set of bifold “shutter” doors, and the shelves are made from a half of a set of a bifold regular door. Once you have the width of your space, you are going to build a base structure for the top by simply building a...
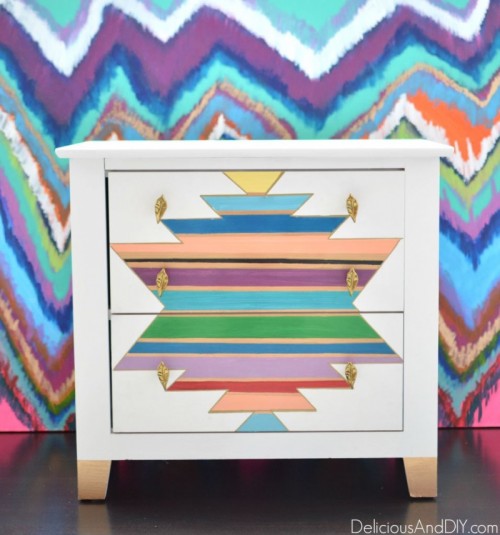
This old nightstand was a huge mess before it was renovated by deliciousanddiy.com. First, it was sanded, then spray painted with chalky finish paint in white. Here there are two coats applied but you can go for as many as you need. The most difficult part is applying a pattern to the nightstand. Do the...
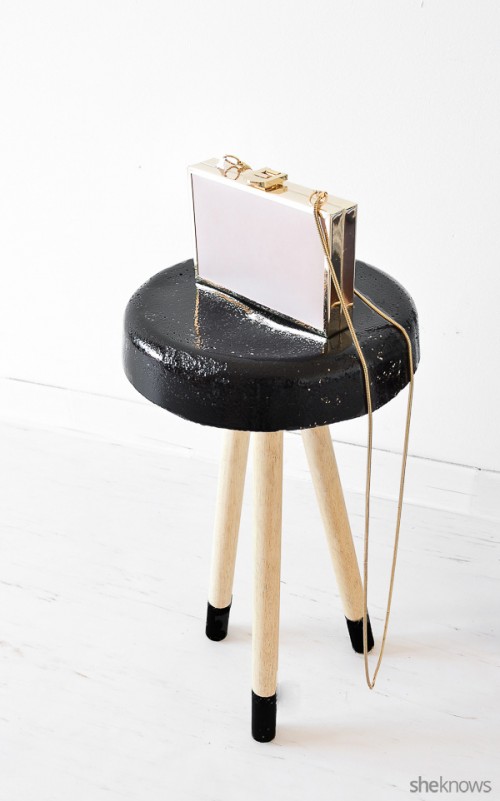
Concrete is a big trend in interior design and decorating because of its industrial feel. The easiest way to introduce this trend in your home is by adding concrete elements, for example a stool. To make this one from sheknows.com you’ll need a plastic bucket, a bag of concrete mix, 3 same size stool legs,...
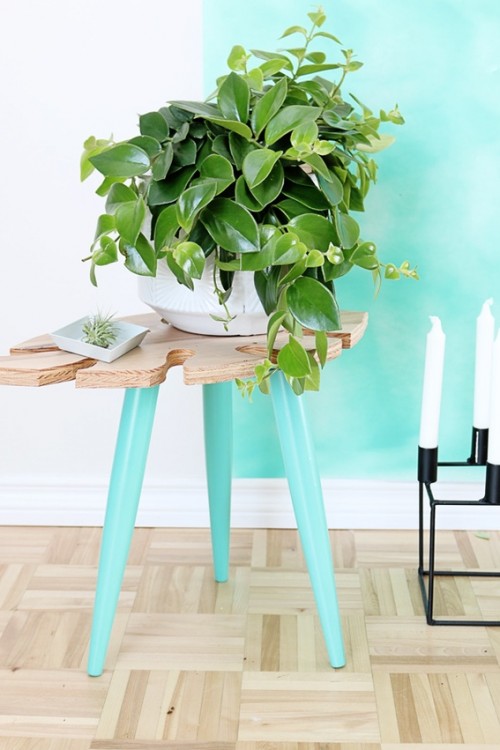
Summer is high time to rock some creative summer and tropical-inspired items, so today we are sharing a tropical leaf table project from curbly.com. Prepare plywood, a pencil, a scroll saw, handheld jig saw, or coping saw, sandpaper, table legs and hardware, spray paint, spray lacquer, a screwdriver. Begin sketching out your foliage onto the...
Can an ottoman be industrial? Sure! Just make it from burlap coffee bags like in this tutorial from apieceofrainbow.com! You’ll need one standard 28″ x 40″ burlap coffee bean bag, a large-eye yarn needle, and multicolored yarn, scissors, and some kind of tape measure. Remove the stitches from the bottom and the side of the...
