If you have plain walls, there are many ways to decorate them. You can make a statement wall, decorate it with cool wallpaper, paint, stencils, even fabric and wood. Hang floating shelves, faux animal heads, wreaths, buntings and so on, here the only limit is your imagination. Photos and photo art is another cool and...
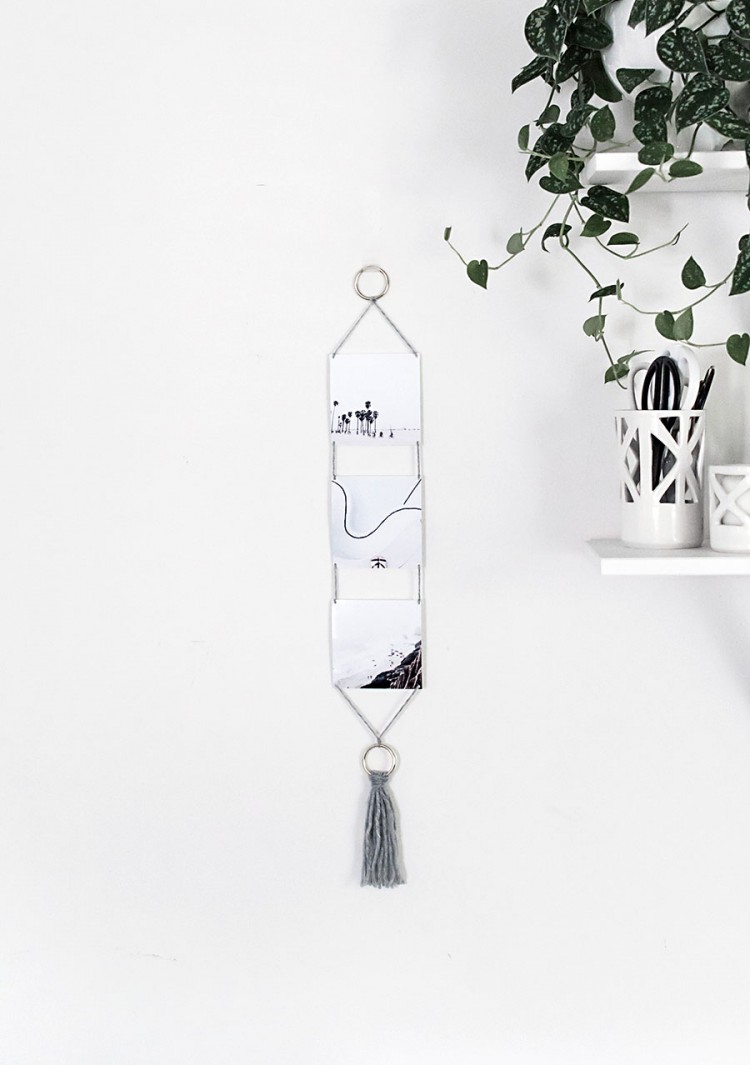
We are looking for more and more cool ideas to display our pics, and today I’d like to share this tutorial from homeyohmy.com. the supplies are a printer, photo paper, a hole punch, yarn, 2 1.5″ gold rings, scissors, glue, a rotary cutter, a ruler. Upload your Instagram photos into Photoshop and save them to...
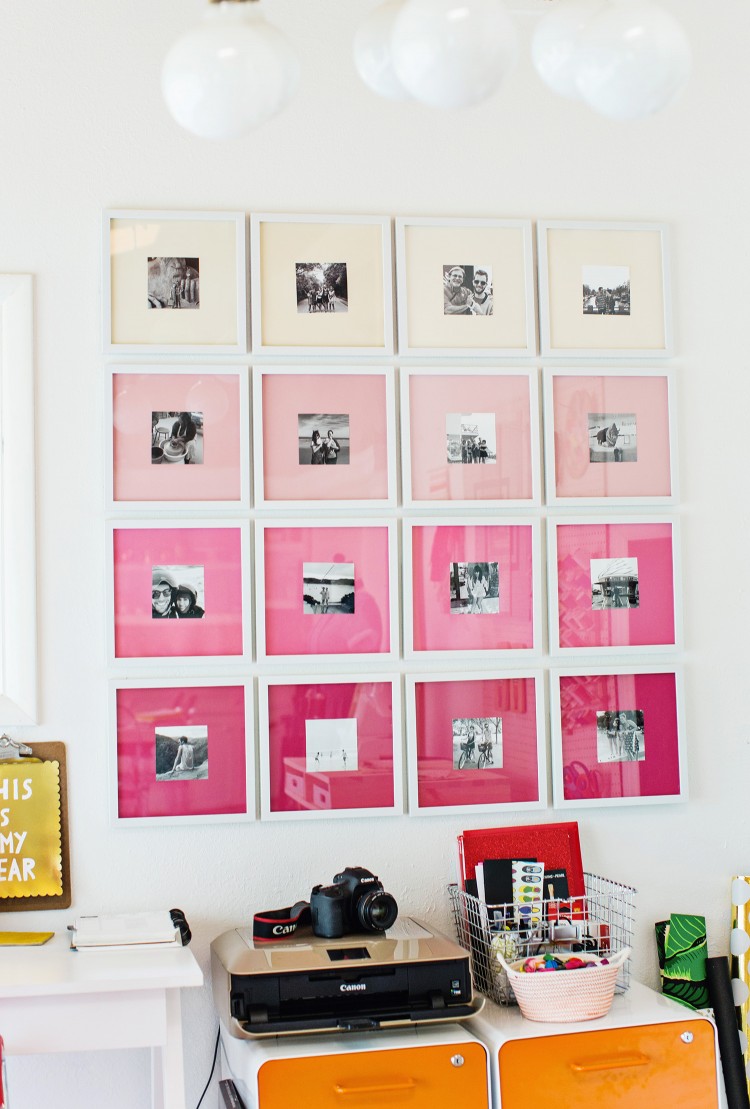
Looking for a new and cool way to display your photos? Here it is! Prepare printed photos, photo frames, poster board or enough colored papers to fill the frames, scissors, a ruler, glue dots, a level, command strips. Cut your colored papers to fit each frame. Be sure to plan out how many of each...
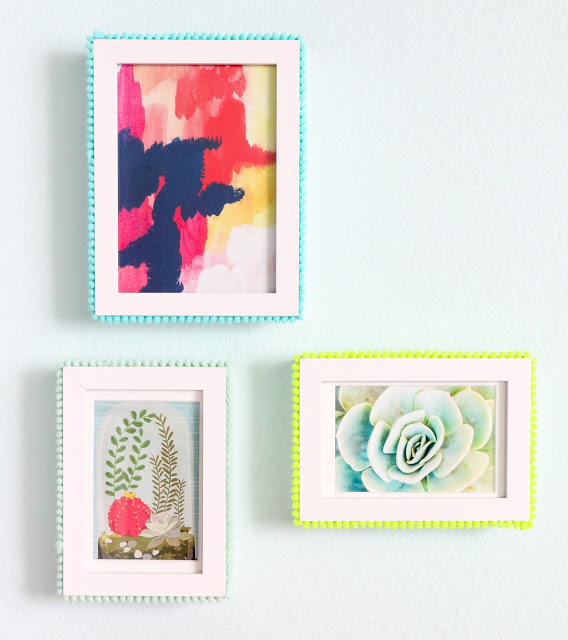
Picture frames aren’t only sweet memories, they are also a part of home décor. These pompom picture frames are super bold, amazing for spring! And besides, they are easy to make and really add an extra cool touch to your plain old photo frames. Prepare mini pompom trim of various colors, picture frames, hot glue...
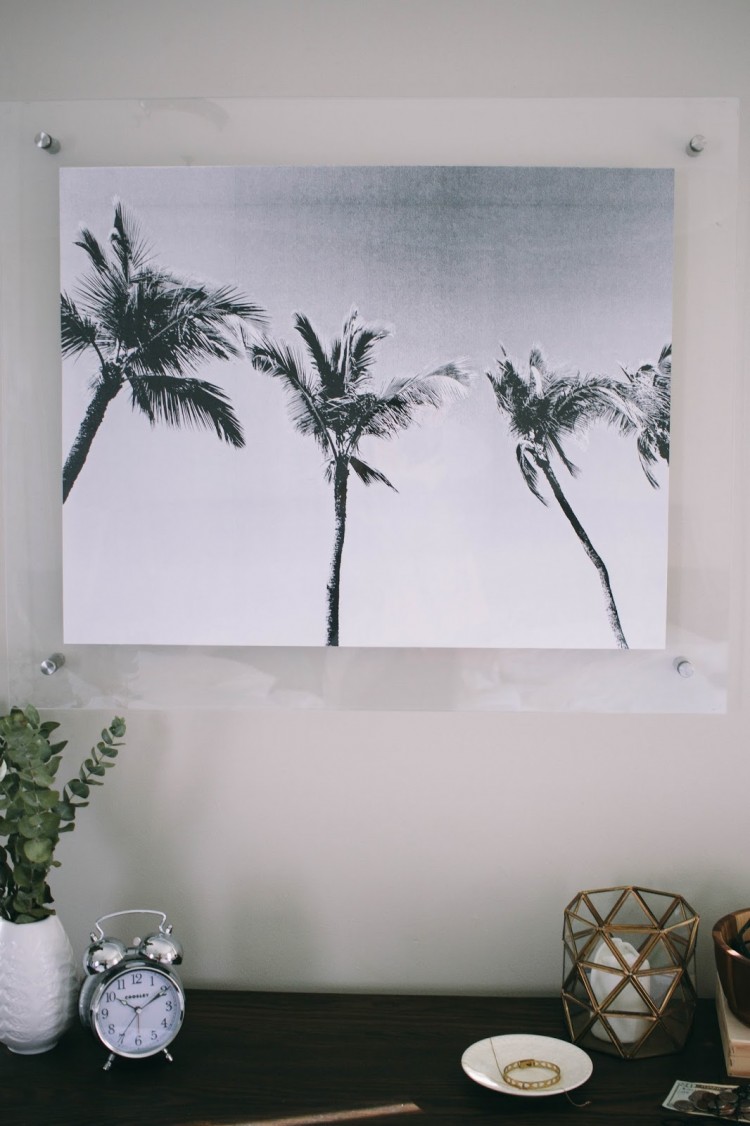
Floating picture frames are very stylish and fit any modern interior. To make one you’ll need 4 stand-off bolts, 2 30x36in acrylic sheets, scrap wood, drill, drill bit the same size as stand-off bolt, 4 screws & drywall anchors, 24×30 in engineer print, double sided tape, dry erase marker. Measure where each bolt will go...
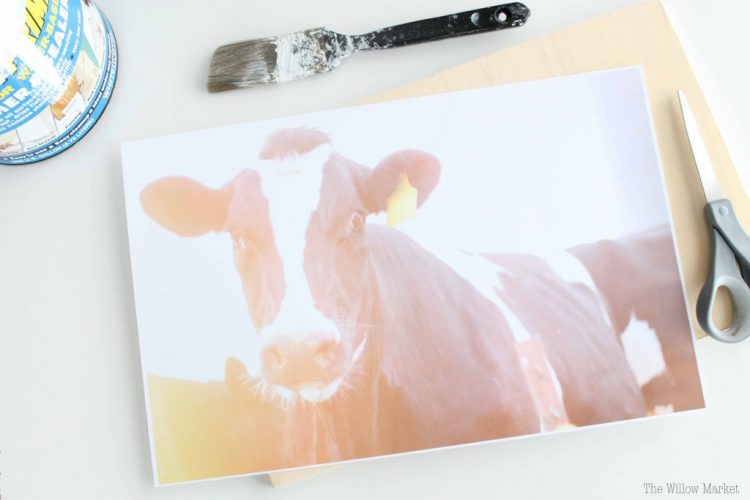
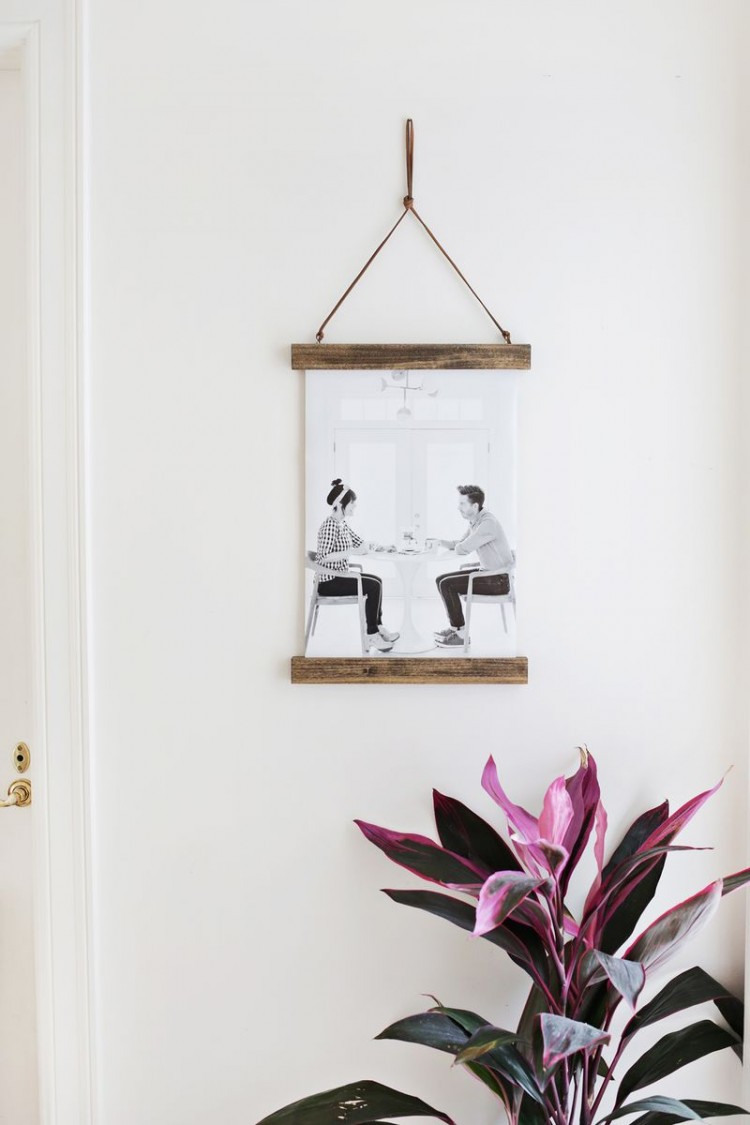
Like big photos? Make an easy hanger! The supplies are 14″ long wood strips that are 1 1/2″ wide by 1/2″ thick (x4), 3/4″ wood screws or nails, small eye screws (x2), wood stain and rags, leather cord, Canon PIXMA iP8720 Crafting Printer. First you’ll want to print your photo. To get the most out...
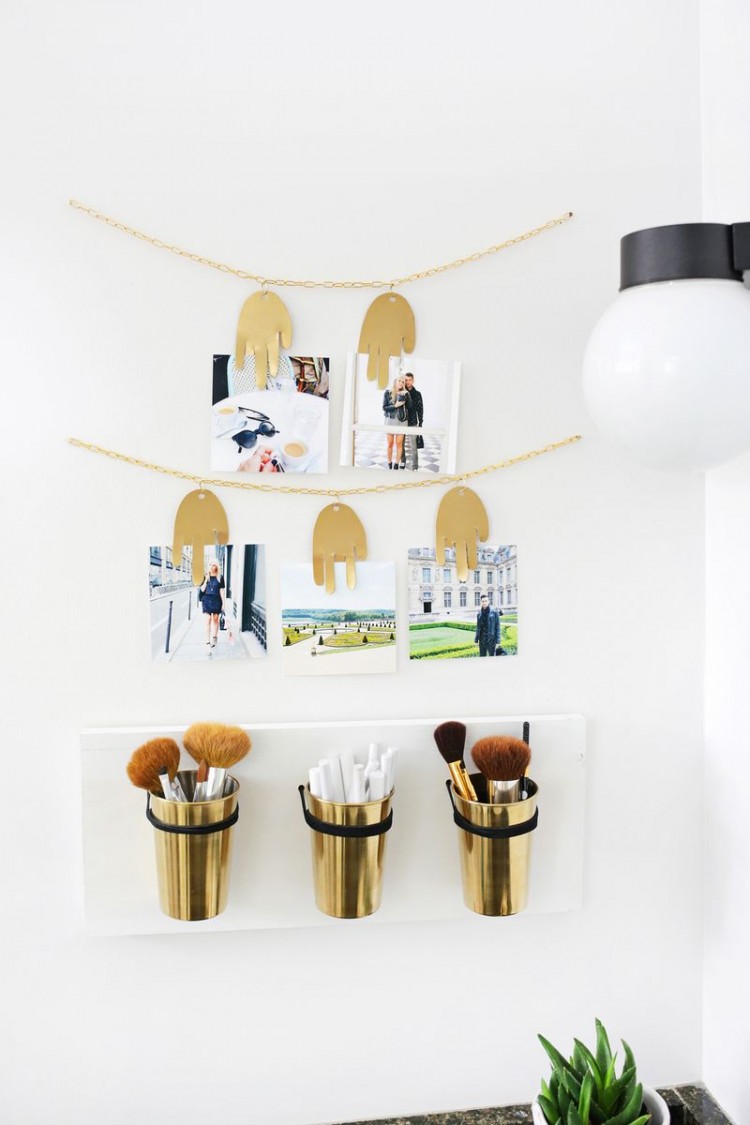
We continue sharing photo display ideas, and today it’s a metal photo garland from abeautifulmess.com. Prepare aluminum roof flashing, a marker and scissors, gold spray paint, gold chain, chain cutters, large jump rings, an X-Acto knife and metal ruler, photo paper, a metal hole punch, Canon PIXMA MG7720 Photo Printer. Print and cut out the...
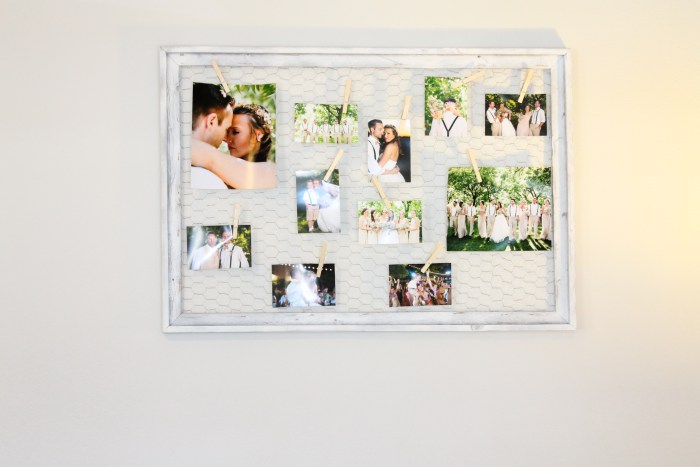
This is the easiest and most original photo display I’ve ever seen! To make one you’ll need chicken wire, a picture frame, a staple gun, clothes pins, wire cutters and pictures to display. The first thing is to measure your chicken wire and snip it with wire cutters to it fin in the frame. Leave...
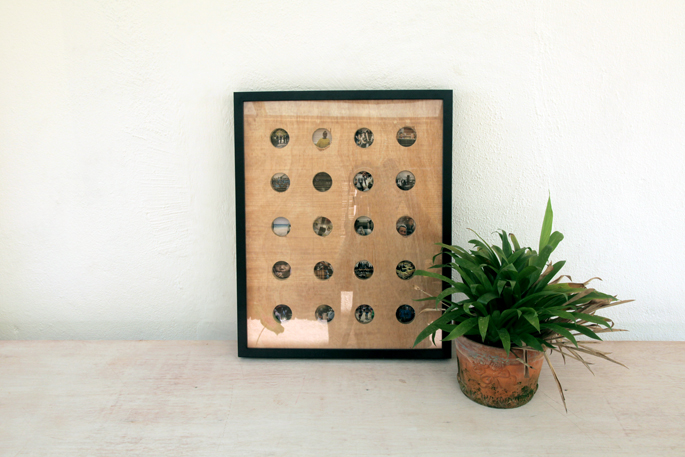
Have just come back from a cool holiday? Display your pics! Prepare a corded drill, a saw drill bit, plywood, tape measure and pencil, IKEA RIBBA frame, small screws, fine grit sandpaper, A3 sheet of printed photos. Take the backboard out of the frame, measure it, and cut the plywood to the same dimensions. Next,...
Need a couple of photo holders for your Instagram photos? You’ll love this tutorial from damasklove.com! Prepare square prints, wood knobs, metallic lustre, Martha Stewart Acrylic Paints, Martha Stewart Stencil Tape, a craft saw, paper towels. Use a craft saw to create a slit in the top of the wooden knob. The slit should be...
