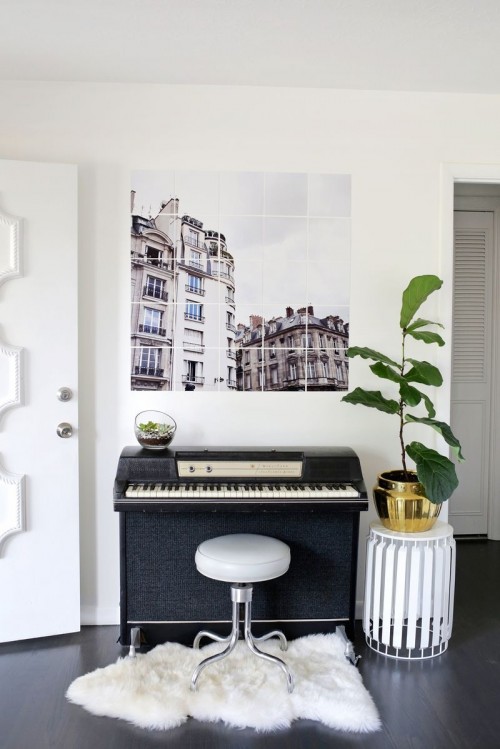
Oversized wall art pieces are in trend right now, and you can make one using your favorite photo easily! Prepare photo paper, photo editing software (like Photoshop), a mat board, an -X-Acto knife, thin washi tape, spray adhesive and Canon PIXMA MG7720 Photo Printer. So, first you’ll want to open your photo in whatever photo...
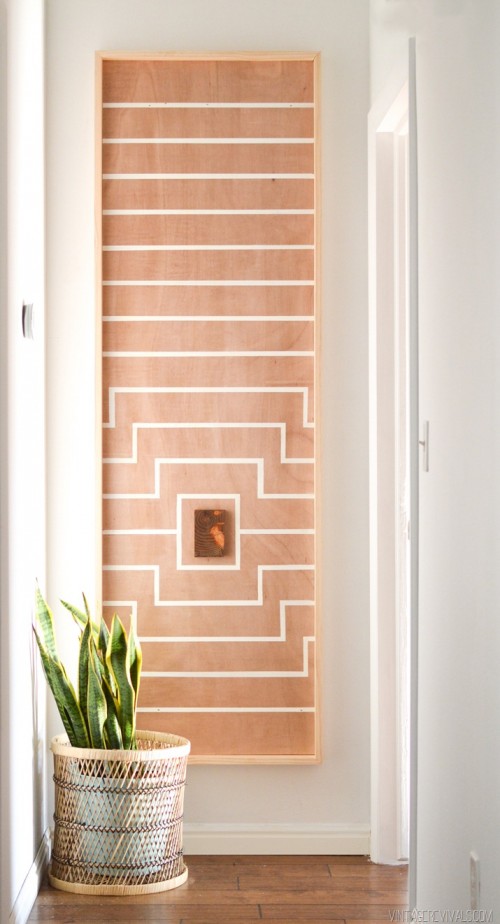
This unique wall art can be easily made without much fuss. The supplies are plywood (cut to size), 3 pieces of 1×3 boards, a small scrap of wood, paint in the color of your choice, wood stain, a paint brush, a pencil, a ruler, a razor blade, a nail gun. Start by deciding the size...
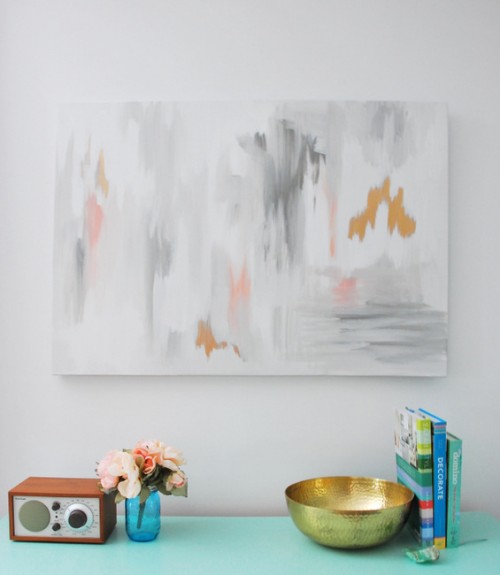
Wall art pieces help to accentuate your walls nd no make them look plain. Prepare a stretched canvas, whatever size you want, acrylic or latex wall/furniture pain, liquid gold foil, paint brushes, a plate for mixing your paints. First paint your canvas white and let it dry. Apply a little bit of liquid gold foil...
Marble items are very popular today, and you needn’t any skills to create your own art. Prepare watercolor paper, nail polish, a container and a skewer/toothpick. Fill the container with about one inch deep water and start pouring the first nail color verry close to the surface (if the bottle is the far away from...
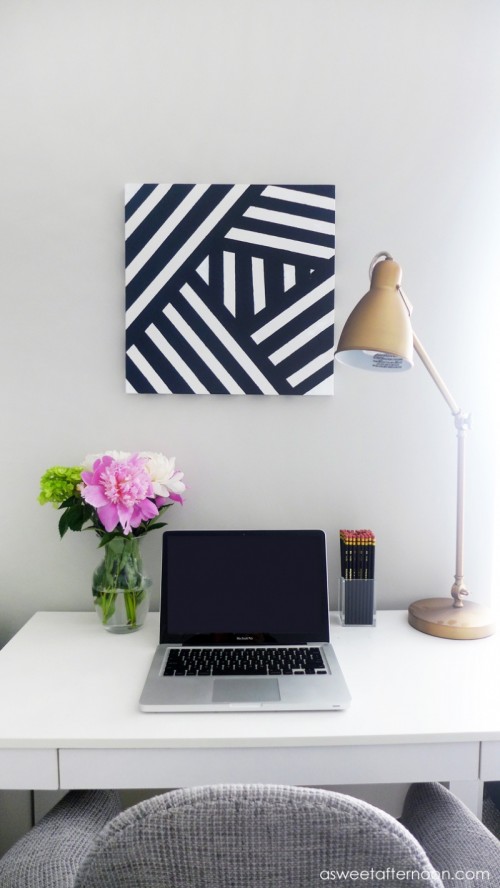
Abstract art pieces aren’t that difficult to make, even a beginner can do it. Take a canvas, acrylic paints in black and white, painter’s tape, a paint brush and scissors. Tape off three to four parallel stripes on an angle at the top corner of your canvas with your painter’s tape. Press down and smooth...
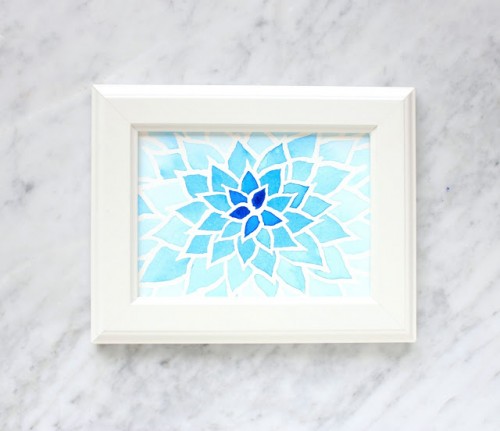
Watercolor items are very popular today, and if you are not familiar with this technique, you are gonna love this tutorial from linesacross.com. Prepare watercolor paper, paint brushes, masking fluid, eraser, watercolors. Basically you are going to create an outline by painting on the masking fluid. You can create all sorts of fun shapes and...
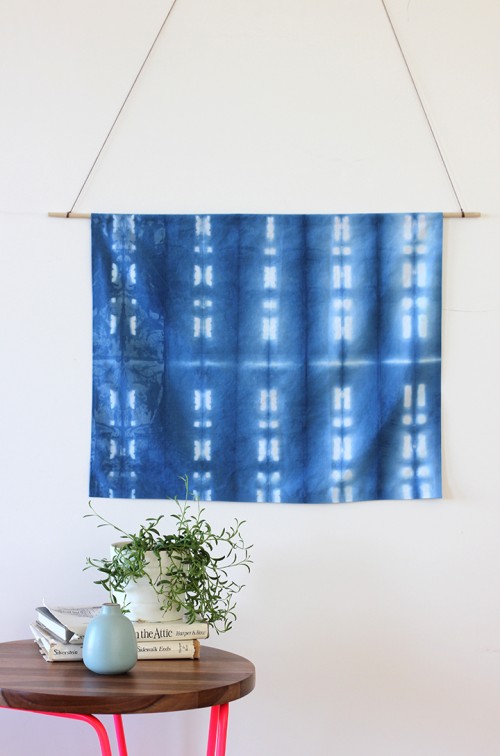
Wall hangings are a great and easy way to make a statement, and today we are sharing a tutorial from aliceandlois.com. to make this shibori wall hanging you’ll need an indigo tie dye kit, 2- 5 gallon buckets, binder clips, clothespins, rubber bands, wood blocks or tiles, rubber gloves, drop cloth or trash bags, scissors,...
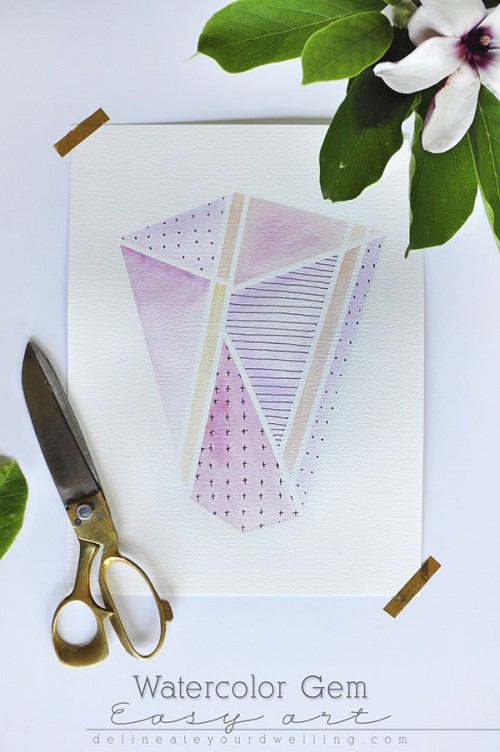
Watercolor decor is dreamy, charming and very eye-catching. Today we are sharing a cool yet easy gem art in this technique. The supplies are watercolor paper, a watercolor paint set, stencil tape, patterning tape and a paint brush. Using patterning tape, lay out the basic shape for your watercolor gem. Read the instructions at delineateyourdwelling.com.
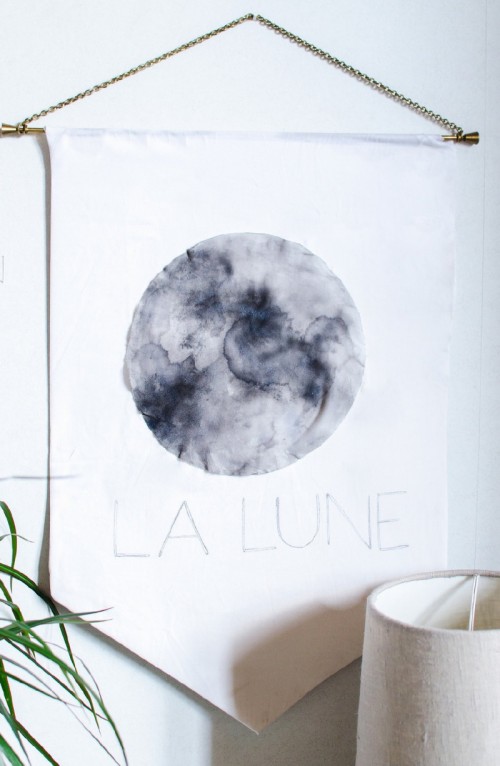
This moon-inspired wall art is great or making yourself or even with your kids to spend a good time together. The supplies are a sheet of paper, some fabric, a sponge, water, watercolor paints, fabric, glue and a piece of wood to hang it. Print the moon using your computer and then transfer it onto...
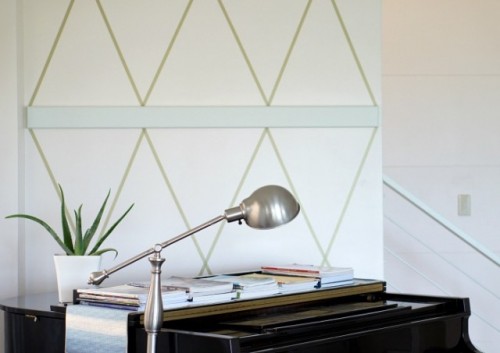
It’s time to decorate your blank walls! All you need for this quick DIY from uptodateinteriors.com is washi tape, scissors, a ruler, and a box cutter, this craft won’t cost you much. The first step is to mark where you want your triangles placed. Start from the center of the wall for even placement. Make...
