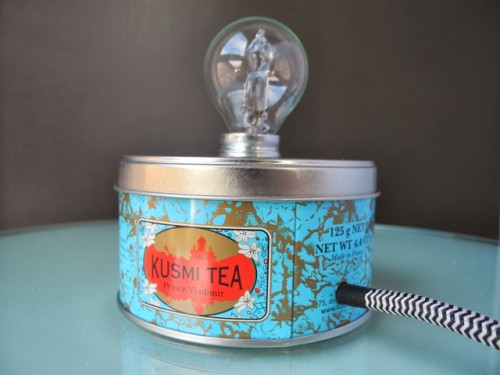
This unusual lamp is something vintage though industrial and unbelievable! You can make it in case you half an old tea tin can or caddy. For this original vintage-inspired lamp you’ll need a tea caddy, cords, a switch, a lamp socket, a light bulb, 2-component adhesive, a drill, a jigsaw, pliers, a screwdriver. Cut a...
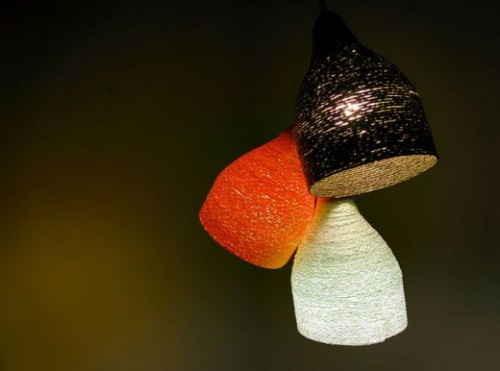
Making a paper and yarn lamp? That’s so original and cozy! The supplies are a soda pet bottle of 2.5 liter, some masking tape, a small saw, some sand paper, paper yarn, Modge Podge, scissors, few rubber bands, a pendant lighting arrangement, a 1″ foam brush. Cut the bottle as close as possible to the...
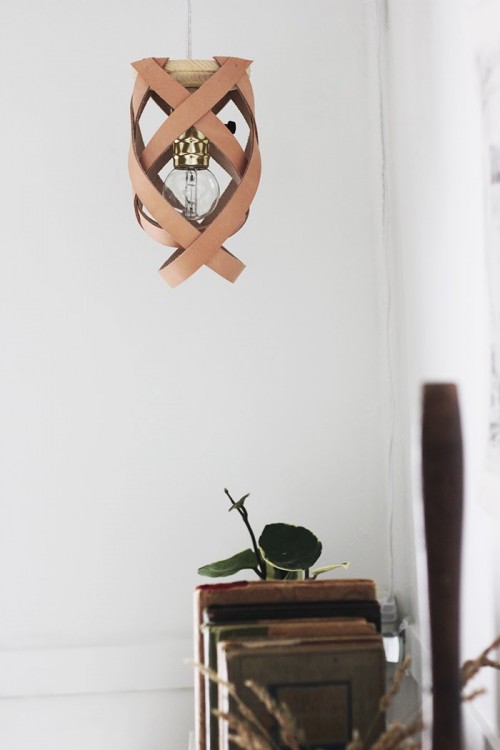
Leather pieces are stylish and cool, and working with leather is not so difficult. To make this pendant lamp you’ll need 4 – 25″ long leather straps, 4″ wooden circle plaque, a drill, nails, a hammer, on/off socket, switch cord, light socket, wire cutter. Measure the center point of the wooden circle and drill a...
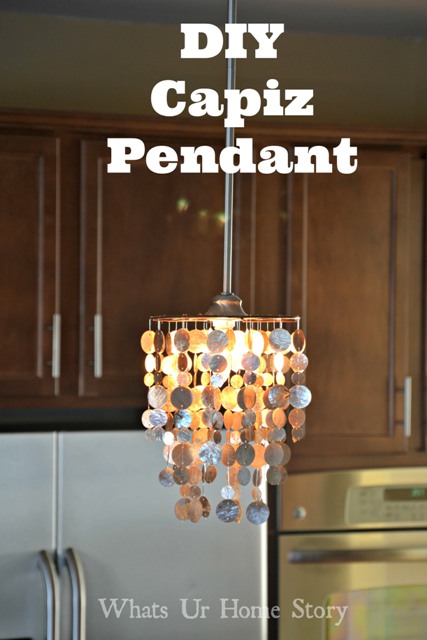
This craft was inspired by some pendants seen on the West Elm site – it’s kind of a pendant lamp with decorations, suitable for many spaces, from a sea-inspired one to a completely minimalist one. The supplies are retro capiz chandeliers, dismantle them, and make them into the kinda chandeliers using wreath rings. It seems...
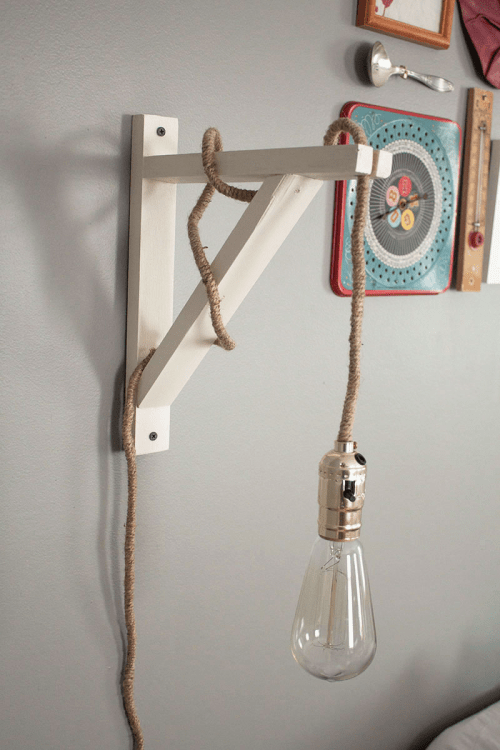
Industrial vintage lamps are on top right now as they have their own charm. Let’s make one for your space (preferably a bedroom), the supplies are Make-A-Lamp kit, craft jute, multi-purpose glue, pliers/wire strippers, a bag clip, vintage-style light bulb. First, make sure your cord is not plugged in. Thread the cord through the socket...
Scandinavian style is extremely popular due to its simplicity, neutral design and flexibility. We’ve gathered a bunch of cool Scandinavian pieces that you can make yourself. A Scandinavian lamp is a good addition to any room – from a bedroom to a kitchen, most of such designs just show the beauty of simple bulbs and...
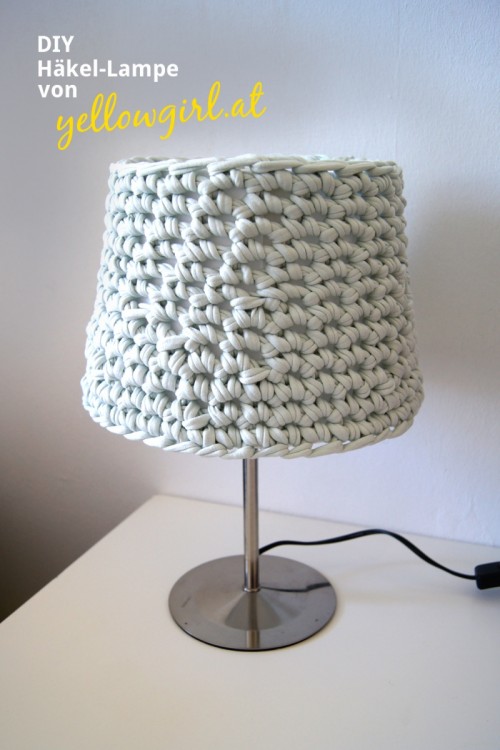
Knitted and crocheted things bring so much coziness to the décor! Today we’ll make a crocheted lampshade, and the supplies are an old table lamp, a white lampshade, wool crochet hook, some wool of the color you like and an adhesive. First, crochet a row that fits around the larger end of the lampshade. Then...
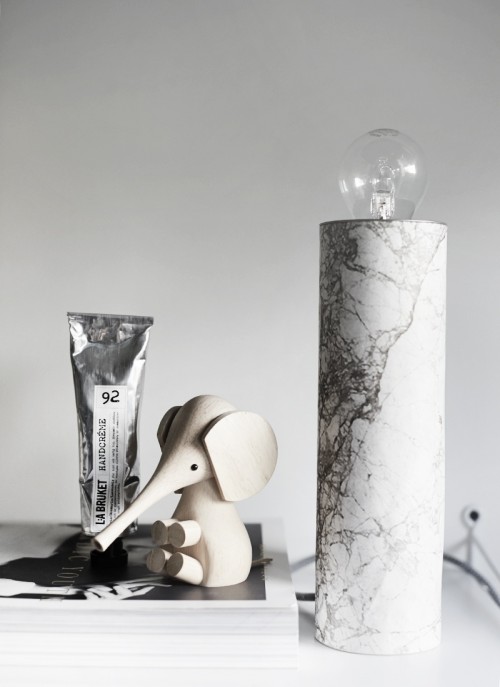
This amazing tutorial that we are sharing with you today was originally posted by weekdaycarnival blog and photo credits belong to Riikka Kantinkoski. To create this simple and stylish table lamp you’ll need a long cardboard can or a posting tube with a lid, marble paper, glue, a drill, cord, a light bulb. Glue the marble paper...
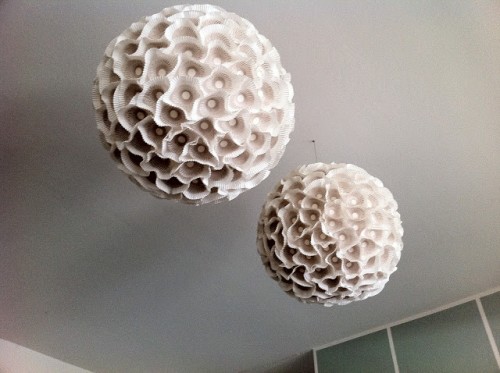
This lamp is inspired by the Anthropologie crafts, you’ll need 100–125 white standard-sized paper cupcake liners, 100–125 vertically striped petit fours papers, a 18–20″ white paper lantern, a hot glue gun, 1 Hemma Cord from IKEA. Pick up some white paper lanterns and tightly layer soft white cupcake papers around the surface using a hot...
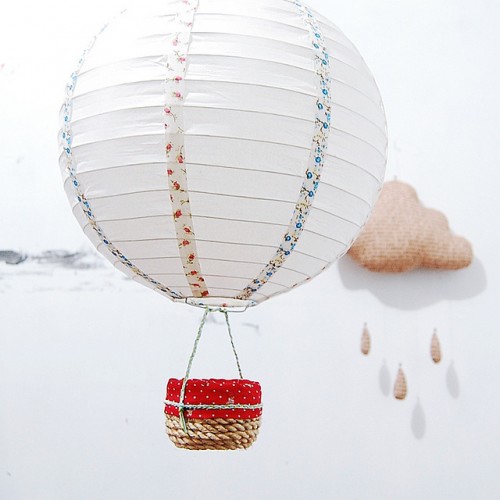
Hot balloons are cool, and you can make such a balloon lamp for your garden easily. The supplies are round paper pendant lamp shade, rope, hot glue, super glue, 3 pieces waxed cord, printed fabric, fabric or washi tape, a Sewing machine. First, do a coil-and-glue maneuver, as shown in the first photo. Make sure...
