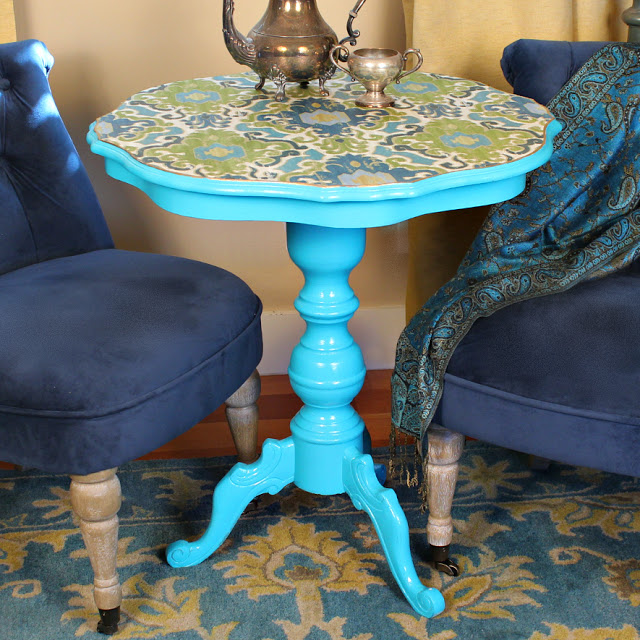
This beautiful vintage table is amazing and so spring-like! The supplies are a thrift store table, enough fabric to cover the top, Americana Decor Maxx Gloss, Americana Decoupage in Gloss, a paintbrush, scissors, a large sheet of butcher paper. Press paper around the table top to create a pattern. Trace around the crease with a...
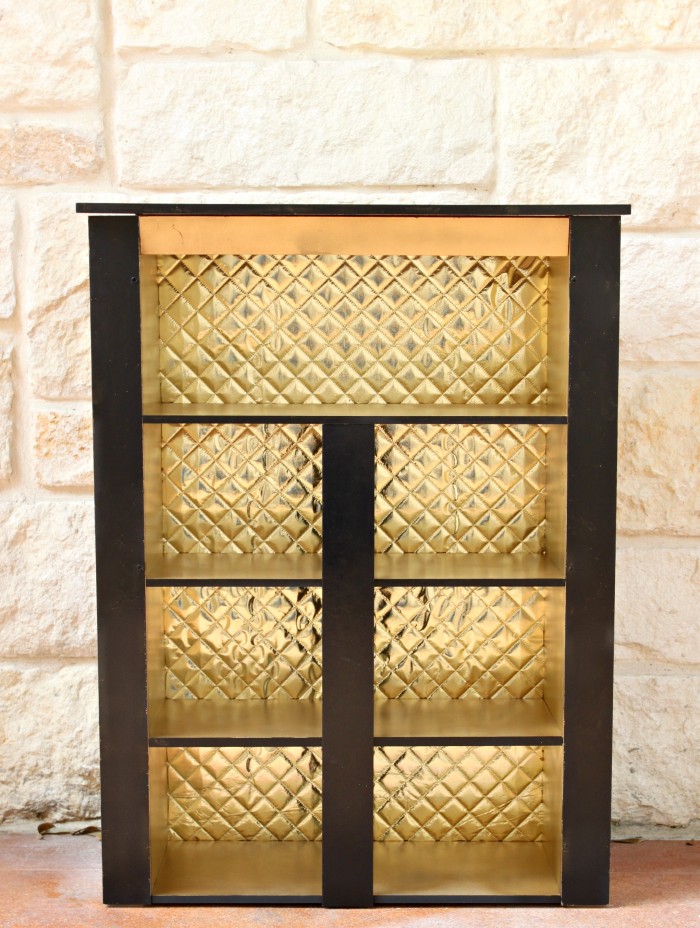
This refined cabinet is a Furinno cabinet hack, let’s see how to realize it. The supplies are Furinno storage cabinet, gold spray paint, black paint, gloss spray on sealant, a gold bolt, a staple gun. Paint the sides, tops, and shelves with the gold spray paint. Choose a paint that will work on plastic and...
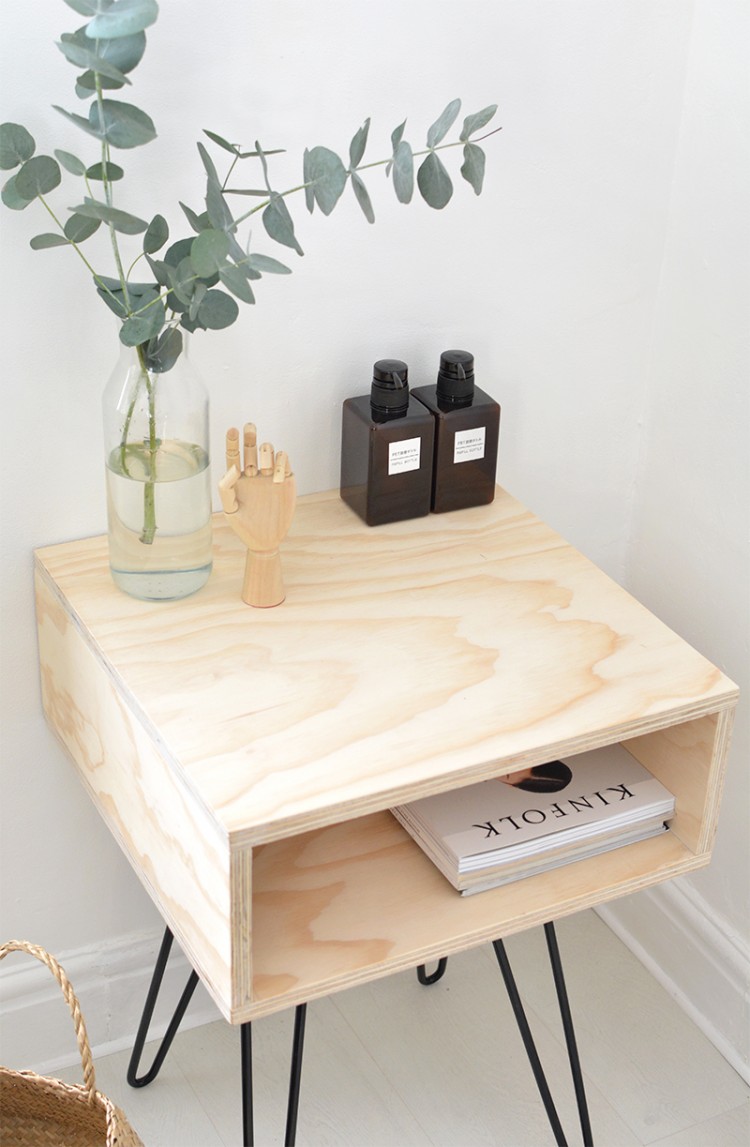
Mid-century modern style and furniture is gaining more and more popularity now, so let’s be in trend and make this nightstand. You’ll need a plywood sheet, hairpin legs, wood glue/nails/screwdriver. To make the body of the nightstand you’ll need 4 pieces of plywood or pine board. The dimension of the plywood for this table were...
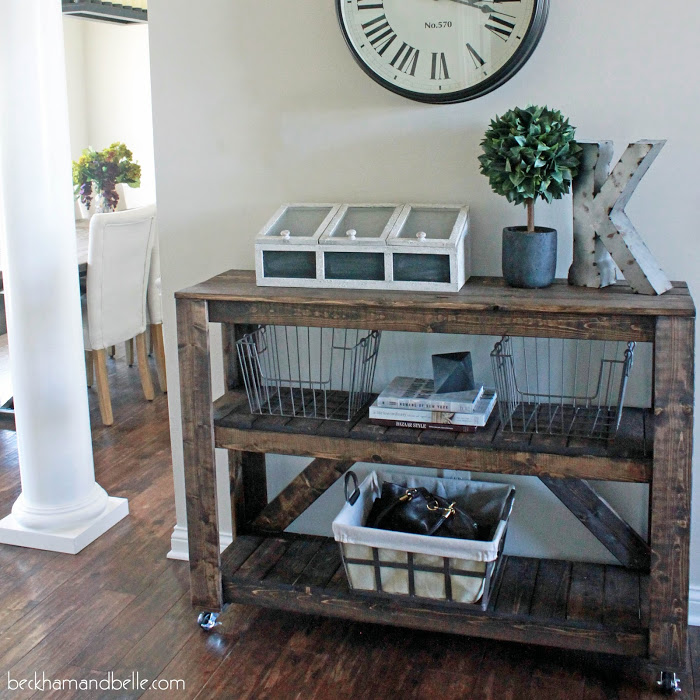
This awesome console table is great for any entryway! Start by building the bases for each of the three shelves. You will use the 1″ x 3″ boards for the bases. The middle and bottom shelf will be the same build. Build two rectangles using two 1″x3″x10.5″ boards & two 1″x48″ boards. Glue every where...
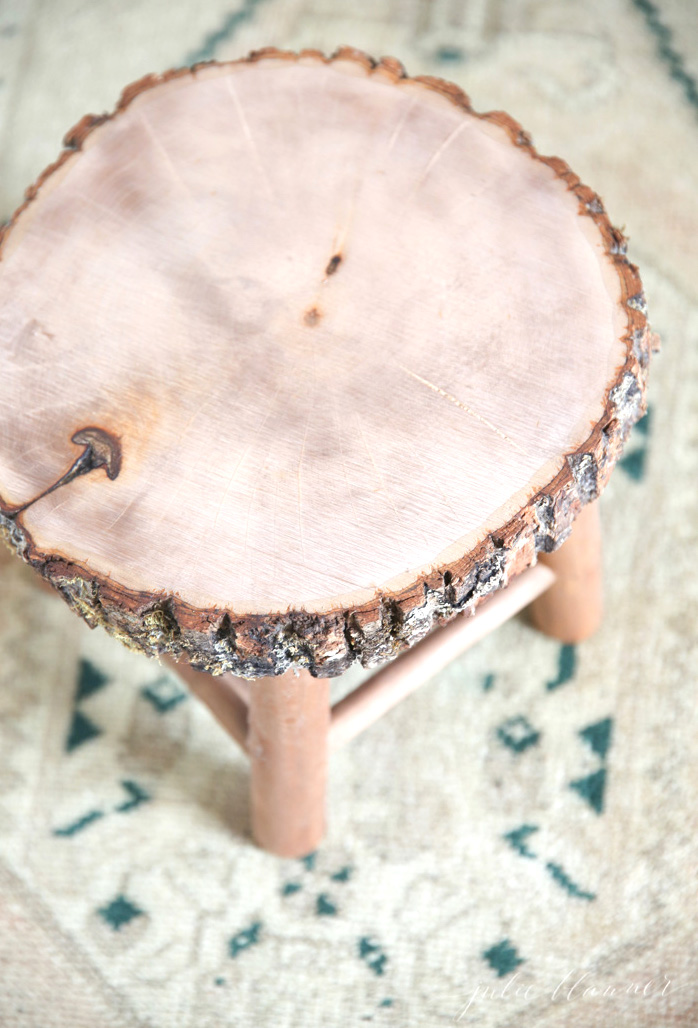
Need a rustic piece for your bathroom? This easy wood slice stool is right what you need! Prepare a small chair, unfinished stool, legs, a wood plaque, stain, a hammer, a pencil, a drill, 1 1/4″ speedbor drill bit {or one that is the width of the legs, Gorilla glue. Remove the back of the...
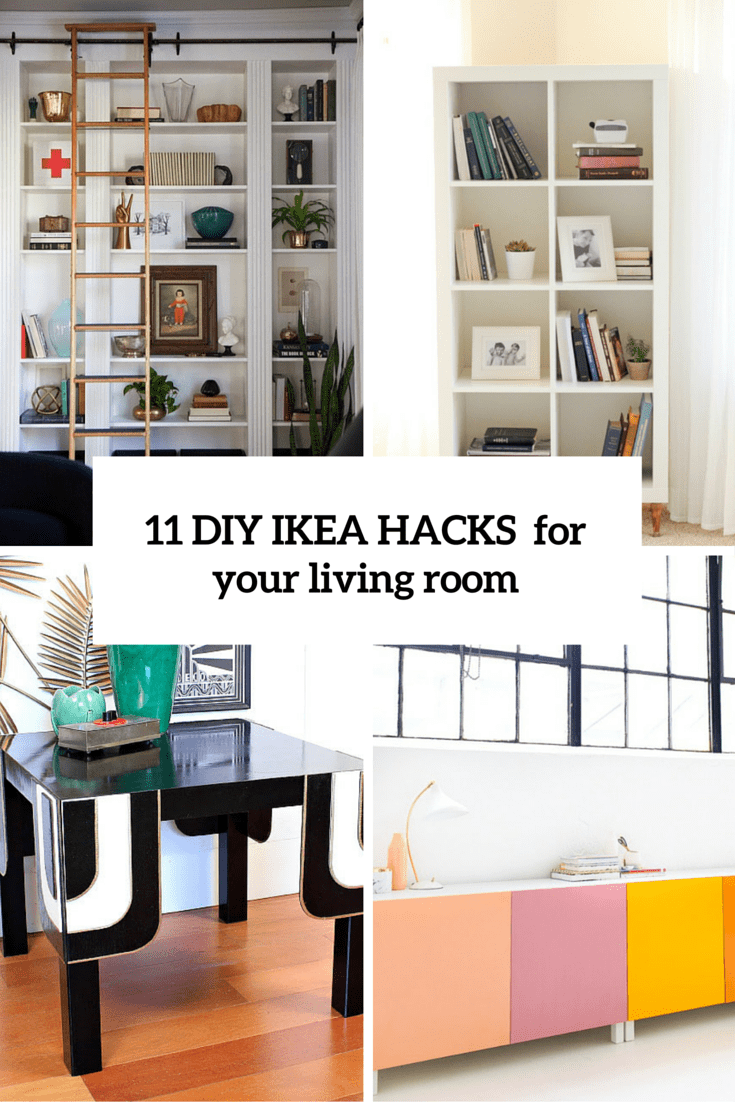
IKEA is famous for creating simple and timeless designs that fit almost any interior. If not, or if you feel creative juices flowing, you can always hack an IKEA item and personalize it. Today we are speaking of decorating your living room with cool IKEA hacks, and the most popular and discussable piece here is...
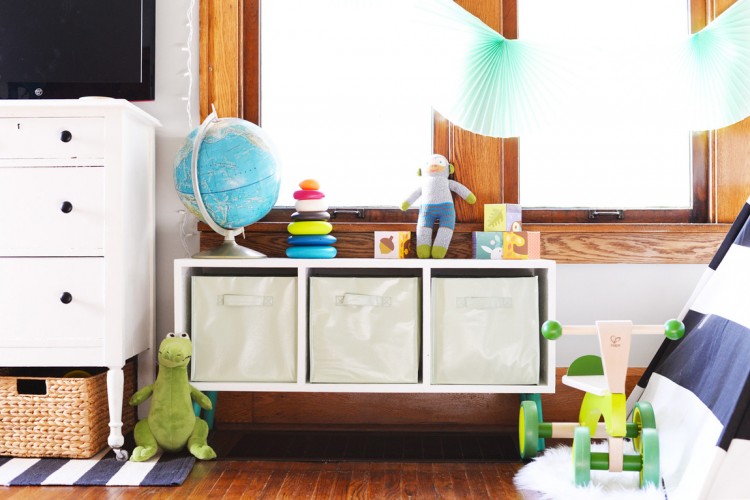
This cute and simple bench is perfect for kids’ rooms because it has plenty of storage for toys! You’ll need (4) 6″ tapered mid-century style legs, (4) top angle plates with screws, 3/4″ thick 8′ piece of plywood, a table saw, a nail gun, wood glue, white paint, a paint brush, colorful spray paint, a...
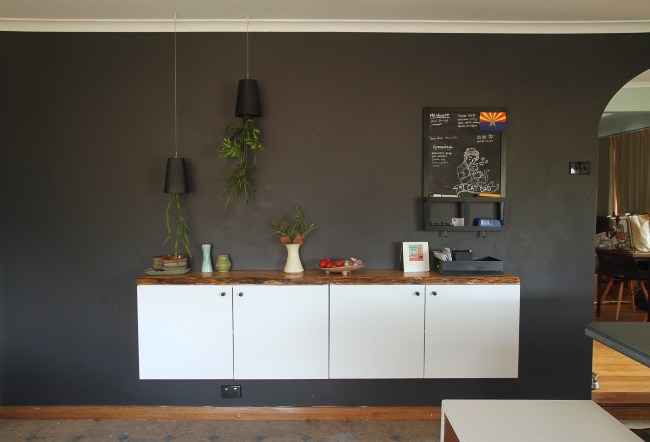
What’s cool about floating buffets? They’re easy to assemble, versatile and fit in a variety of spaces. They’re modern, yet neutral and let’s not forget — they provide tons of storage for cheap! Let’s make one, prepare cabinets, handles, a pencil or chalk, tape measure, studfinder, level, timber screws, another set of hands, or something...
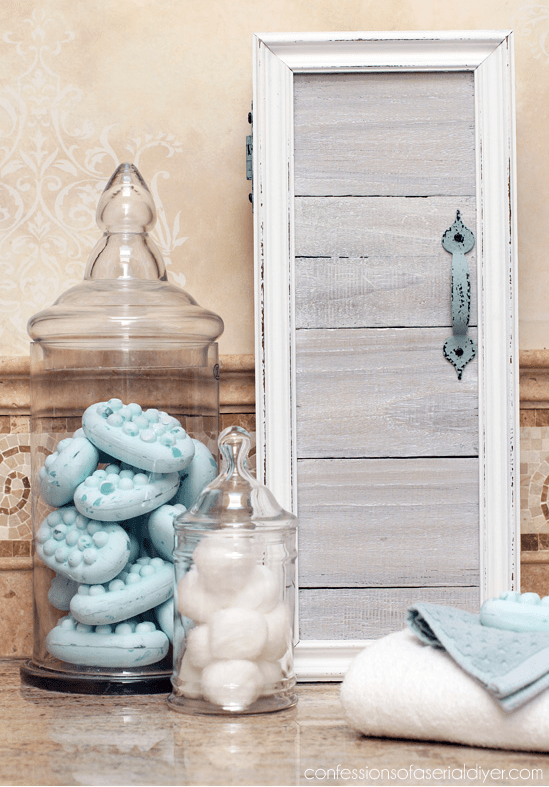
This cute storage cabinet is pretty easy to make! Take wood and make small cuts with a miter saw, fill the door frame with reclaimed wood. Paint the frame with pure white DIY chalk paint, then sand and wax with Annie Sloan’s clear wax. Whitewash the rest with flat white latex. To build the frame...
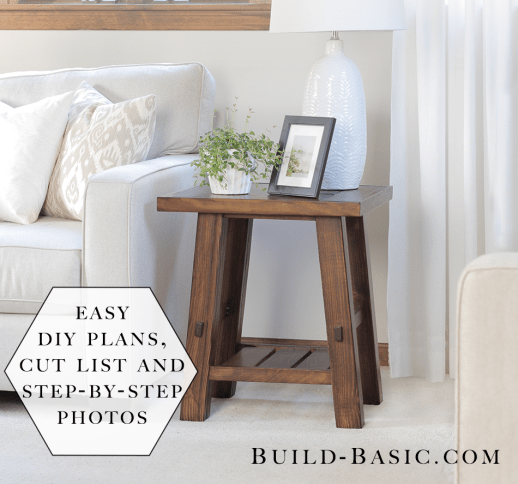
If you need a rustic-inspired side table, this tutorial may help you. Using a the cut list above and a miter saw, cut all the parts to size except the 1 x 2 Tabletop Edge Trim. If you’re ripping the 4 x 4 posts to make the legs slimmer, use a table saw to cut...
