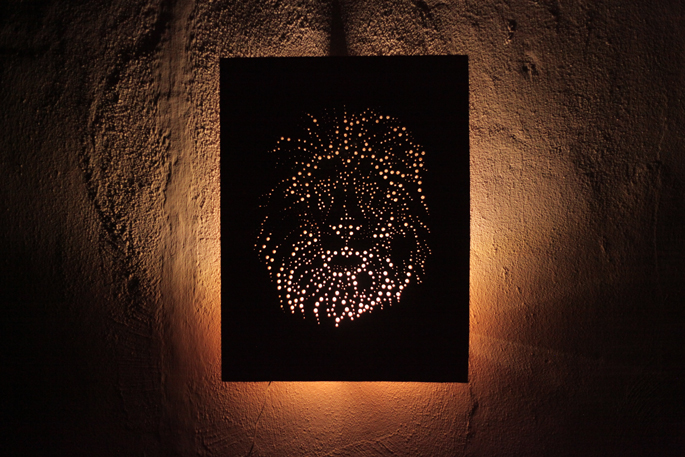
Drilling holes you can create a fine art piece! Don’t believe it? Prepare a drill, different sized drill bits, plywood, an illustration, a printed piece, tape, fine grit sandpaper, polyurethane, IKEA DIODER LED lights. Once you have the plywood the same size as the illustration, glue the print to the plywood. Clamp down your board...
We continue sharing tutorials for your little ones, and today we are making a dollhouse. Let’s start with the tutorial. You will need 9mm plywood, 1 inch nails, wooden glue, a saw, a jigsaw, a hammer, a drill, some paint, and some nice papers. You first need to cut the five box sides: floor &...
Laptops are one of our most prized personal possessions – we work on it, we play on it, we communicate with loved ones on it – laptops are extremely important to our everyday lives. So why not personalize yours to reflect a little bit of who you are and inspire yourself every time you open...
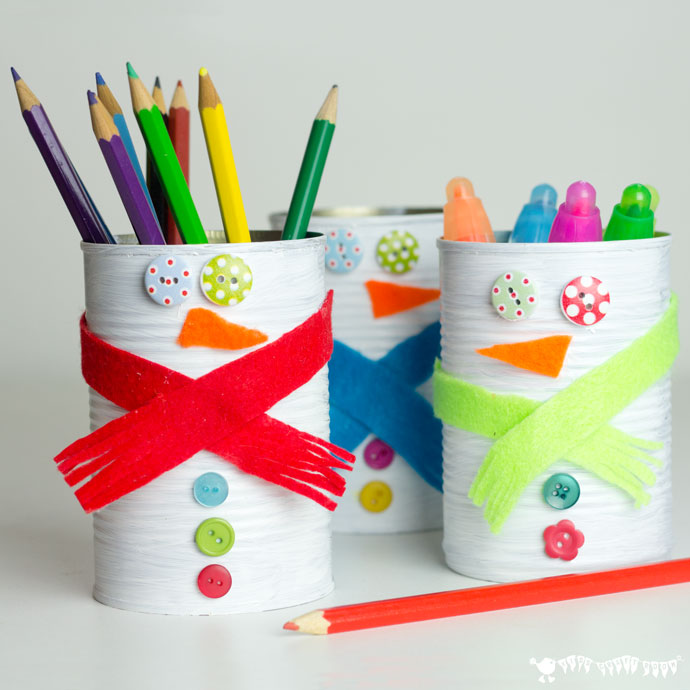
It’s winter and now and I’m sure that some of you are enjoying snow. Those who don’t have it at all can make this funny snowman for kids to have fun. Prepare old tin cans, white acrylic paint, felt, buttons, glue. Wash and dry the tin cans and make sure there are no sharp edges....
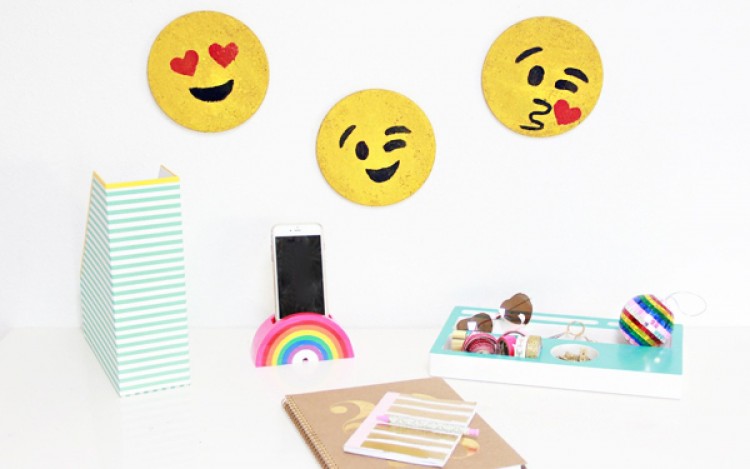
Emojis are cool and raise the mood! Let’s make these fun cork boards to inspire you every day. The supplies are cork trivets, yellow, red, black craft paint, a paint brush, scissors/craft knife, emoji print out. Print out your emoji on cardstock, cut out the eyes, heart etc to create your stencil. Paint the cork...
If you have a spirited and energetic toddler, you have probably spent time researching activities to keep them busy during these cold, restricting winter months. Want to encourage imaginative play? We bet your child would get years worth of use out of a busy board! A usual busy or activity board is a board covered...
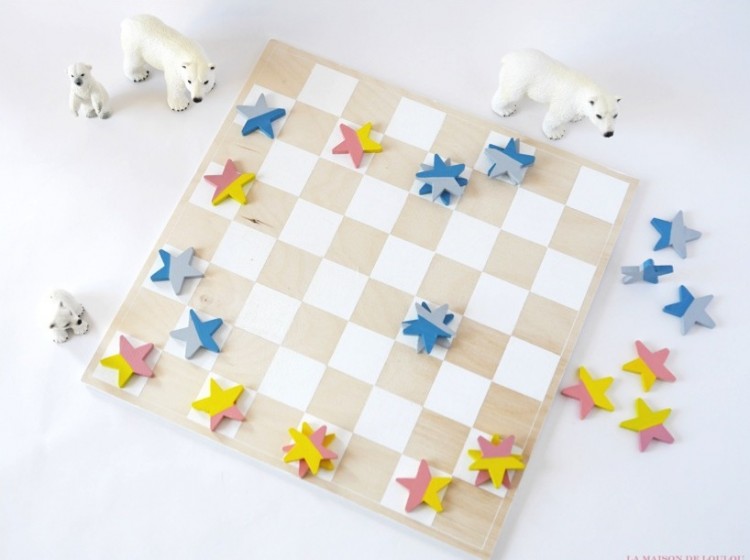
Make checkers fun and cool to inspire your kids to play! You’ll need 12 x 12 square plywood board, 24 wooden stars, masking tape, paint, brushes, a ruler, a pencil, a small drawstring pouch or similar to store the stars. Using your ruler and pencil, draw 64 equal squares on the plywood board to make...
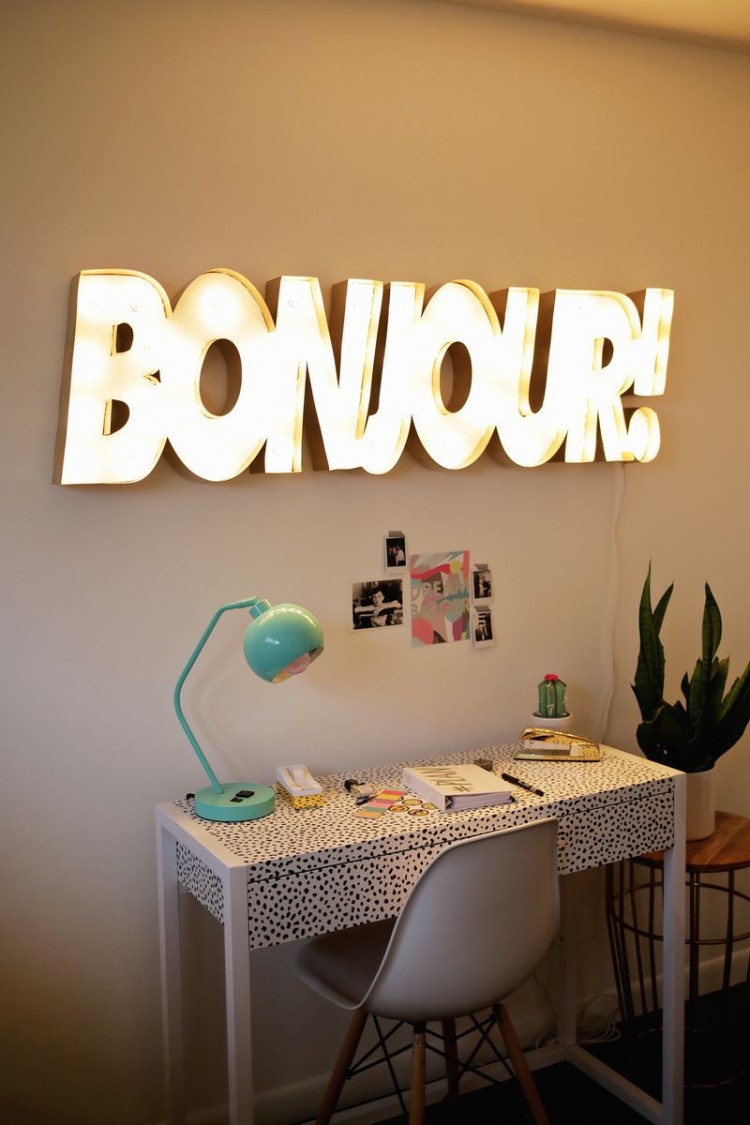
Marquees are very popular for décor, they are eye-catching and raise the mood. To make this one you’ll need 3/4″ wooden board big enough to trace your desired size onto, a jigsaw, a drill, a hole saw drill bit large enough to fit your string lights, 6″ wide roof flashing, metal cutting shears, a staple...
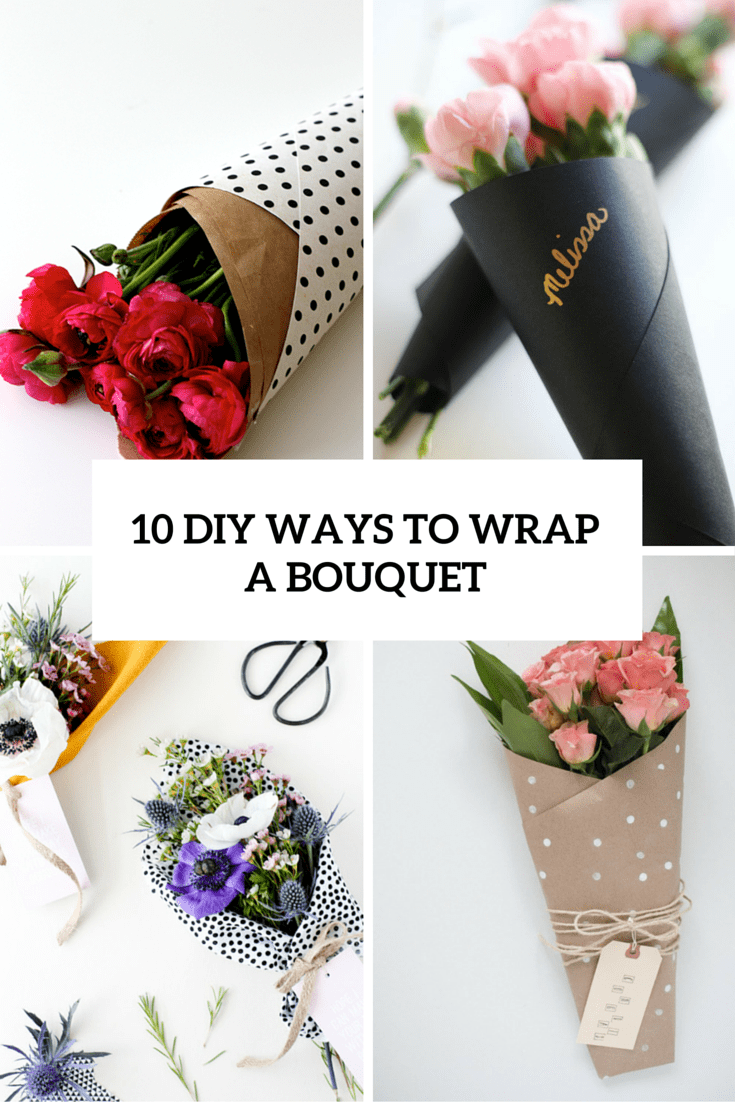
So, you are going to give flowers to somebody – to your mom for her birthday, to your girlfriend for Valentine’s Day or as bridal shower favors to your girls, and you are puzzling over how to present it. There are so many ways to wrap the bouquet making it super personalized and cool, you...
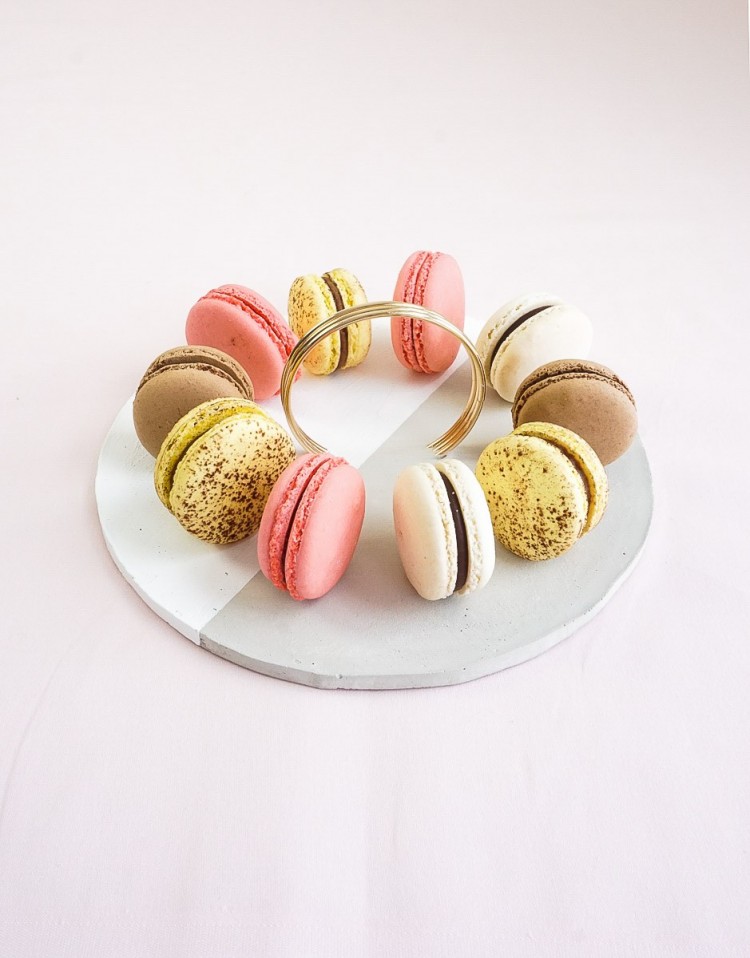
This chic and glam concrete tray is easy to make, and it’s indispensable at any party. You’ll need quick-drying concrete, heavy weight cardboard, light weight cardboard, a medium size bowl, duct tape, cooking spray, gold rings, a sand paper sponge, white paint, food-safe sealer, vinyl bumpers. Place your bowl upside down on the heavy-weight cardboard...
