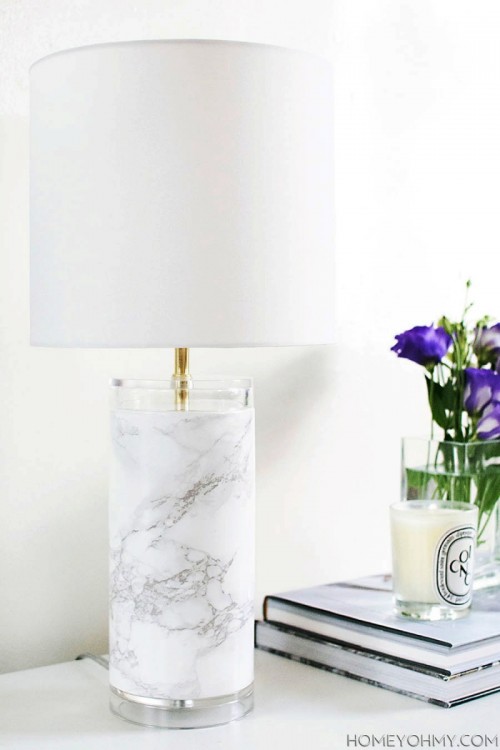
Marble is classics that never goes out of style but it’s quite expensive. If you want to get a cool marble piece for your home décor without spending much money, make this faux marble lamp. The supplies are a lamp, marble contact paper, a ruler, a pencil and scissors. Measure the height of the white...
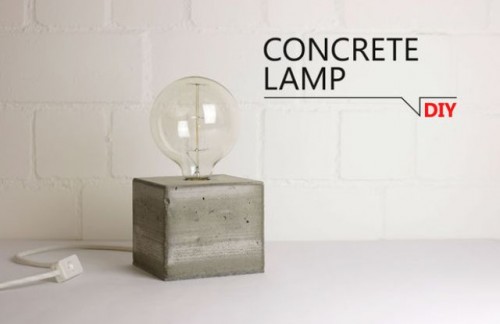
A lamp from concrete easily can be made by yourself with quite simple tools and materials. First you will need a wooden board which is 14cm wide and 80cm long. From this board you need to saw five pieces with following dimensions: 4 pieces 14x16cm, 1 piece 14x14cm. Therefore you can use any electric saw...
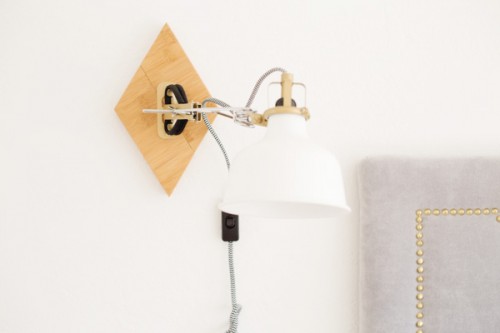
Ranarp IKEA lamp is a cool piece suitable for any modern interior. There are several versions of it: pendant, wall, table, which makes it easier to find your own edition. But as all the IKEA items, Ranarp may seem too simple and impersonal to you, so may want to change it a bit and add...
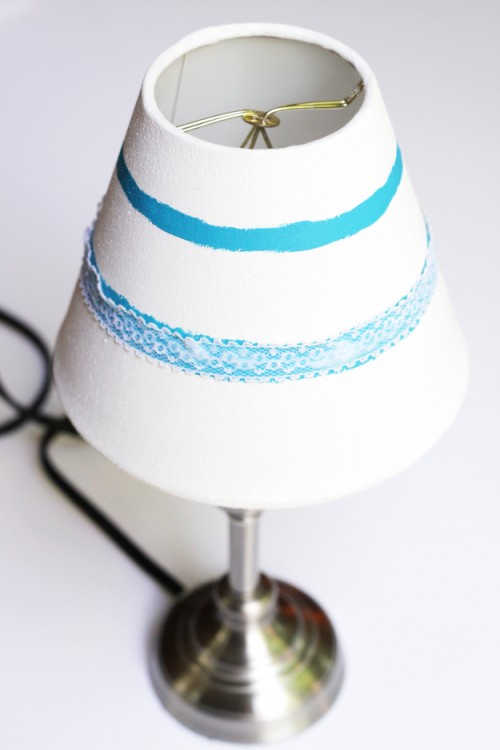
Add a touch of upcycled decor to your space with this easy thrifted lampshade DIY from melmariadesigns.com! The supplies are acrylic paint in white and blue, a foam and regular brush, school glue, lace trim. Paint your shade with the base color and foam brush. You may need to do a few coats in order...
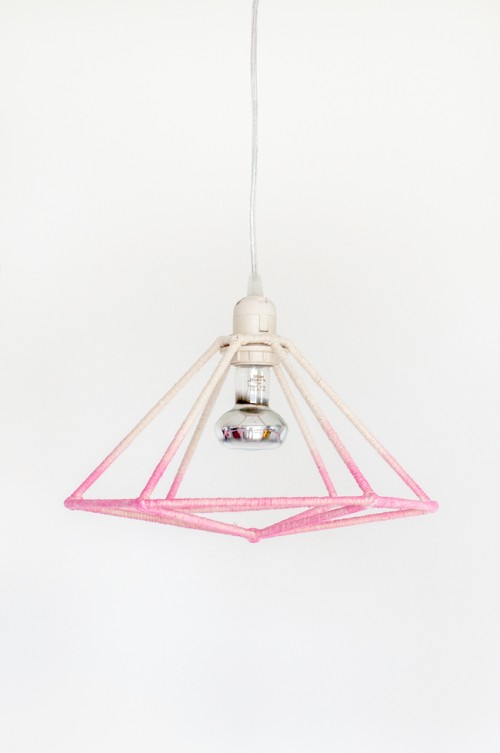
Ombre pieces are in trend, everyone’s buying or making ombre furniture, painting walls and various items. Let’s make this ombre lamp, you’ll need a ruler, fabric paints, white spray paint, scissors, a sponge, yarn, hot glue, BBQ sticks and pliers. Define the measures of chopsticks for the lower hexagon and cut them accordingly using the...
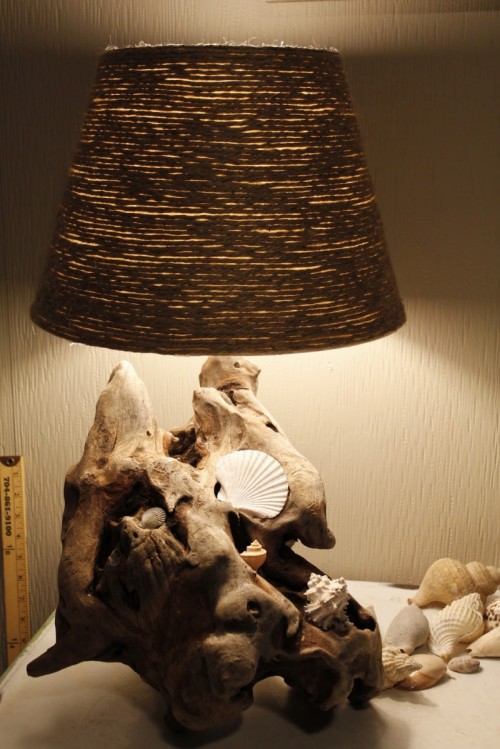
Driftwood is awesome for crafting: it’s easy to find, you don’t need to pay for it and as it’s wood, you can use it for many items, from wall arts to furniture. Today’s roundup is dedicated to driftwood lamps, which will easily bring beach and coastal chic to any interior. Basically, you’ll need some lamp...
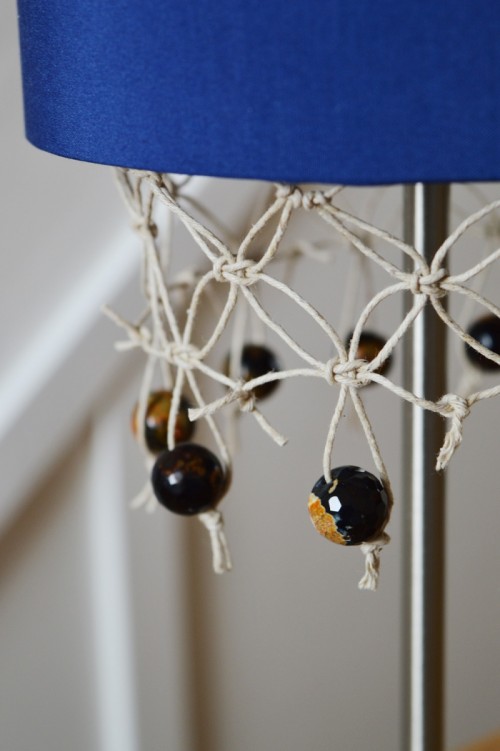
Gemstones aren’t just for jewelry, they can be used for cool home décor, have a look at this lampshade from craftingfingers.co.uk. The supplies are 1mm cord, gemstones, washi or masking tape, scissors and a surface to secure base cord. To start, measure the circumference of your lampshade by wrapping the cord around it once. Add...
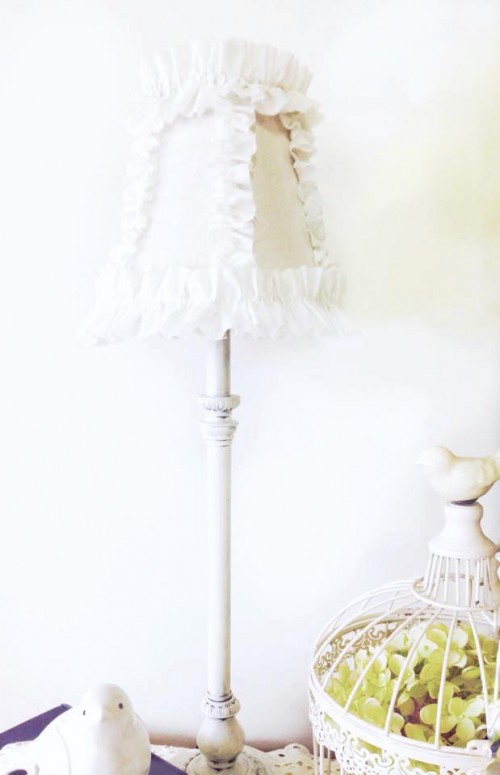
A shabby chic lamp is a must for many interiors, from vintage to glam and girlish ones, and they are so easy to make that you’ll be surprised. A rosette lamp or lampshade is a cool shabby chic-inspired idea that is quick and simple to realize: take some paper or fabric roses and attach them...
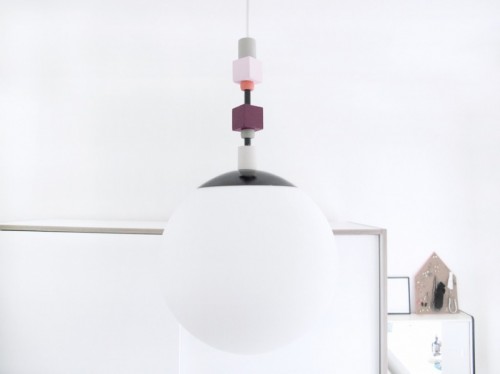
Let’s make a usual and boring lamp original with this simple tutorial from frkhansen.dk! You’ll need a simple pendant lamp in the desired size, spray paint, wooden blocks and wooden beads, paint in different colors. The first step is to spray paint the metal parts of the lamp. You can first use primer and then...
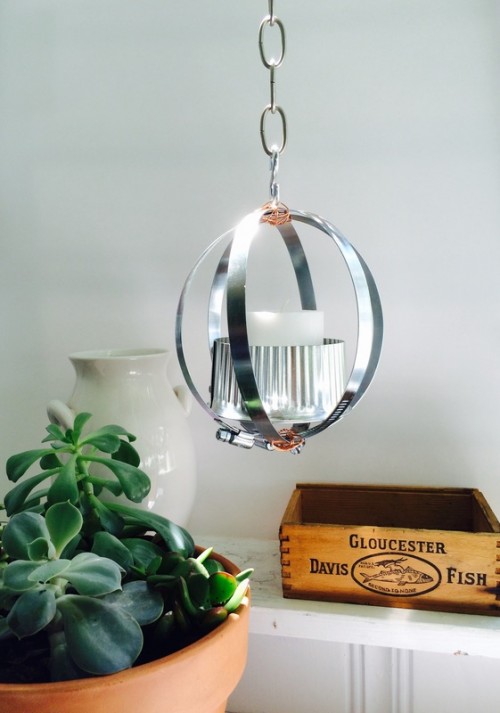
This is a super easy and relatively inexpensive project to add some mood lighting to a porch or outdoor space, thanks to babybugjournals.com. The supplies are 6″ metal clamps, 4″ duct cap, S-Hooks, 4′ section of chain link, candles. Take 3 metal clamps and do your best to fit them together into a circle shape....
