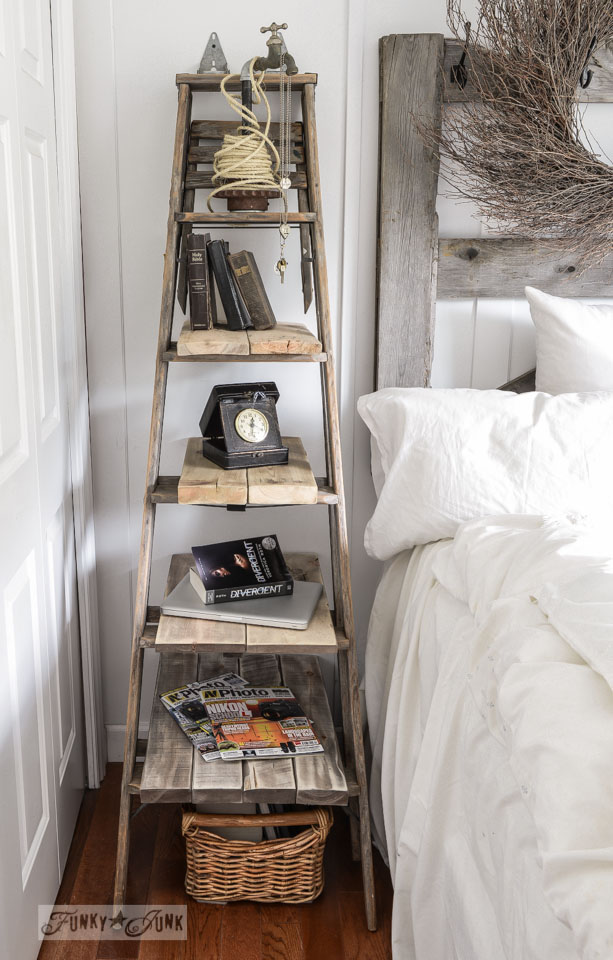
A ladder can become a very functional piece! It’s perfect as a nightstand because you can store a lot of things, so let’s make one. Select boards for shelves, wall supports, and something to connect the ladder to the wall. Lean the full ladder against the wall at the desired angle. Attach ladder to the...
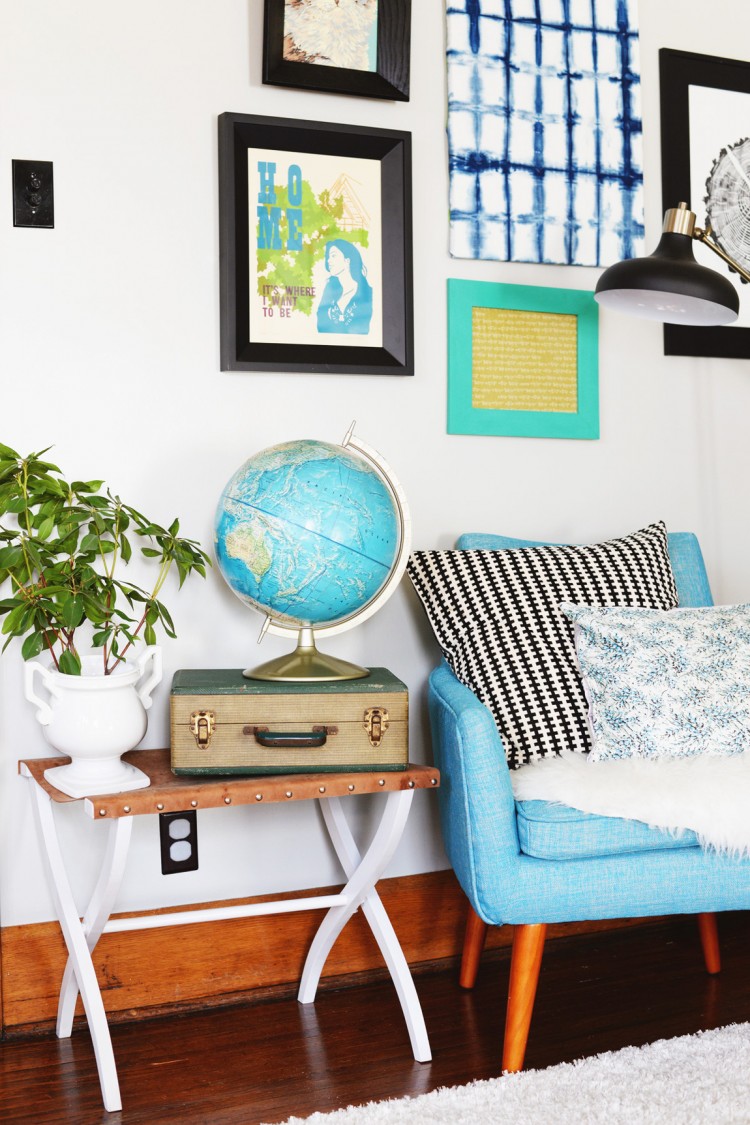
An old suitcase holder may become a cool coffee table! Prepare an old suitcase holder, leather hide, sewing scissors, straight edge with measure, a rotary cutter, a cutting mat, white spray paint, decor tacks and a hammer. Remove the original straps off the suitcase holder and disassemble. Clean the wood frame if needed and spray...
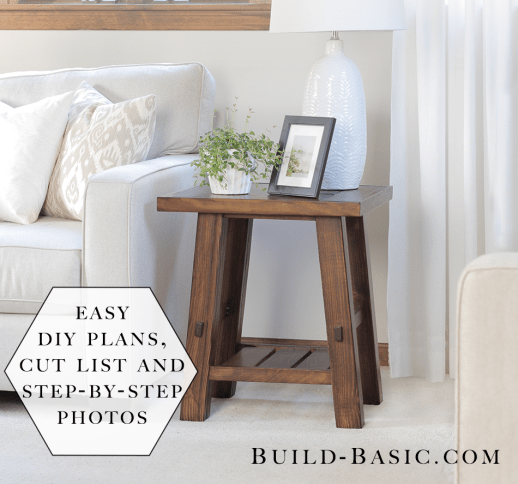
If you need a rustic-inspired side table, this tutorial may help you. Using a the cut list above and a miter saw, cut all the parts to size except the 1 x 2 Tabletop Edge Trim. If you’re ripping the 4 x 4 posts to make the legs slimmer, use a table saw to cut...
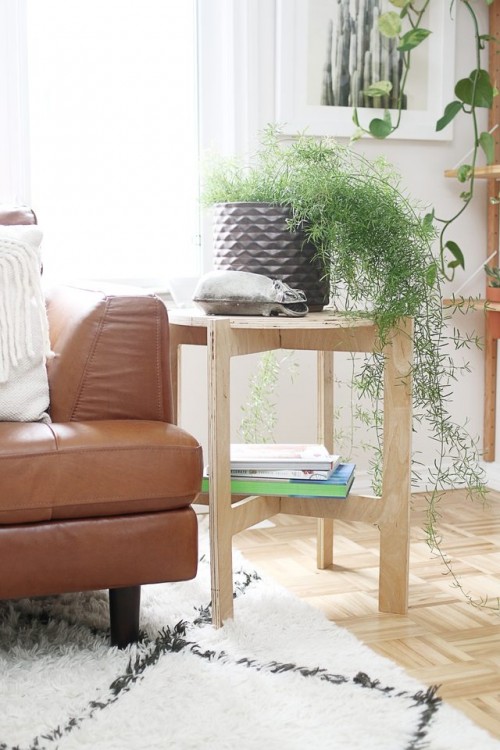
A folding table is a perfect idea for any small space, it’s also mobile. To make this one you’ll need 1/2-inch MDF board, 3/4-inch plywood, tape measure, a pencil, a jigsaw, a circular saw, a drill with 1-inch spade, double-sided tape, a router with 1-inch flush trim router bit, sandpaper and satin polyurethane. Measure and...
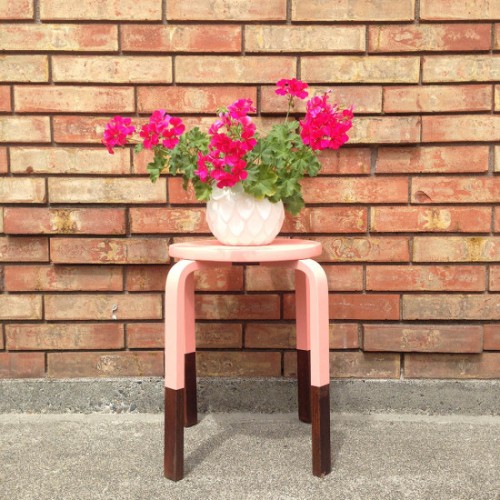
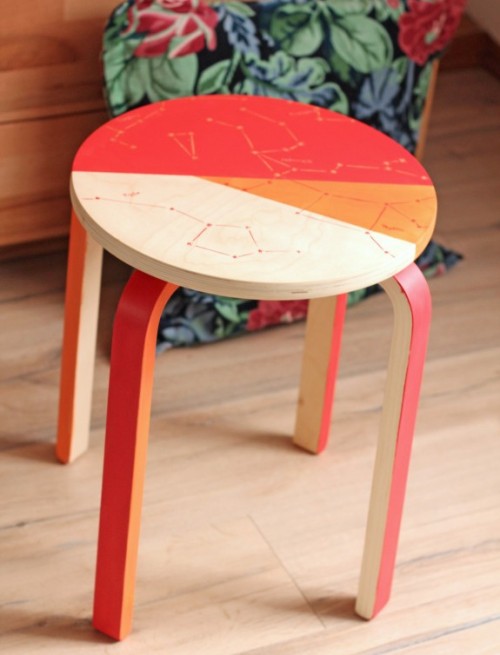
Color blocking is one of the hottest trends everywhere – from fashion to home décor. We’ve already told you of some of such crafts, and here’s one more piece – a color blocked stool. The supplies are a mini stool or similar piece of furniture, paint of your choice, a paintbrush, painter’s tape, clear varnish...
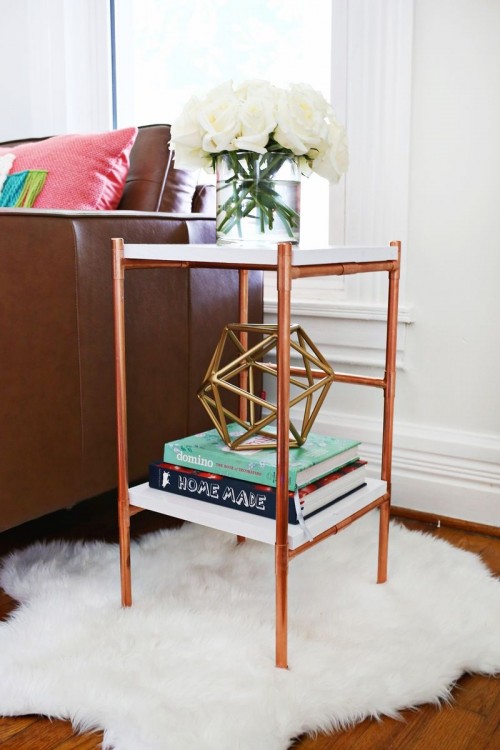
Copper décor trend is super hot now, many designers incorporate copper into their collections and home designs. Let’s rock the trend and make this copper side table from abeautifulmess.com! The supplies are 20 feet of 1/2″ copper pipe, 1/2″ pipe strap (x4), 1/2″ copper caps (x8), 1/2″ copper tee fittings (x14), a pipe cutter, 12″...
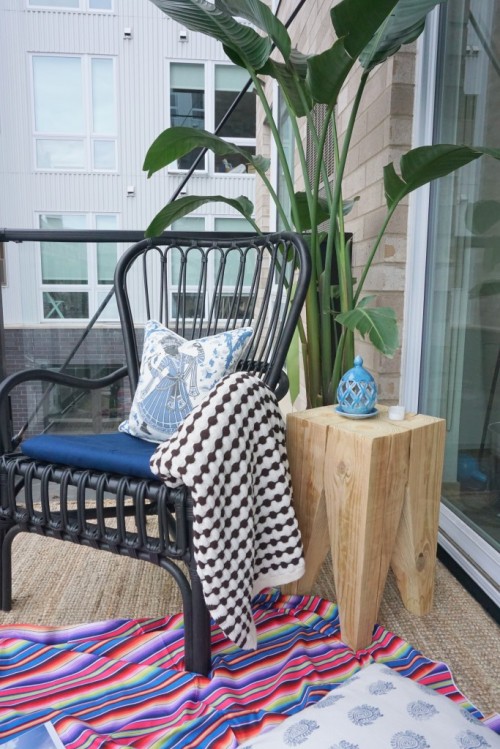
Natural décor is super trendy – see the beauty in simple things, natural textures and lines! Francoisetmoi.com presented this cool side table tutorial for those who love natural beauty, prepare one 6″ x 96″ cedar or pine timber, a circular saw, a belt sander, measuring tape, a pencil, an electric drill, 8 wood dowels, wood...
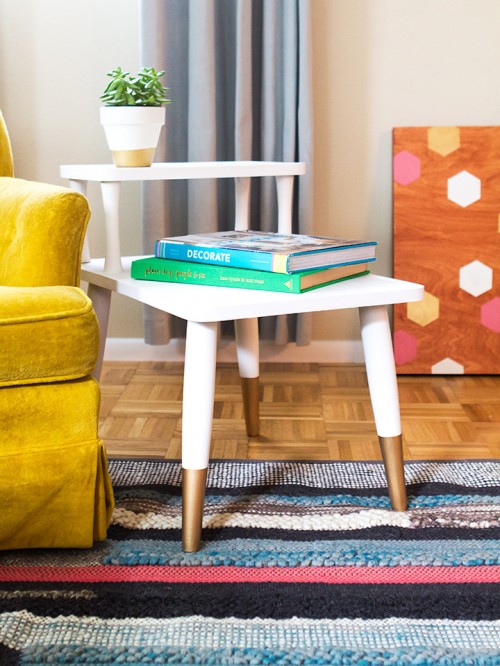
Do you like mid-century furniture? If you do, let’s make this mid-century side table that SarahHearts blog had shared with us. The supplies are a side table, vintage decor paint, gold liquid gilding, clear wax, painter’s tape, a brush, iron-on veneer edging, fine sanding block, a utility knife and a wood block. Use a utility...
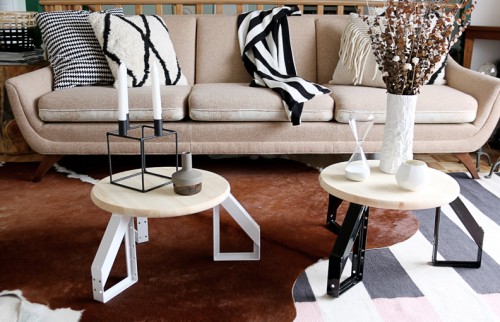
These low profile table from HelloDIY blog is inspired by Scandinavian design. To make one you’ll need pine round, 1-step stair frame (black), 1-step stair frame (white), wood screw, finish washer. In order to keep the tables looking sleek go with three step stair frames as legs for each table, instead of your traditional four....
Continuing the topic of furniture renovation, I’d like to share this fun tutorial with you. You’ll need a side table, acrylic paint in the favorite colors, a brush, tape, a drill or screwdriver. First, divide round top with a tape in two halves. Then apply your acrylic paint, let dry after each layer. Now paint...
