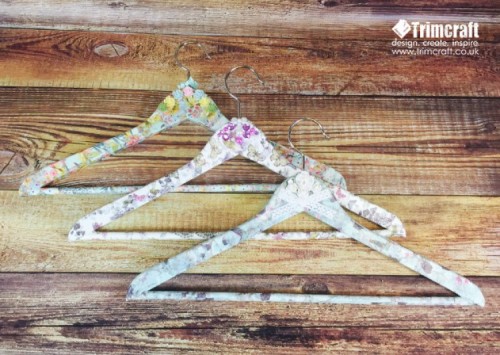
See how easy it is to transform your coat hangers, to give them a new lease of life & turn your wardrobe from drab to fab! You’ll need wooden coat hangers, a brush set, matt adhesive and varnish, a selection of pretty vintage (or any that you like) papers, white Lace, white paper flowers, resin...
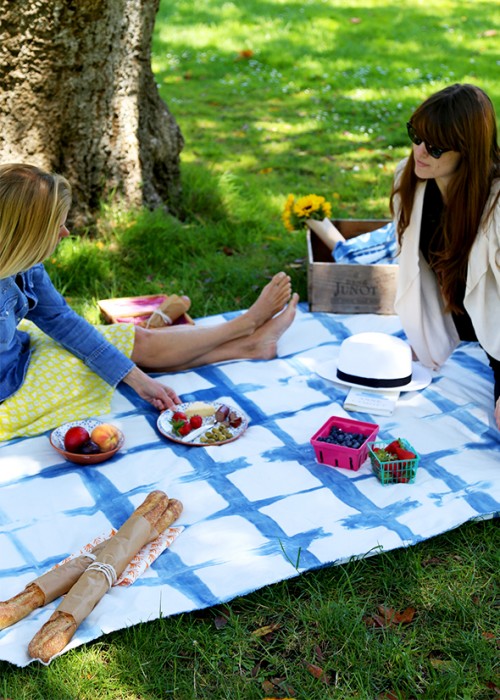
Summer is time of picnics and beaches! If you are planning to go to the beach, you’ll need not only a swimsuit or beachwear but also a beach blanket to sit on. The same is about picnics – not only food and drinks are required but also a good and comfy picnic blanket. Let’s make...
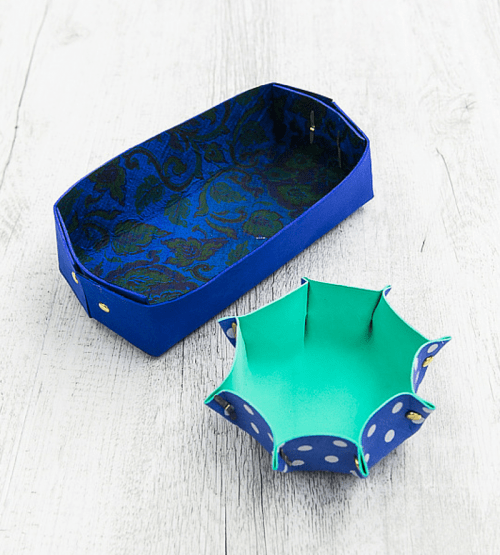
These colorful containers are handy and lightweight and can be used for containing anything: fruit, colored pencil stash, stationery bits, or party treats. To make them you’ll need A4 size foam sheets 2mm, 3mm or 5mm thickness, fabric remnants, spray adhesive, paper brads, sheets of paper for templates. Decide which shape container you want to...
This project from blog.littleladybird.com.au is one more cool jewelry hanger to your collection! Cut a piece of wood to the desired length. This hanger was made using a piece of left over decking wood and measures 44cm long by 9cm wide by 2cm deep. Pick up some knobs, hooks or drawer handles from a hardware...
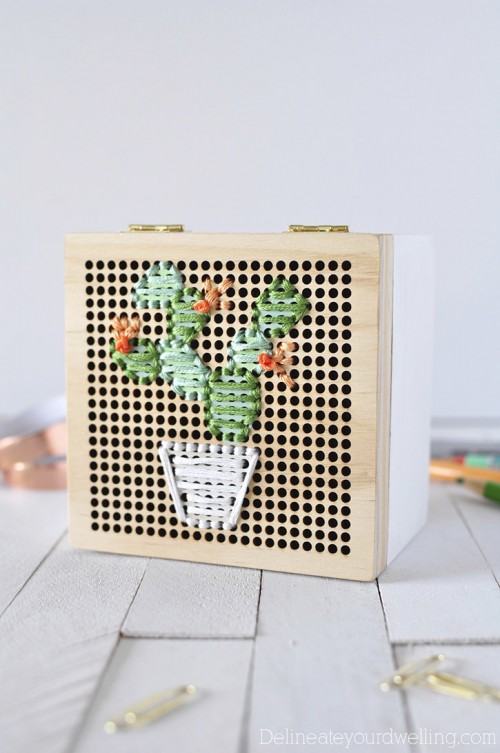
Wanna spruce up a usual box a little? There’s a cool idea from delineateyourdwelling.com, and you’ll need a wooden embroidery box, embroidery thread or yarn, embroidery hand needles, peacock embroidery scissors, paint in similar colors of thread. Read the whole tutorial in the source.
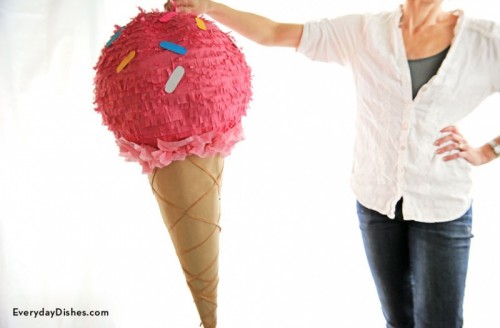
A piñata is a cool and super fun idea for any party, from a kid’s birthday party to a bridal shower, that’s why today I decided to tell you how to make these bold and sparkling piñatas. Actually, you can make a piñata in any shape you like – a donut, a horse, a cactus,...
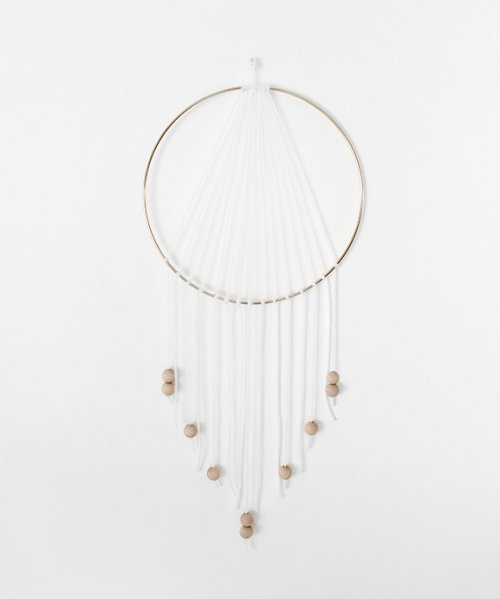
We’ve already told you of some cool ideas to make a cool dreamcatcher for boho décor but this idea wasn’t on the list. To make a modern dreamcatcher prepare 12’’ macramé ring, white yarn, wooden beads, scissors, a toothpick. Start with your first piece of yarn by tying and knotting it on the top of...
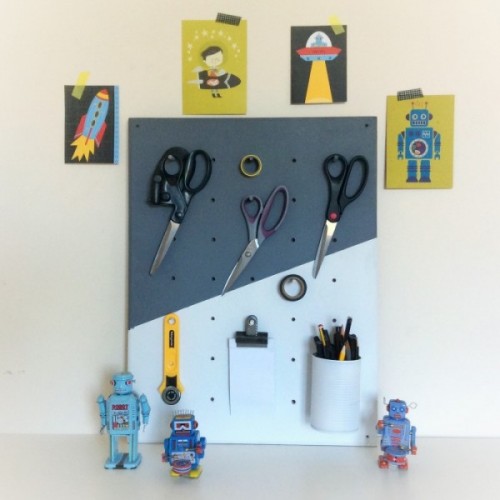
Pegboards combine quirky décor with practical storage, making them a perfect addition to any craft or DIY workspace. To make one yourself, you’ll need a medium/large rectangle of plywood, at least 15 mm thick, a power drill, a hand saw, 10 mm wide dowelling, fine sandpaper, spray paint and masking tape. On your plywood, mark...
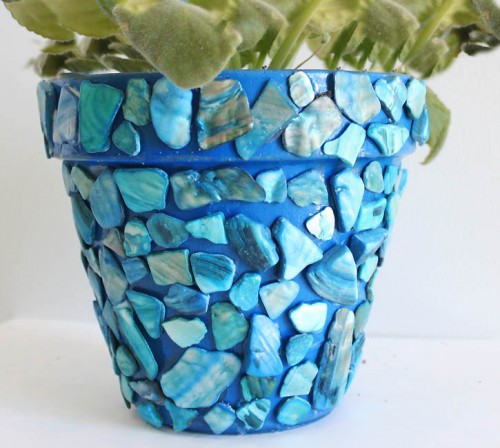
Mosaic is the art of creating images with an assemblage of small pieces of colored glass, stone, or other materials. The earliest known examples of mosaics are dated to the 3rd millennium BC. Today mosaics is also very popular for home décor and people make such patterns everywhere using glass, pebbles, stones, plastic and ceramics....
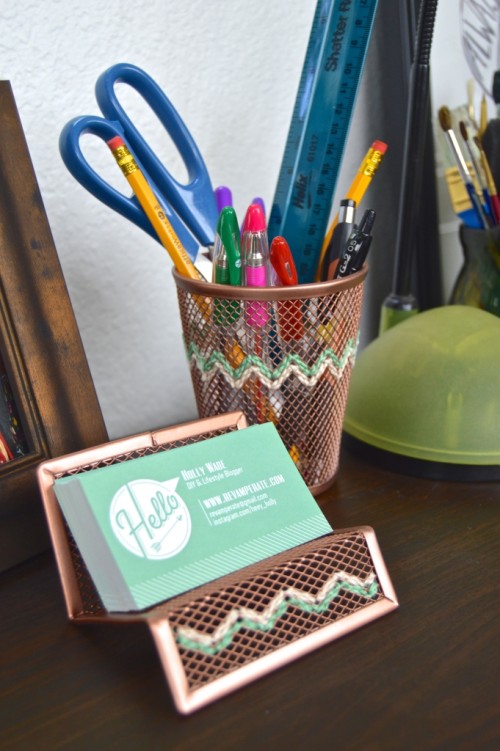
Make your desk accessories more original and personalized with this cool tutorial from revamperate.com. You’ll need wire mesh desk accessories, copper spray paint, embroidery thread, a needle. First, spray paint one coat of copper paint on the wire mesh, let dry and spray again. Let dry completely before beginning the next step. Thread your needle...
