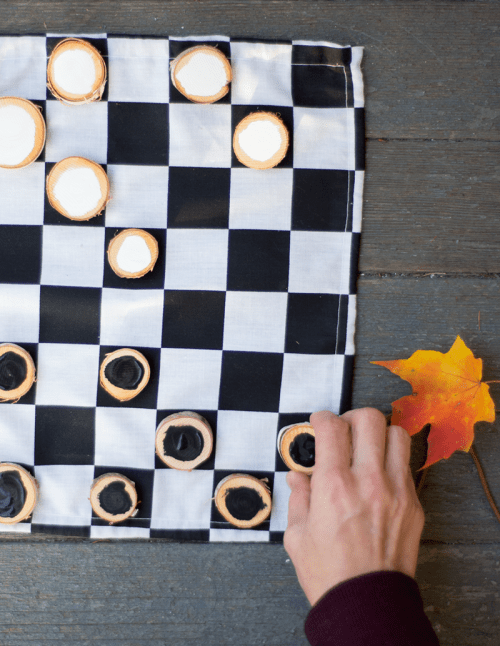
Bored? Go play chess! You’ll need black and white checked fabric, cut to eight-and-a-half squares by eight-and-a-half squares, sixteen small wood rounds, black and white craft paint and a small brush, 26″ of leather cord, pins, a safety pin, a sewing machine or basic sewing skills. Start by making the casing for the leather cord....
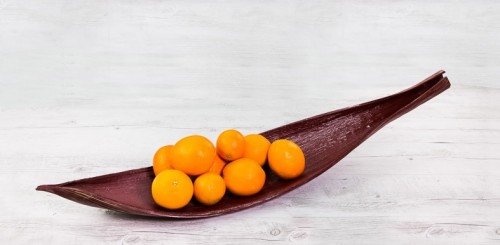
This eye-catching fruit bowl is easy to make! Prepare a palm tree leaf, or sepal, paints, paint brush, old cloth, a hack saw and/or metal file. The saw is to cut off the dead sepal from the tree and trim the end. Use a metal file to trim and smooth down the end if needed....
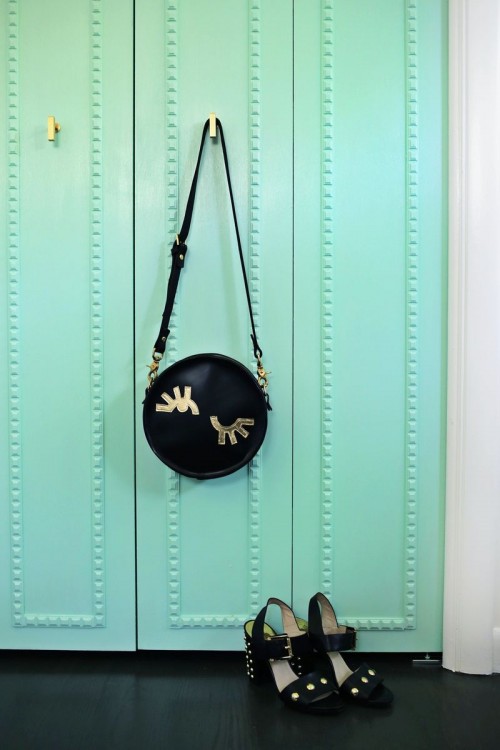
Got a closet? Spruce it up! Accentuate its doors in an elegant way reminding of Parisian apartments. Choose some trim with the pattern you like and cut and fit trim pieces together at a 45 degree angle. So you can also just use a hand saw and a miter box if you don’t have a...
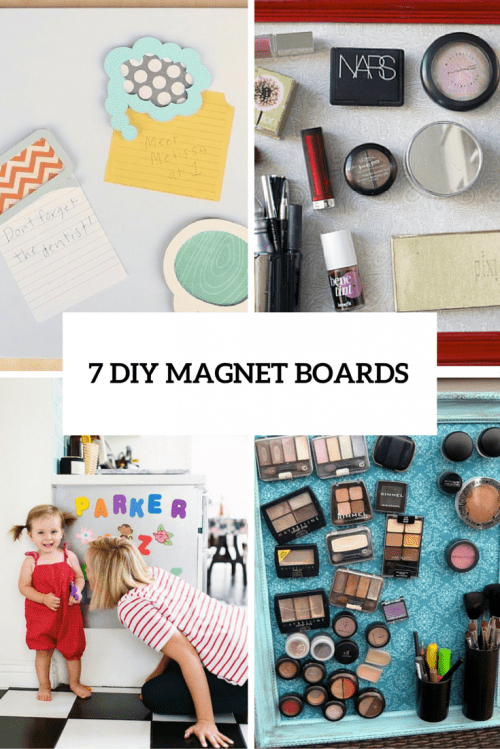
A magnet board has lots of advantages: first of all, it’s comfy for attaching your schedules, plans, ideas and various thoughts you don’t want to forget. Second, your kids will be happy to have one! They can play, learn colors, letters, objects and words and also leave messages to each other using such boards. Third,...
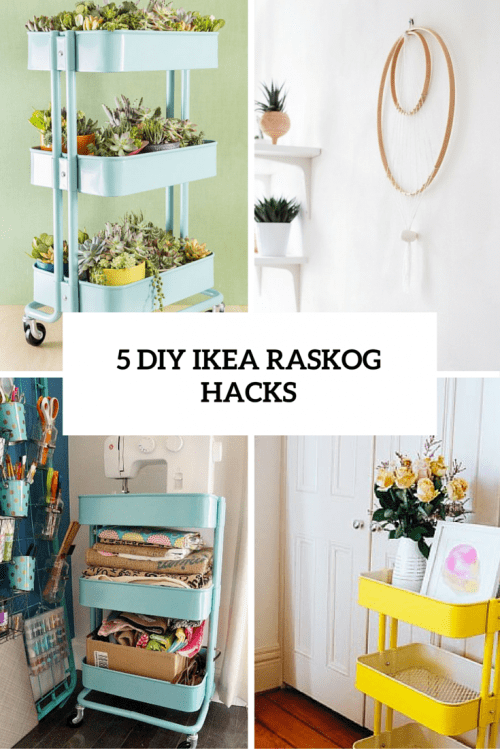
IKEA Raskog cart with a sturdy construction and four casters makes it easy for you to move it and use it wherever you like. It even fits in tight spaces because of its small size. You can use the cart in different ways, including as an extra work area in the kitchen, as practical storage...
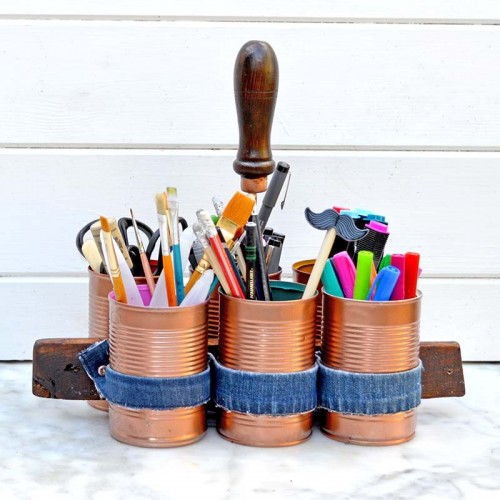
This cool caddy is perfect for any desk or craft room. Prepare six tin cans, strips of denim cut from and hems of old jeans, an old screwdriver for handle, a piece of old wood such as pallet wood aproximately 35cm x 6cm, copper spray paint, coloured spray paints, acrylic varnish spray, 8 eyelets and...
Abstract wall art pieces are extremely popular right now because you needn’t any artist talent to create one, yet it looks beautiful and accentuates any wall. I’ve gathered some of such tutorials for you to choose from: there are different techniques and colors. Pastels are on top now: they are subtle and don’t pad the...
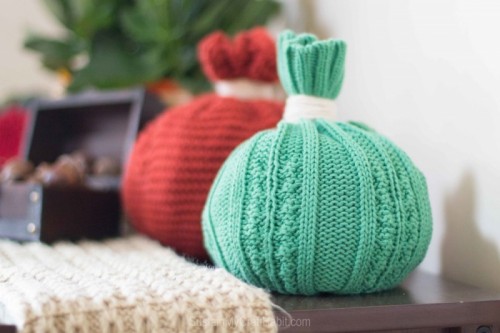
Pumpkins are a traditional piece for fall, Halloween and Thanksgiving, so every autumn we make various decorations with them. Today we’ll make original toque pumpkins, the supplies are a knitted toque in fall-like colours, a large sweater or tshirt to fill the toque with, elastic band, brown or tan yarn for the stem. The instructions...
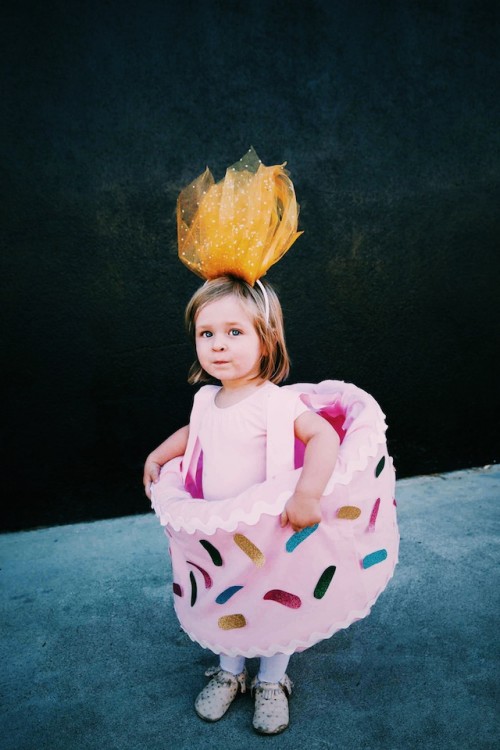
Halloween is coming, and we are all busy making costumes for ourselves, our kids and even pets. Today we are sharing a cool birthday cake costume idea for kids from theeffortlesschic.com. The supplies are 2 styrofoam wreaths, 2 yards of heavy felt fabric, 2 yards of satin ribbon for the straps, 4 yards of 1...
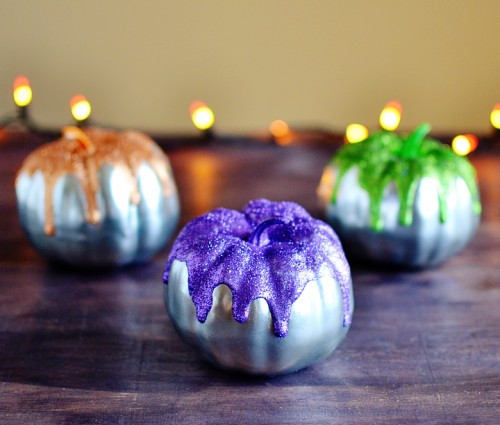
These cool metallic pumpkins are awesome for fall, Halloween and Thanksgiving. To make them you’ll need plastic mini pumpkins, acrylic paints, Mod Podge, glitter, metallic spray paint, a foam brush. Spray paint your mini pumpkins and let them dry thoroughly. Using acrylic paints and a foam brush, paint the stem of the pumpkin and the...
