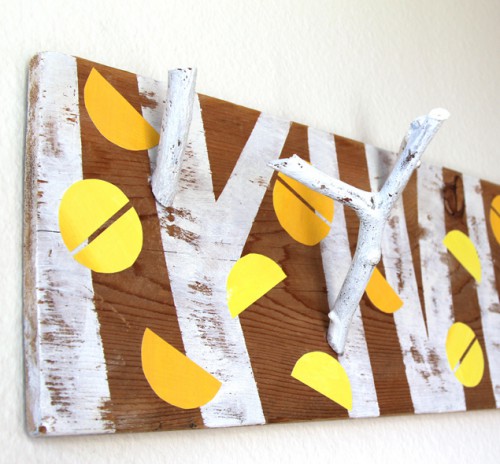
Fall is in the air, and this simple coat rack is inspired by the lovely birch trees, made from found objects: branches and reclaimed fence wood. First step, clean and sand the fence wood. Create some tree trunk silhouette with masking tape. A quick sketch on a piece of paper can be helpful. Paint the...
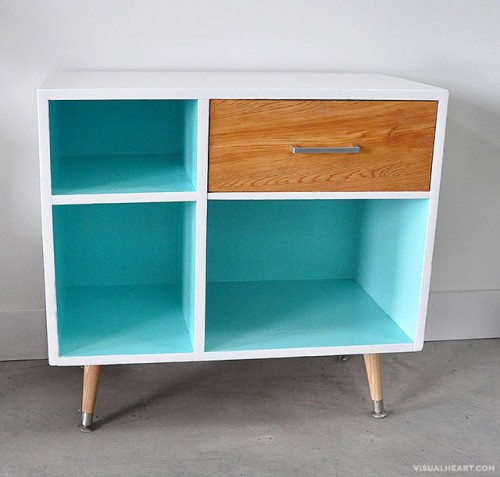
Got an old drawer that you don’t like? Give it a new life changing it into a pretty mid-century-inspired piece! You’ll need a sander, primer, high-gloss enamel paint, wood and metal legs of your choice and tung oil. The instruction is pretty easy: sand it all over, then sand off all the paint on the...
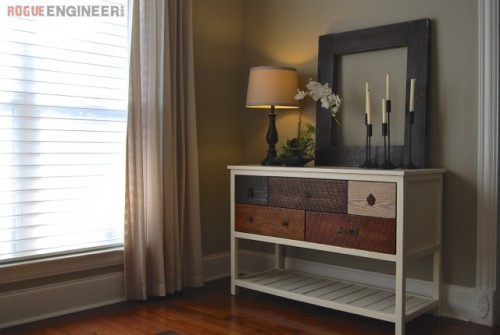
This beautiful console table is very eye-catching thanks to its various drawers, and today we’ll tell you how to make it yourself! Paint the slats before assembling the shelf since once they are installed, 1/2″ apart, it would be very hard to do so. Cut a 1/4″ grove in the sides of the drawers with...
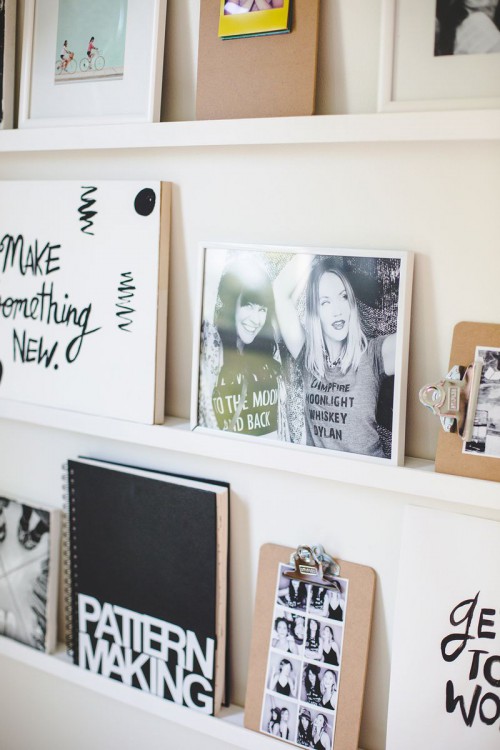
Do you have a bunch of prints you want to hang but don’t want to commit to framing them or want to make a bunch of holes in your wall? Then let’s make a hallow shelving that could be hung from only two hooks. This a quick and easy solution which you could be placing...
Copper is still a strong and beautiful trend in home design and decoration, there’s something in copper’s color that makes it so elegant and stylish. This clothing rack is inspired by the simplicity and the Scandinavian-design feeling of copper and wood, when combined. Prepare 530 cm round wooden stick, 6 copper elbows, 4 copper tees,...
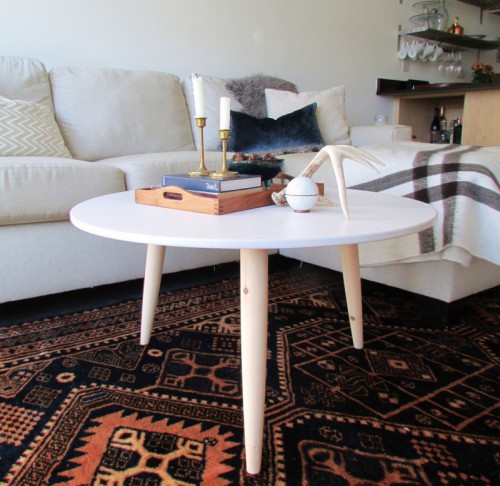
Living room coffee tables in small spaces wear many hats. They function as drink perches, game tables, casual dining tables, craft tables, etc. and our coffee table is no exception. This pretty coffee table is ideal for a small space and looks very stylish. The supplies are salvaged round tabletop, 100 & 150 grit sand...
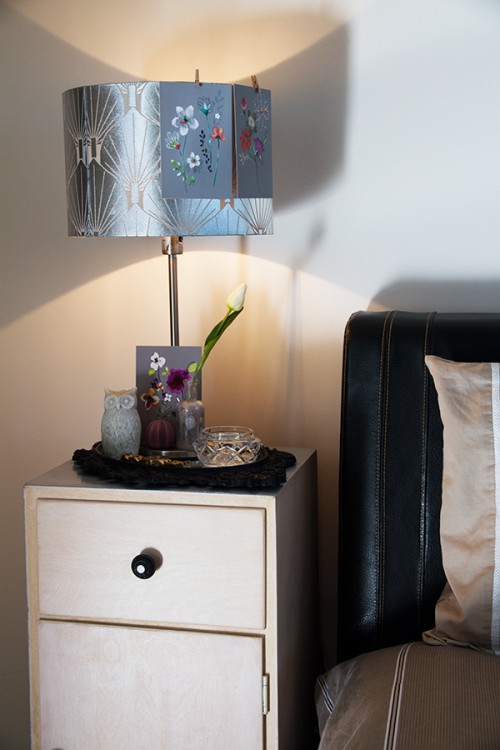
Do you like IKEA hacks? If you do, then let’s hack this simple IKEA tables, you’ll need an orbital sander, liming white varnish, dark grey gloss paint, door knobs, painters tape, screwdriver, door stoppers as feet, brushes. Pull it all apart and sand it. Take off all the knobs and broken parts, then sand first...
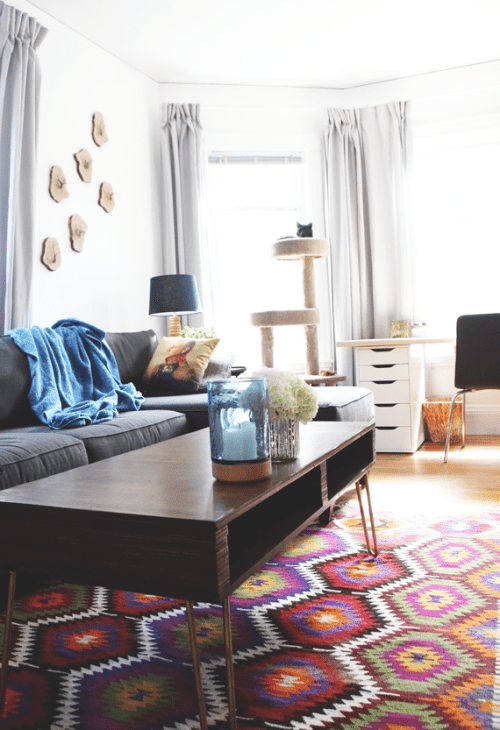
A functional coffee table? Yes, please! For this table with storage you’ll need 1 sheet of 3/4″ birch plywood, coarse, medium, and fine grit sandpapers, a lot of non-linting rags, wood stain, clear sealant, foam brushes, a power drill, 100-pack #8 x 1-1/4″ flat head wood screws, wood glue, 4 table legs—the 13″ brass hairpin...
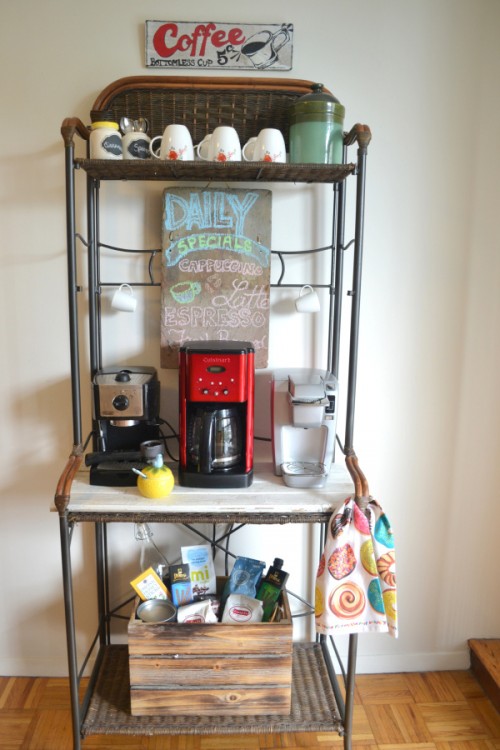
I love coffee! There’s nothing better than waking up in the morning with a big cup of coffee and its amazing aroma just inspires! If you like coffee and drink it often, then organizing a cool coffee station is necessary for your home. Basically, a coffee bar is some piece of furniture for storage: a...
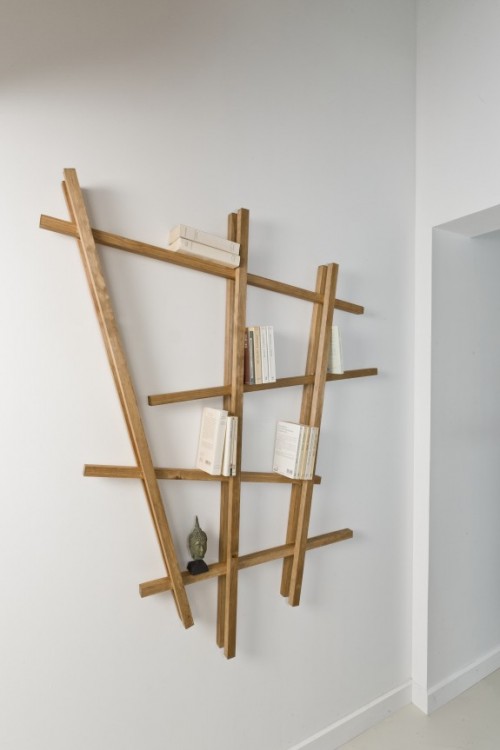
Smart and original storage is a necessary thing in every home. That’s why today we’ll make this wall shelf. You’ll need about ten different long wooden pieces, measuring tape, a jigsaw, abrasive paper, wood protection paint, cloth, an adhesive, strong adhesive tape. Measure the wood and cut them off with a jigsaw to desired length....
