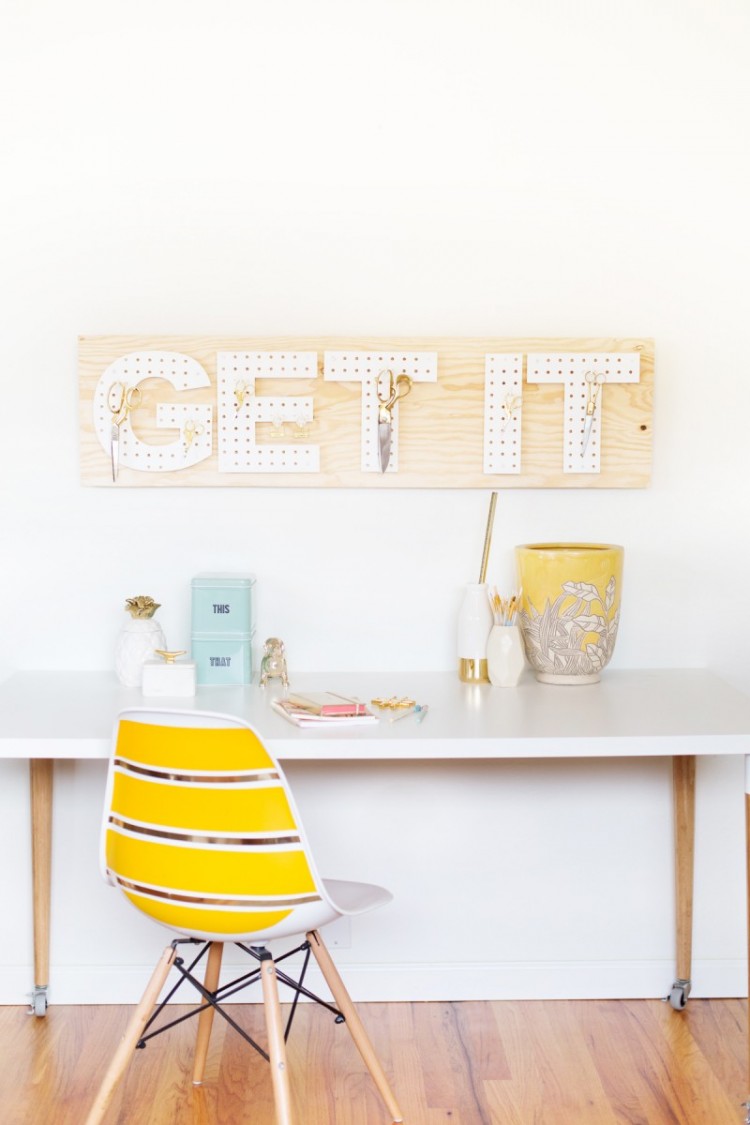
Pegboard letters are no less functional than usual pegboards but they also inspire you and become a cool decoration. To make such letters you’ll need pegboard letters, 1/2″ thick plywood long enough for your desired word, #8 1 1/4″ screws, 1/2″ nylon spacers, #8 flat washers, a drill, a pencil, white pegboard hooks, tools for...
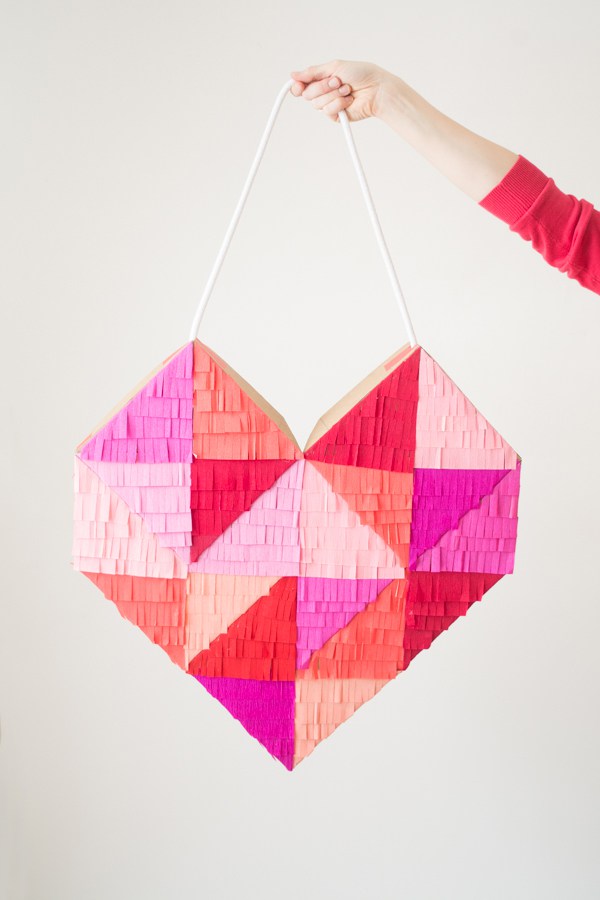
This bold heart decoration is amazing for both indoors and outdoors for the coming Valentine’s Day. You’ll need crepe paper, chip board, a right-angled triangle (this one was 6″ x 6″ x 8.5″), a ruler, masking tape, a cutting blade, hot glue, cording to hang. Create a right-angled triangle. Cut out 20 from the chipboard....
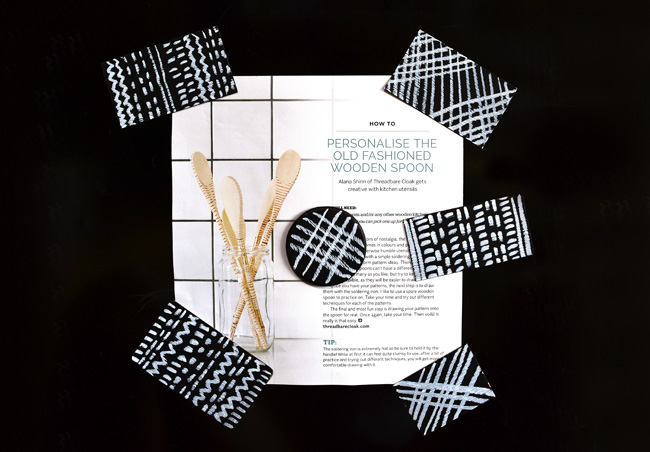
Gather your old fridge magnets and turn them into a pile of stylish decorations! You’ll need old fridge magnets, sand paper, primer spray paint, chalk paint, a paint brush. First things first, give the magnets a little sand to rough them up. Then spray them with the primer, go lightly with the spray. If you...
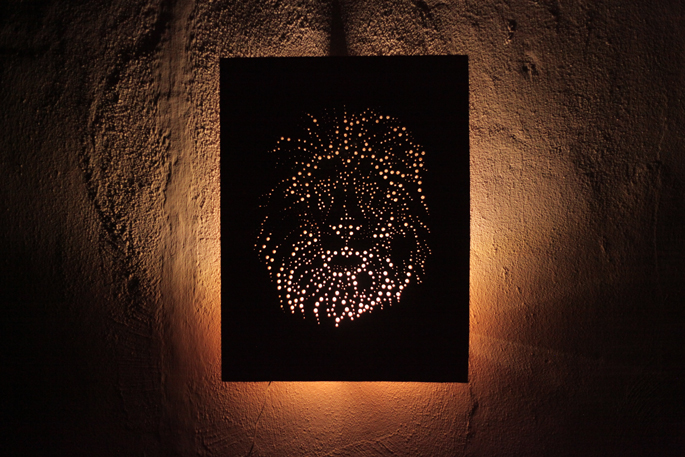
Drilling holes you can create a fine art piece! Don’t believe it? Prepare a drill, different sized drill bits, plywood, an illustration, a printed piece, tape, fine grit sandpaper, polyurethane, IKEA DIODER LED lights. Once you have the plywood the same size as the illustration, glue the print to the plywood. Clamp down your board...
Laptops are one of our most prized personal possessions – we work on it, we play on it, we communicate with loved ones on it – laptops are extremely important to our everyday lives. So why not personalize yours to reflect a little bit of who you are and inspire yourself every time you open...
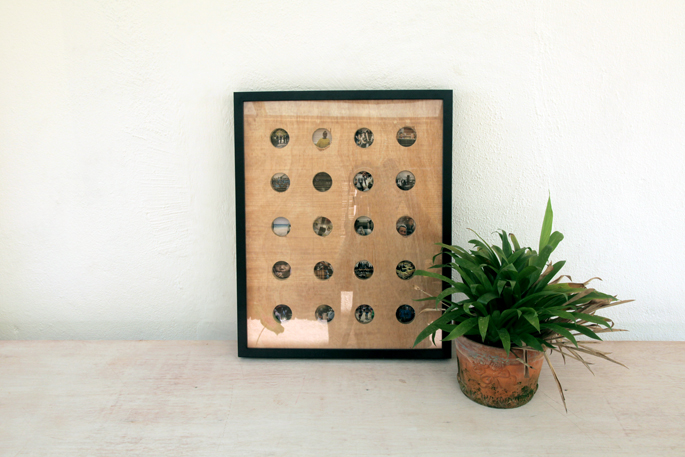
Have just come back from a cool holiday? Display your pics! Prepare a corded drill, a saw drill bit, plywood, tape measure and pencil, IKEA RIBBA frame, small screws, fine grit sandpaper, A3 sheet of printed photos. Take the backboard out of the frame, measure it, and cut the plywood to the same dimensions. Next,...
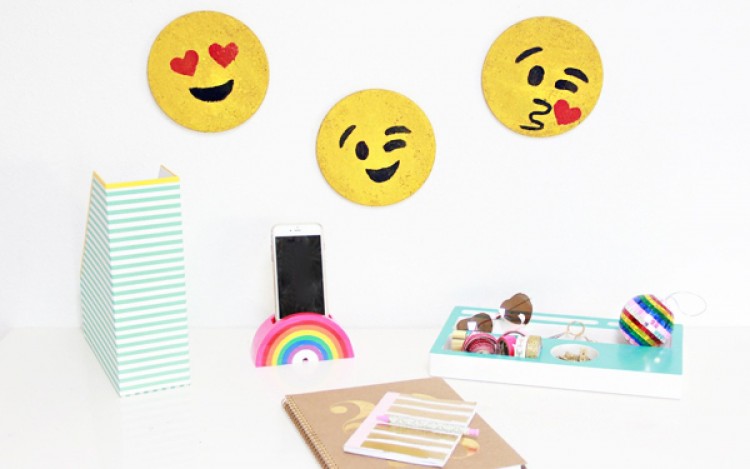
Emojis are cool and raise the mood! Let’s make these fun cork boards to inspire you every day. The supplies are cork trivets, yellow, red, black craft paint, a paint brush, scissors/craft knife, emoji print out. Print out your emoji on cardstock, cut out the eyes, heart etc to create your stencil. Paint the cork...
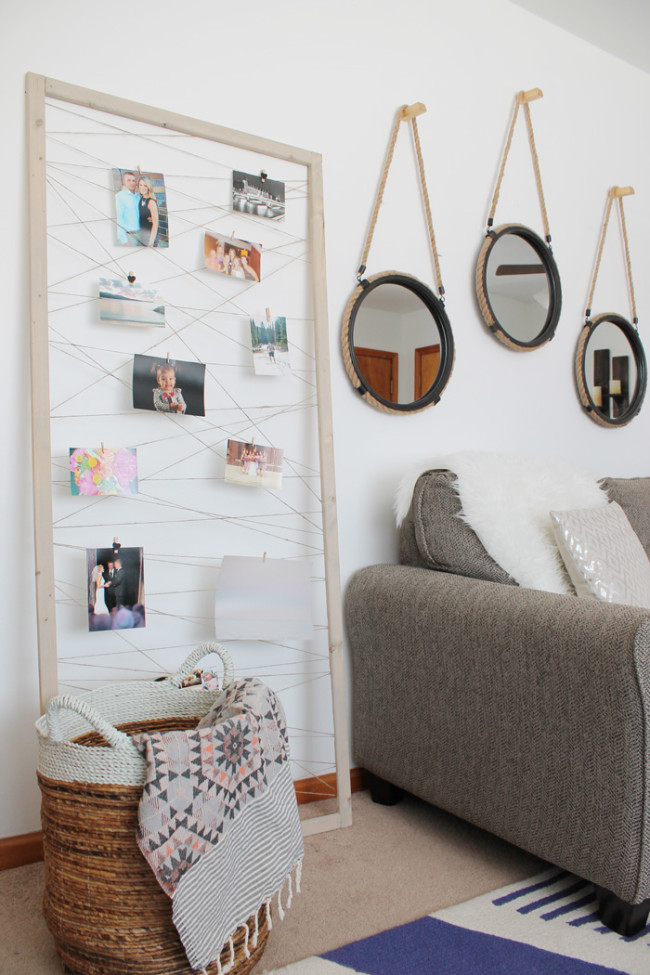
This cool photo display won’t take you much time to make, you’ll need 2 – 1 x 1 x 94″ pine wood boards, twine, a staple gun, wood glue, kreg jig, optional, clothespins. Take your 2 boards and cut them into 2 sizes: 27″ and 68″. Once you have your 4 boards, it’s time to...
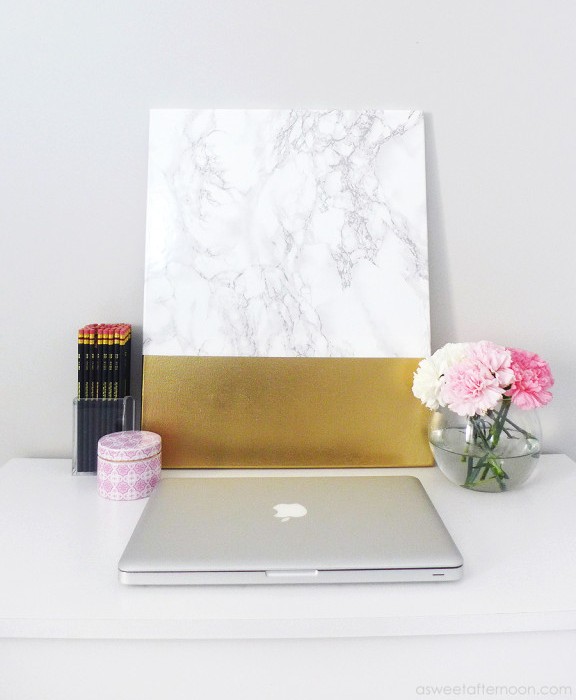
Need a cool and trendy wall art? The supplies are 16″ x 20″ stretched canvas, marble contact paper, gold paint, a ruler or T-square, painter’s tape, scissors or an exacto knife / pencil. Tape off a portion of your canvas where you’d like the gold portion to be. Using whatever medium of gold paint that...
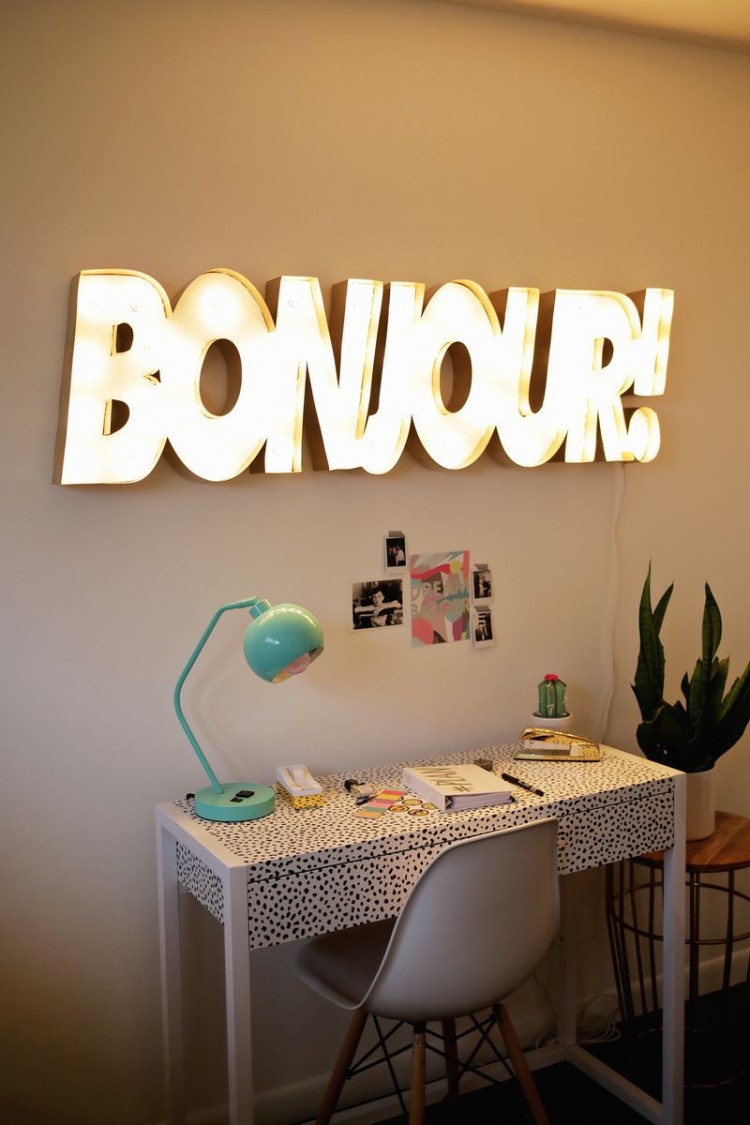
Marquees are very popular for décor, they are eye-catching and raise the mood. To make this one you’ll need 3/4″ wooden board big enough to trace your desired size onto, a jigsaw, a drill, a hole saw drill bit large enough to fit your string lights, 6″ wide roof flashing, metal cutting shears, a staple...
