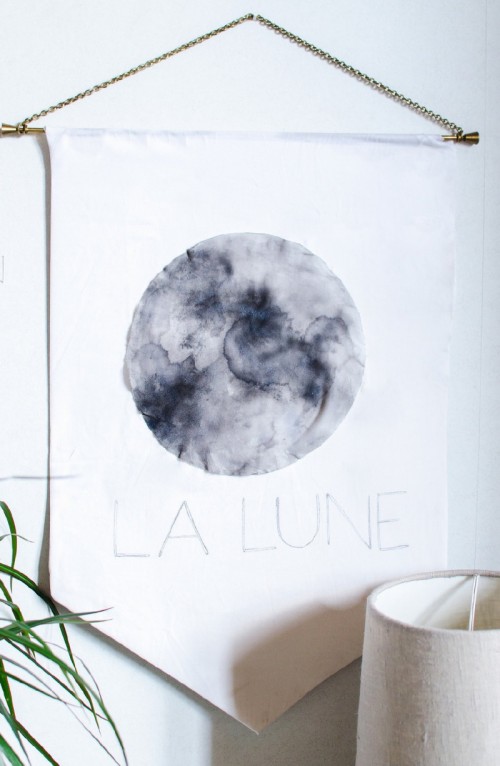
This moon-inspired wall art is great or making yourself or even with your kids to spend a good time together. The supplies are a sheet of paper, some fabric, a sponge, water, watercolor paints, fabric, glue and a piece of wood to hang it. Print the moon using your computer and then transfer it onto...
Pinboards are great for pinning your pics and mems; usually such boards are made from cork but why not make it a bit more original covering with burlap? Prepare a canvas board, brass pins, burlap fabric, rolled corkboard with adhesive back, a staple gun, artwork. First step is to unroll your corkboard and measure it...
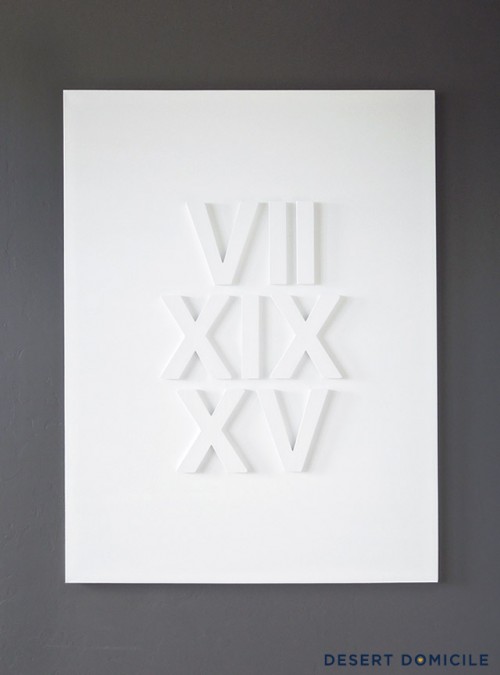
Getting ready for your big day? Make this wedding date art for décor! You’ll need 36″ x 48″ canvas, wooden letters, acrylic paint, a foam brush, 3 cans of satin white spray paint, E-6000 glue, canned air, 180 grit sanding sponge, 320 grit finishing sandpaper, paper towels, tape measure, a ruler, a pencil, a level,...
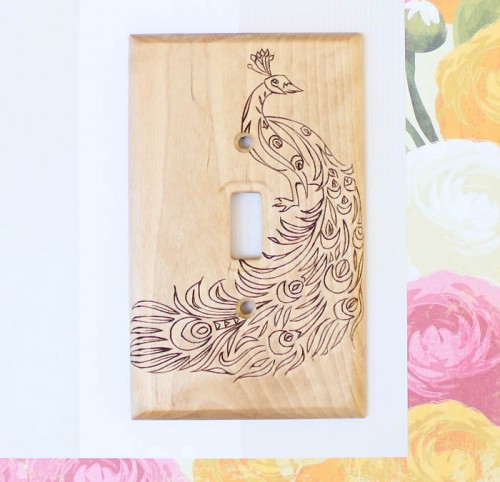
Even a switch plate can be original! Doubting? Here’s a tutorial from gina-michele.com to convince you! The supplies are an unfinished wood switch plate, a wood burner, graphite paper, an image you want to burn, a pencil and tape. Resize and print out your line drawing to fit the switch plate. Place the graphite paper...
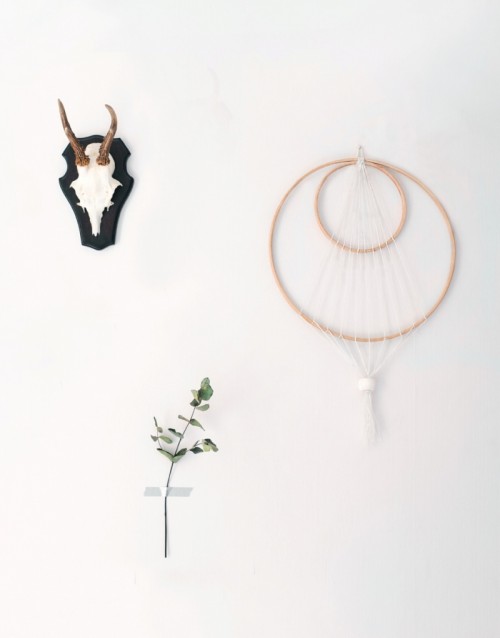
Dreamcatchers are great for home décor, especially in summer but what if it doesn’t fit your minimal or modern interior? Then make a minimal version of it from thelovelydrawer.com! The supplies are 1 x large inner embroidery hoop section, 1 x small inner embroidery hoop section, 2 x white embroidery thread, scissors, a pencil, flexible...
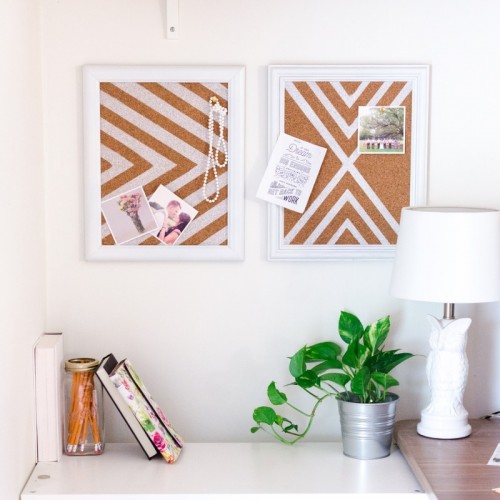
If you spend a lot of time at your desk, if you need a place to hang some pics and stickers for inspiration, make these cork boards from drawingsunderthetable.blogspot.ca. You’ll need old frames, painter’s tape, a cork roll, scissors, contact cement or other adhesive and spray paint. Take your frame apart and spray paint the...
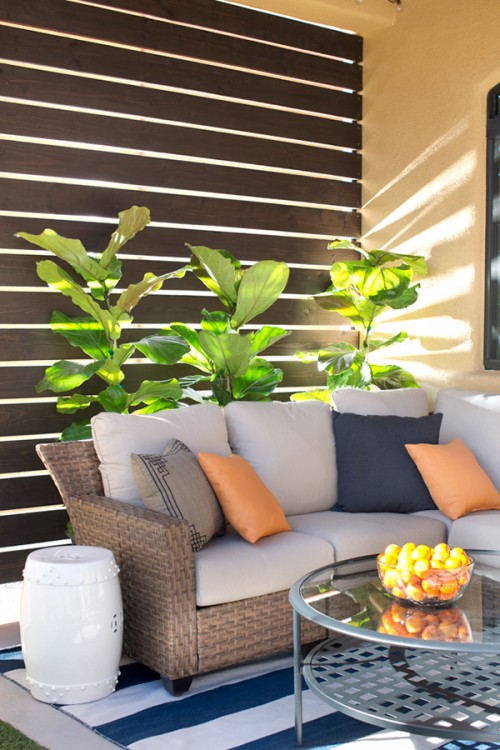
If you are sitting on your deck or patio and feeling uncomfortable because somebody’s watching you, then a privacy screen is your solution. Just wrap your outdoor space with it and you’ll feel comfy and calm. Interested how to make one? There are various ideas and materials to use for a privacy screen: a trellis,...
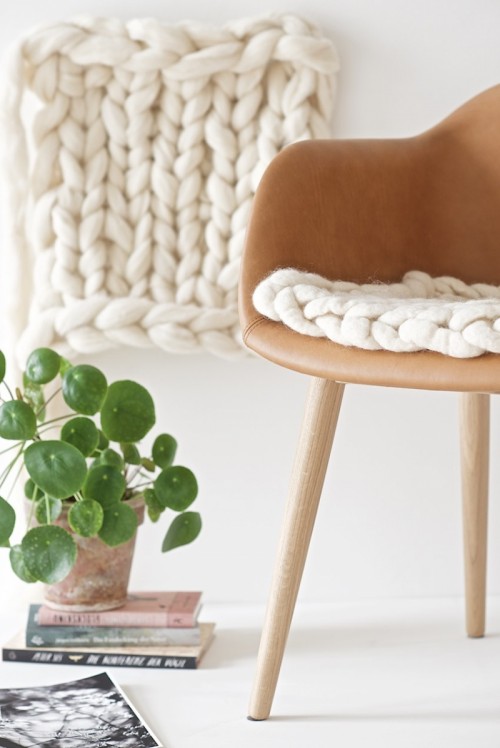
Every chair or stool can become cozier and comfier with a soft knit pad, let’s make it with this DIY project from lebenslustiger.com. Take 500gr of un-spun wool roving and knit seat pads with your fingers in stockinette pattern, and of course you can also use large (25mm thick) needles for knitting these. Start by...
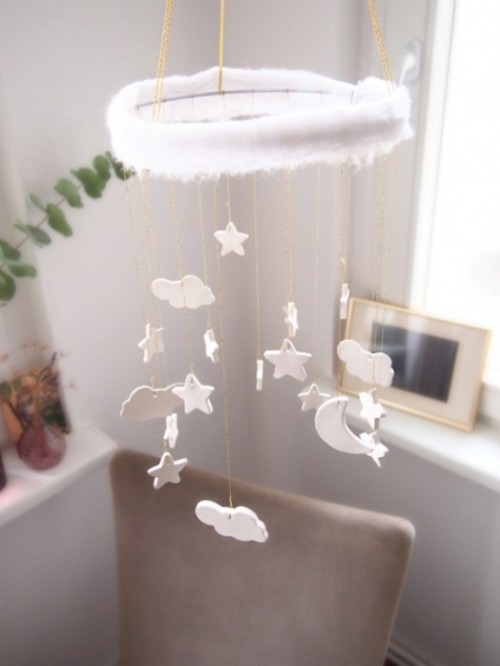
I’d like to continue yesterday’s theme with mobiles but today’s roundup is all about the sun, stars and clouds – these are the most popular ideas for a nursery mobile. Such a mobile will tell your little one about natural phenomena, rainy, sunny or cloudy weather, and about the beautiful starry sky. The best idea...
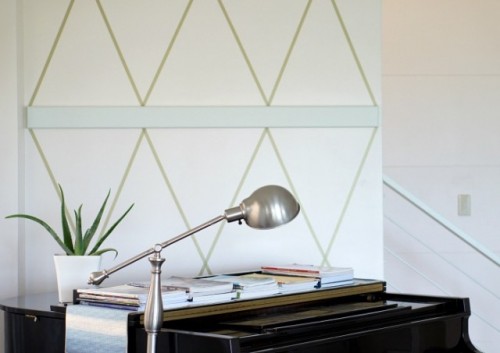
It’s time to decorate your blank walls! All you need for this quick DIY from uptodateinteriors.com is washi tape, scissors, a ruler, and a box cutter, this craft won’t cost you much. The first step is to mark where you want your triangles placed. Start from the center of the wall for even placement. Make...
