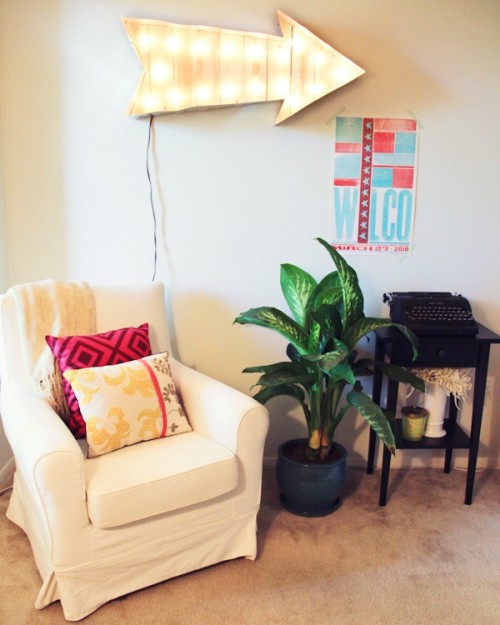
Vintage marquee lights became quite popular nowadays because it’s a cool piece for interior decoration and highlighting something. The supplies are a strand of globe lights, plywood, a 6-inch wide aluminum flashing, a jigsaw, a drill, tin snips, screws, a wire stripper, electrical tape, a screw cap and protective gloves. Draw the arrow shape on...
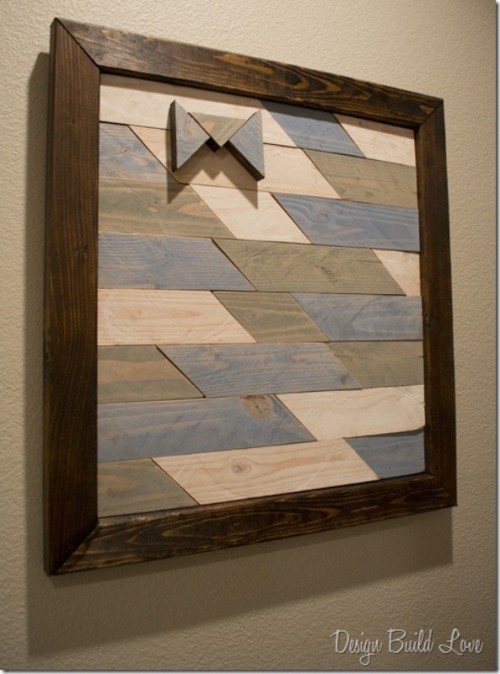
Let’s create a chic and stylish wall art of recycled wood. You’ll need scrap wood, paint samples in various shades, paint brushes, wood stain, liquid nails and caulking gun, some pieces of plywood and picture hanging hardware. First scrap the pieces and paint them with various samples. Cut the 45 degree angles using a saw...
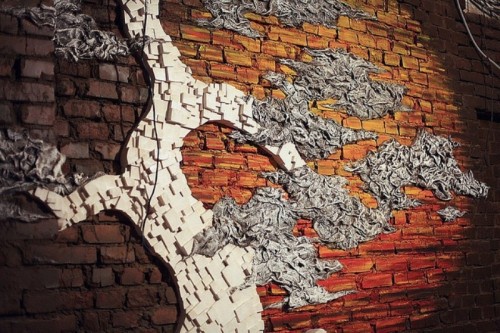
An Eastern-style wall art without wasting much money? Sure! The supplies are linen sackcloth and cedar bars. The author of this wall art just took a brick wall and some coat. First make a silhouette of the tree of coat; cut the bars by hand, changing their size according to the contours. For the branches...
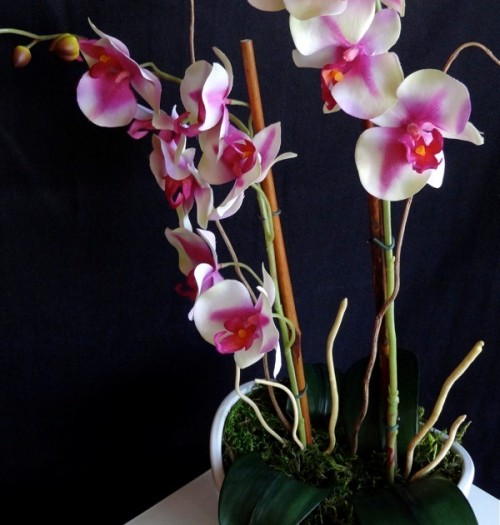
If you like orchids, these exquisite flowers that are so capricious, and want them to be in blossom all the year round, take these faux ones. You’ll need 2 faux orchid vines, 1 package of faux orchid leaves, an attractive pot, some moss and soil, two bamboo sticks, roughly 18 inches long, floral wire and...
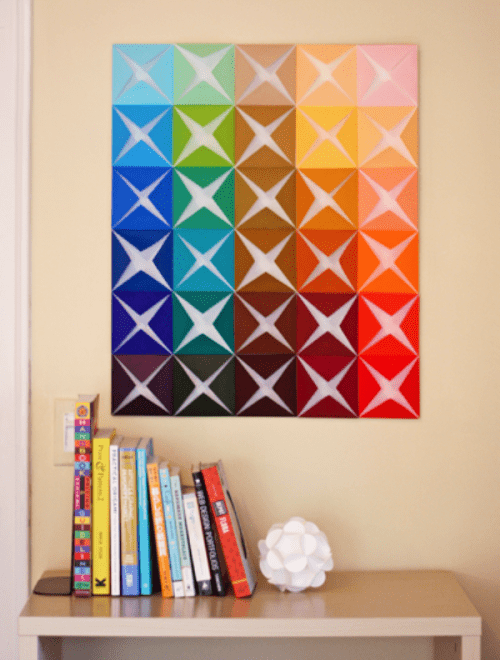
Wall art is cool for decoration of any wall in any space, especially if it’s a kitchen. You may create a simple DIY wall art even of colored paper. You’ll need colored paper, foam board or cardboard, double-stick tape. Find the center point on a square of paper folding it in half and press a crease at...
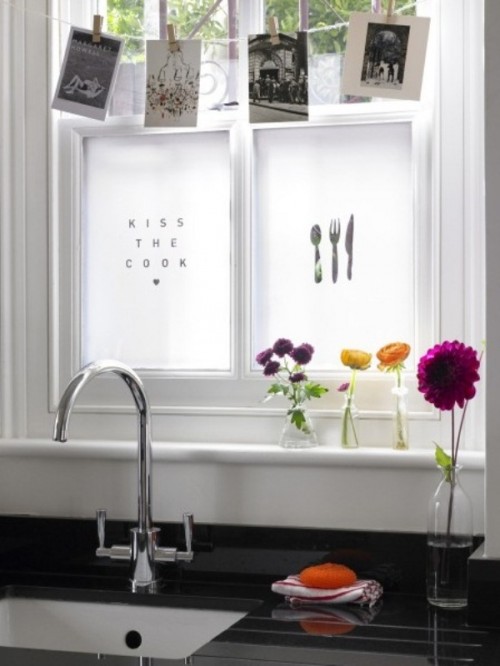
If you don’t like your kitchen windows and want to design them somehow, here’s a cool idea. Garlands and applications on these windows would look cool. You’ll need some paper, tableware images, scissors and some glue and a strip to hang your garland. First, measure the windows, then cut the contact paper to size. Now...
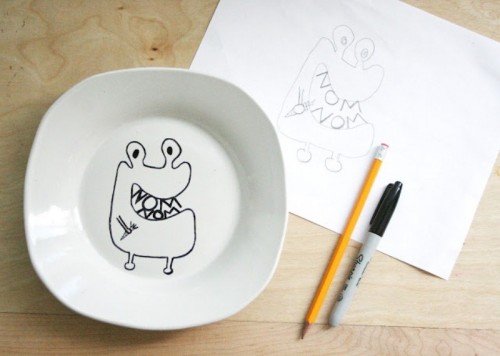
Let’s make some tableware for your kids! You’ll need just some porcelain plates and a sharpie paint pen that is non-toxic because the plate will contact with food and everything for your kids must be eco-friendly. Make sure that plates/bowls/mugs are porcelain and oven safe. Make a sketch with a pencil, then with a sharpie....
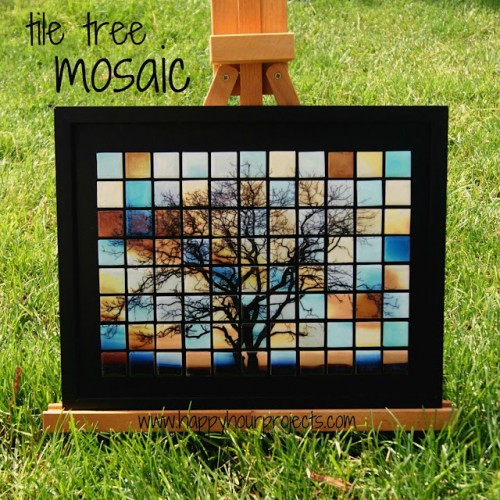
We have already told you of amazing photo tiles and many mosaic crafts; this one is a glass tile tree mosaic. You’ll need a tree picture, Mod Podge, a brush, a 11″x14″ wooden canvas, a silver sharpie marker. Choose a tree picture you like and cut it into 1’’ squares to fit the tiles. Apply...
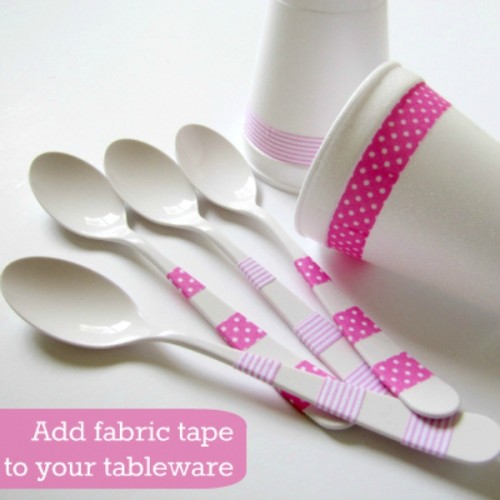
There are many ideas how to make a party more bright and cool. You can make an amazing cupcake stand, party candle holders and garlands. This idea would help you to make your tableware brighter in just 10 minutes. Choose fabric of the color you like and with different patterns. Cut it into stripes and...
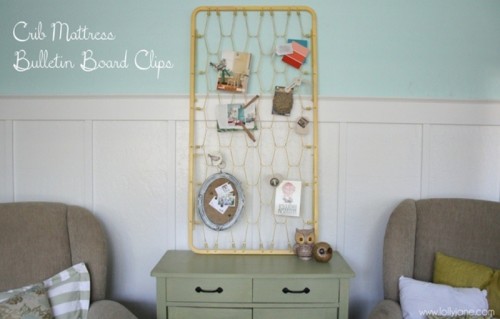
Vintage and reusing materials is cool and very easy to do, you can make a fashionable piece without wasting much time or money. You may take just an old mattress and turn it into a bulletin board with clips painting it the color you like. You’ll also need some acrylic clips to decorate it and...
