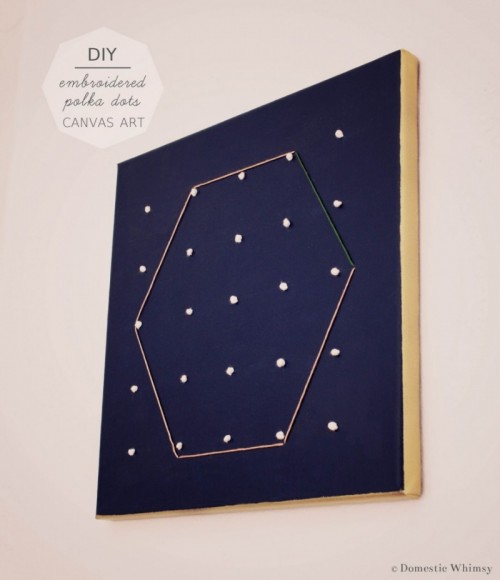
Continuing the theme of wall art pieces, we’d like to tell you how to make embroidered polka dots on canvas. The supplies are square stretched canvas, acrylic paint, a paint brush and a roller, gold spray paint, cotton yarn, a large sewing needle, embroidery floss in colors of your choice, scotch tape, a ruler, a...
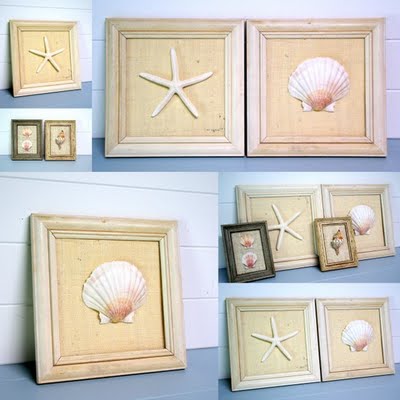
Make a beach-inspired wall art to remind you of sunny and bright holidays. There are some easy ways to do that, depending on your creativity and materials you wanna use. Shells and pebbles are great for such crafts and use can make any patterns using them. Wall pendants of sea glass are amazing and colorful...
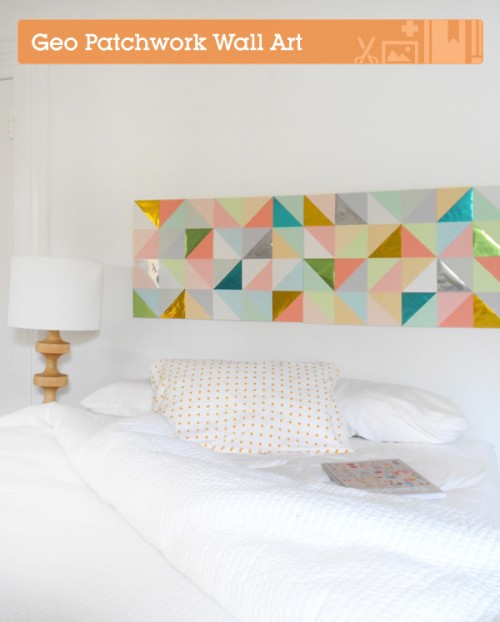
How can you easily make some wall art? Make a patchwork wall art! The supplies are white form core board, colored paper, double-sided tape, self-healing cutting mat and metallic paper. Choose the best color for the room you’re going to decorate and cut all the paper into 12.5 cm (5 inch) squares first and then...
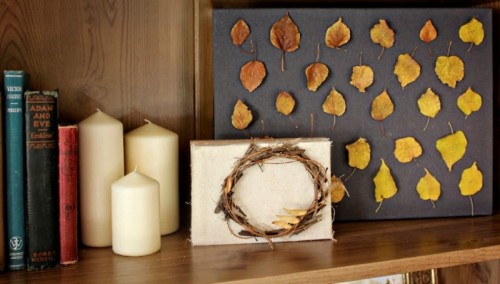
Winter is close but it’s fall still and you can still enjoy amazing bright scenery and other beautiful things connected with autumn. Let’s make some inspiring pieces for your living room using the natural materials. The supplies are covered canvas or foam, sewing pins, sticks, leaves, acorns. Cover your canvas with some old t-shirt of...
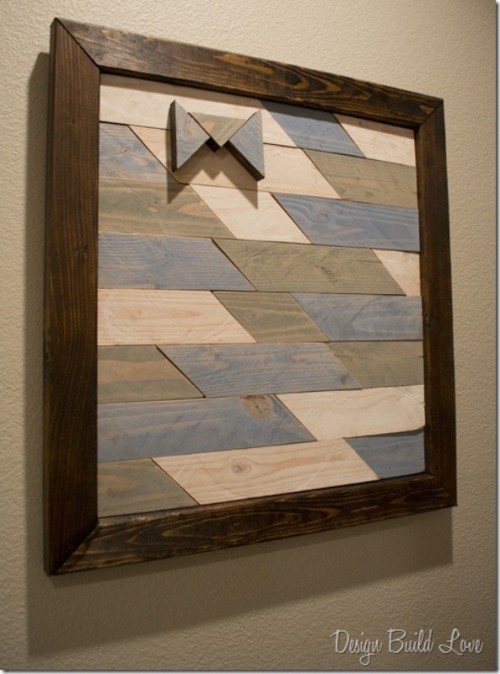
Let’s create a chic and stylish wall art of recycled wood. You’ll need scrap wood, paint samples in various shades, paint brushes, wood stain, liquid nails and caulking gun, some pieces of plywood and picture hanging hardware. First scrap the pieces and paint them with various samples. Cut the 45 degree angles using a saw...
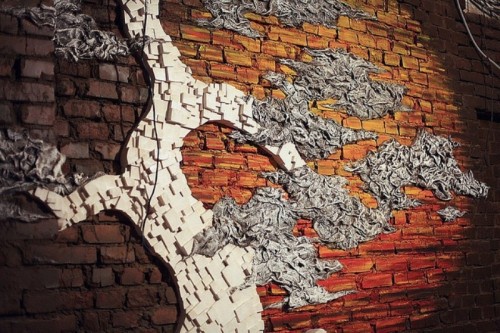
An Eastern-style wall art without wasting much money? Sure! The supplies are linen sackcloth and cedar bars. The author of this wall art just took a brick wall and some coat. First make a silhouette of the tree of coat; cut the bars by hand, changing their size according to the contours. For the branches...
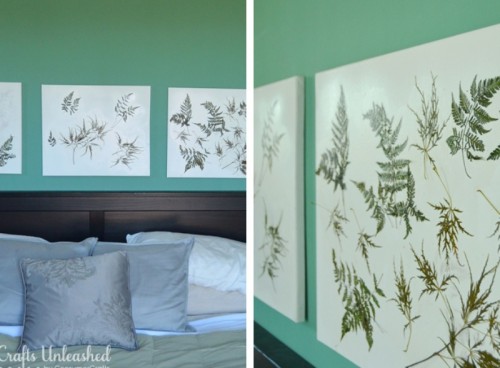
There are so many ways to decorate your walls, if wallpapers or tiles are not sufficient – you may hang pictures, photos or create something with your own hands. Create a wall art design to merge with nature! You’ll need blank canvas, various leaves, adhesive or spray adhesive, finishing matte spray, various hardback books. Before...
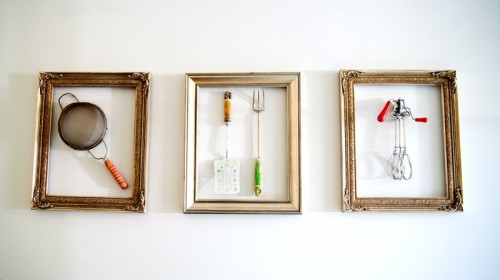
We have told you of many kinds of wall art – of colored paper and mosaics, of shoeboxes and wallpaper mosaics and many others. Here’s one more idea, this time it’s for a kitchen or a dining area. You’ll need vintage kitchen appliances, tiny nails and frames with glass. First remove the glass; then hang...
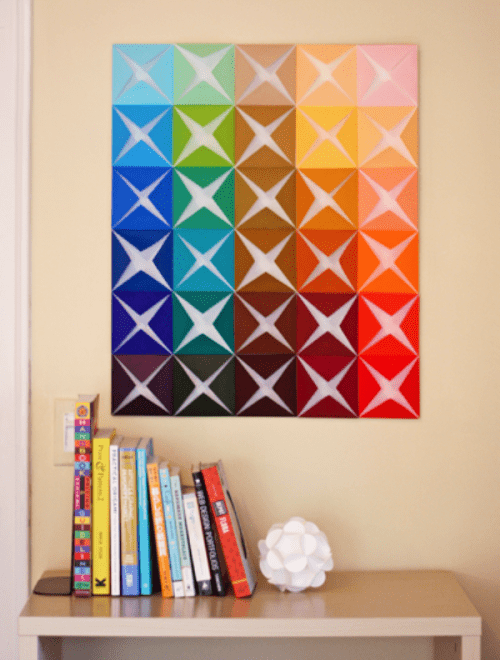
Wall art is cool for decoration of any wall in any space, especially if it’s a kitchen. You may create a simple DIY wall art even of colored paper. You’ll need colored paper, foam board or cardboard, double-stick tape. Find the center point on a square of paper folding it in half and press a crease at...
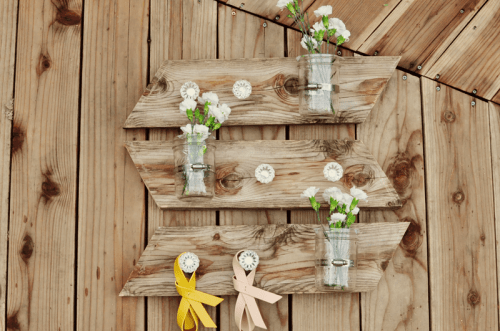
We have told you of many beautiful wall decorations using mason jars, and here’s one more idea using wood. You’ll need mason jars, hose clamps, knobs and a 9 screws/1 nail. Drill your screws (two on each board) in about 1″ from the top and wrap wire to hang it. Then take the nail and...
