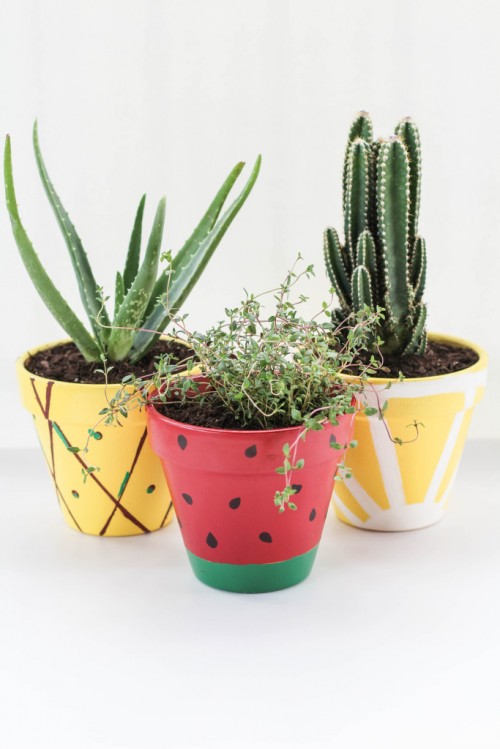
It’s almost summer, and it’s time of juicy fruits! Let’s make these fun fruit planters, you’ll need terra cotta pots of any size, red, yellow, and green spray paint, a black permanent marker, white, brown, and green acrylic paint and tape. Spray each of the pots with multiple coats. Terra cotta will absorb a lot...
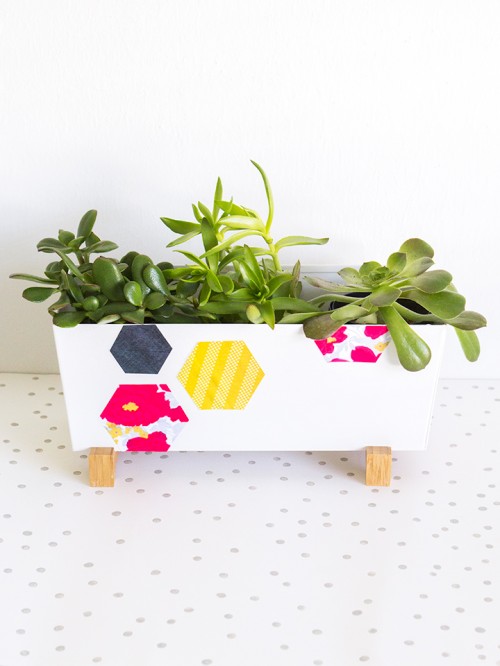
Geometric items are super trendy and SarahHearts blog presents this cool geo planter DIY. To make one you’ll need a geometric template, a planter, outdoor mod podge, scissors and a foam brush. Download and print the template on matte photo paper or card stock. Cut out each hexagon shape. Working on one side at a...
Need a creative planter? Here we are with a project from TheFreeSpirited blog! Prepare acrylic paint, water, Mod Podge, a terra cotta pot. Paint on strategically, consider up and down or side to side, or make some patterns. Let it sit for about 1 minute. Rinse of the majority of paint with your hands. Let...
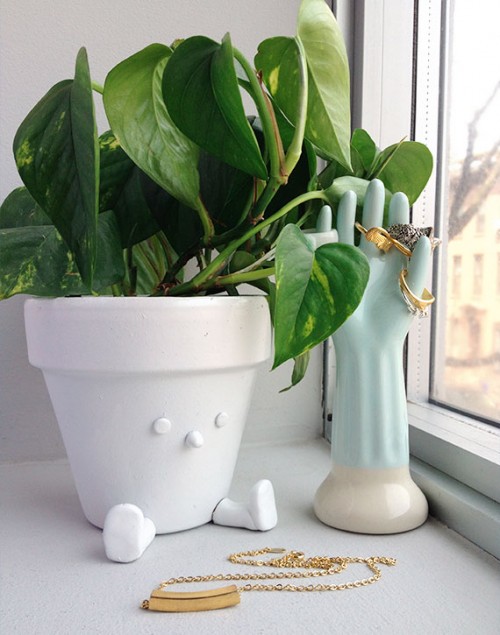
Looking for an idea for a creative and fun planter? Not interested in painting or stenciling? Here we are with the seat planter tutorial! The supplies are a terra cotta planter, white oven bake clay, hot glue/super glue, white gloss spray paint. Take a look at your planter and decide out how large you would...
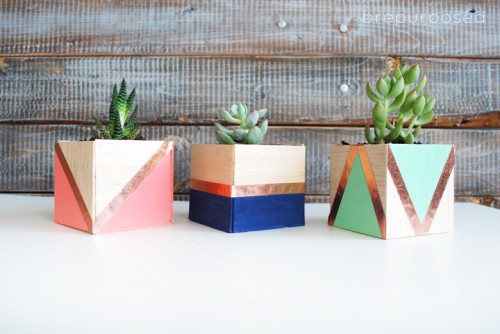
Need a couple of cool planters? Here we are with a project from BrePurposed blog. You’ll need balsa wood, craft paint, a hot glue gun, foil tape, soil and succulents. You’ll want to start by cutting these into squares. You’ll need 5 per planter (one for the bottom and one for each side). Once you...
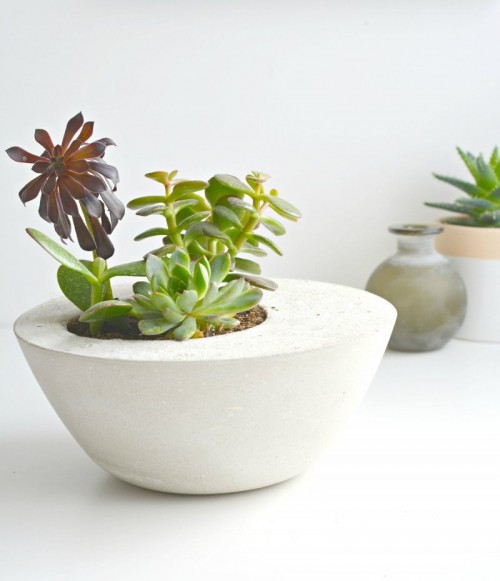
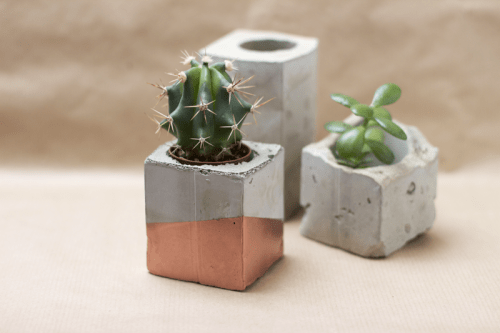
Concrete planters are an extremely popular craft as they are cheap, fast, easy and there are a lot of shapes to try. The mix for these planters consists of 2 parts dry cement mix to 3 parts sand and water. As a general rule, the more cement mix you add, the paler the end result...
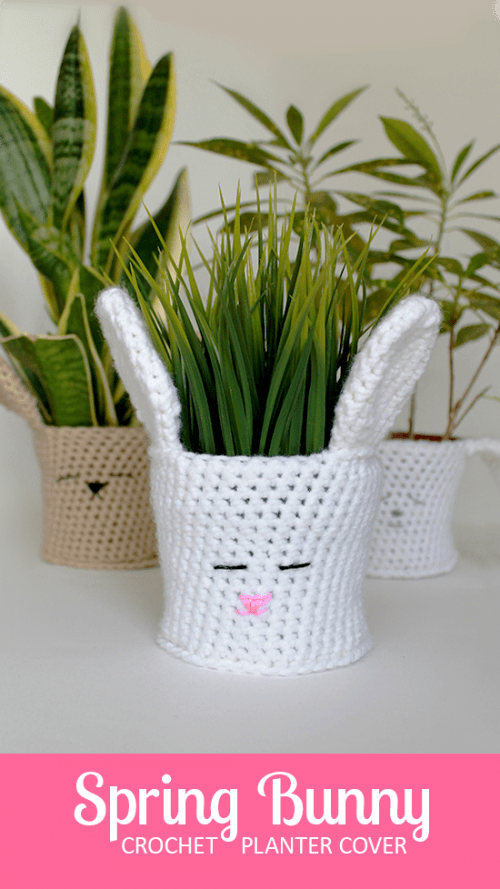
Easter is coming and more and more Easter crafts appear. Today I offer you to craft some fun planters that will make you happy not only at Easter but also after it. The first thing that comes to our mind is egg shell planters: just take some eggs, clean them inside and paint if you...
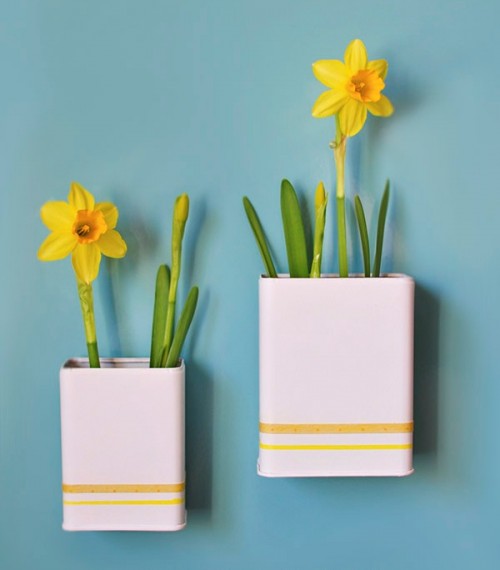
It’s spring and it’s time to bring it vibe inside. These awesome planters from DelianeateYourDwelling is right what you need! Prepare yellow craft paint, decoupage matte finish, a paper trimmer, white spray paint, scrapbook paper, two metal spice containers, washi tape, magnets and hot glue. Read what to do in the source.
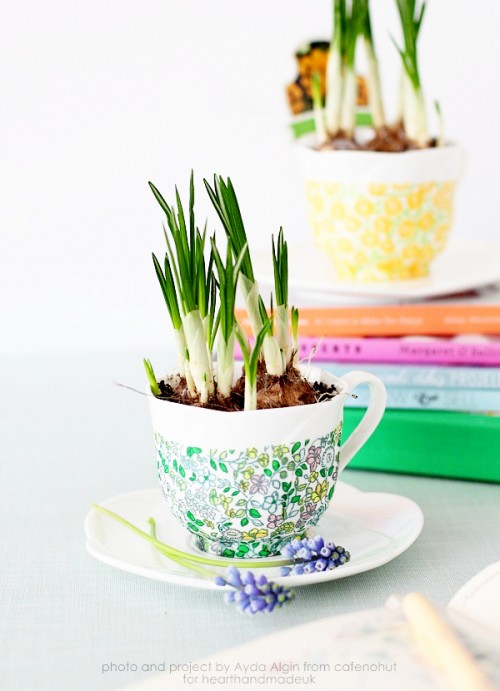
Spring is here! It’s time to change yourself and everything around you with that special spring charm. Let’s make these spring-inspired planters for your herbs! The supplies are a plain white tea-cup, floral napkins, decoupage glue, a brush, scissors. First, carefully cut out the floral pattern from the napkin about 3/4 of your cup of...
Concrete planters are very actual for modern décor because they are cool, simple and minimalist. We’ve already made some, and here’s one more stylish idea. Prepare a carton, 2 parts of quick-drying cement, 1 part water, a bowl, a spoon, masking tape, spray paint, scissors, a toilet paper roll and pebbles. Open and clean the...
