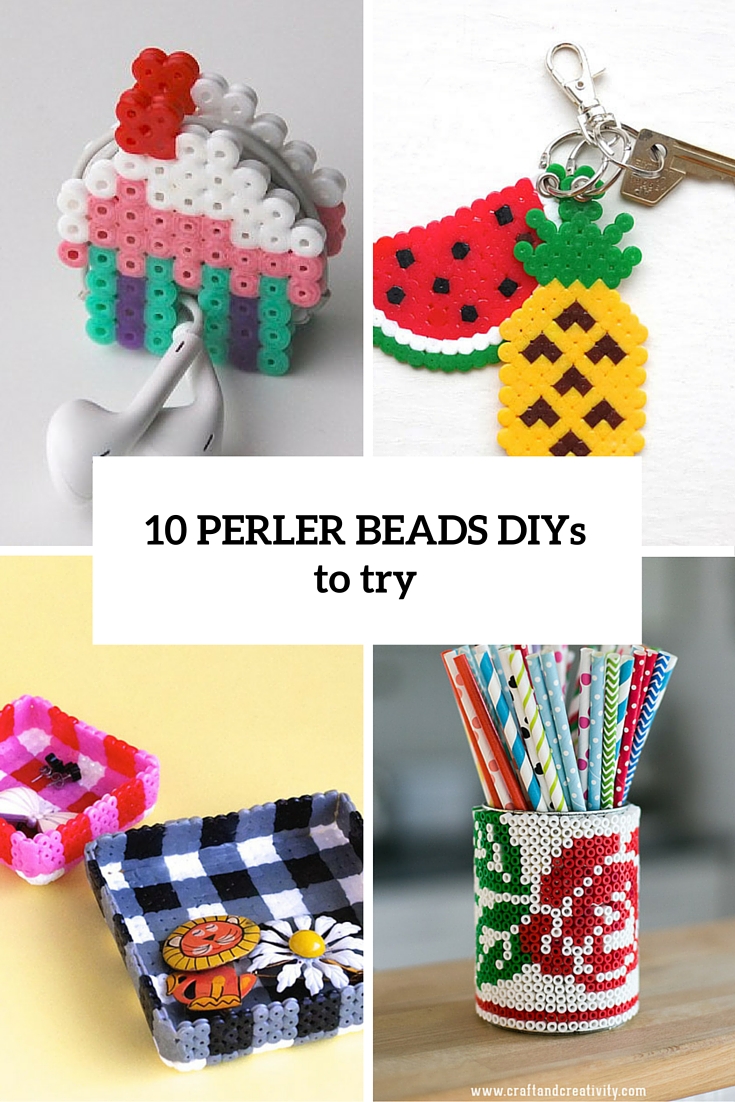
Perler beads are cool beads that can be used for various kinds of crafts, and I’m speaking not only about jewelry but also about lots and lots of other crafts. You can easily make any cord, especially your earphones much bolder if you put these beads one. You can create fun combos, figures and pieces...
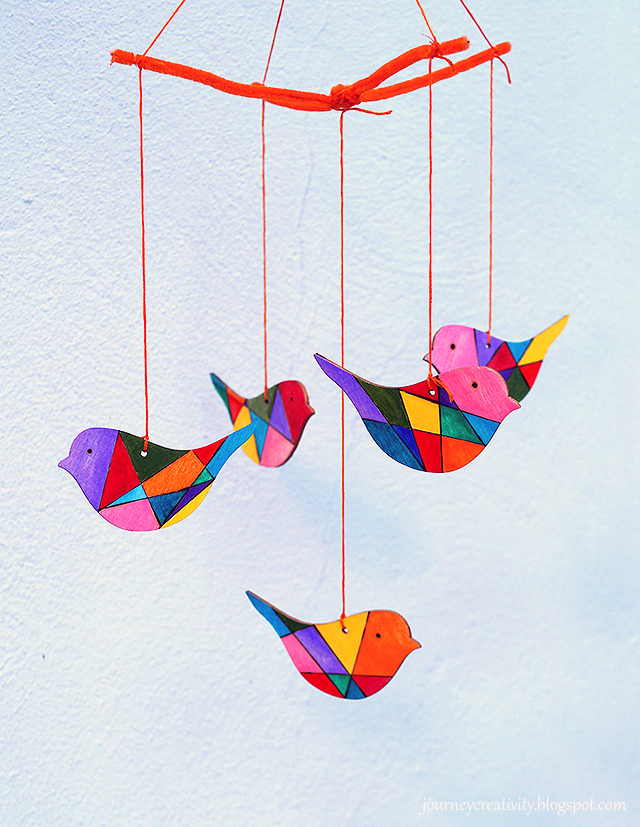
These wonderful bold birds are amazing as a mobile for any nursery. Prepare ready wooden birds, acrylic paints, wire and pipe, thread. Using pyrography start creating on both sides horizontal or vertical or any other lines for décor. Now paint different parts in different colors being careful not to mix them all. Let the birds...
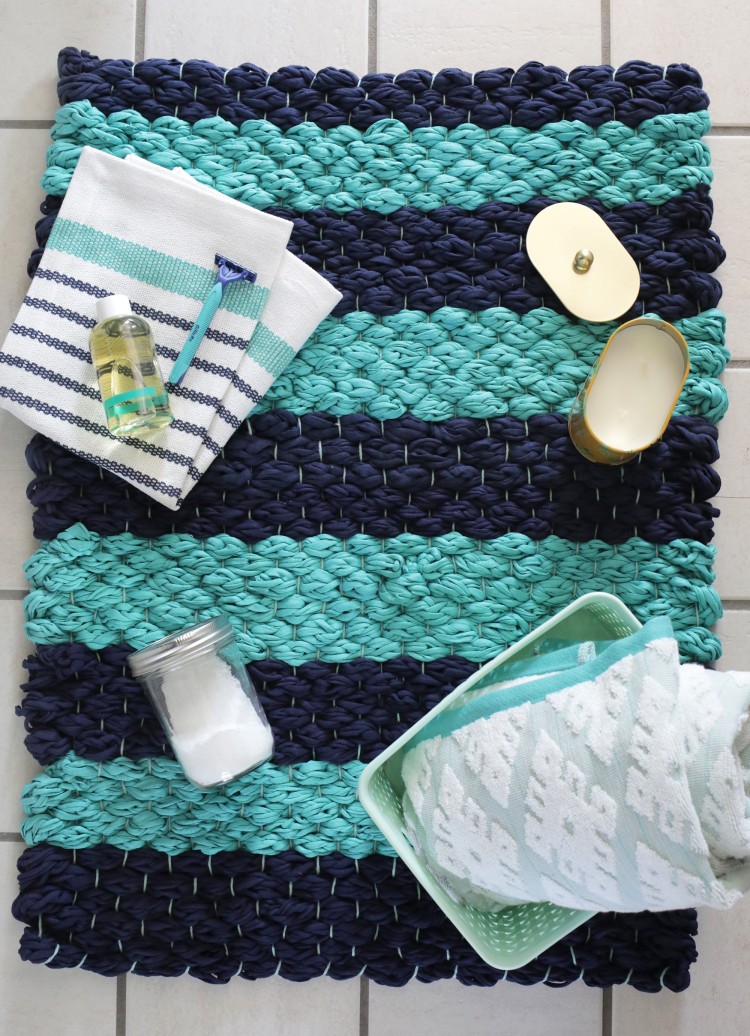
You can turn this beginner-level woven bath mat into a larger rug if you’ve got enough patience. Prepare 2 skeins of navy fabric yarn, 2 skeins of teal fabric yarn, colored cotton yarn for warp, cut of wood measuring at least 2′ wide and 4′-6′ long, 31 nails, a hammer, 2 binder clips or clothespins....
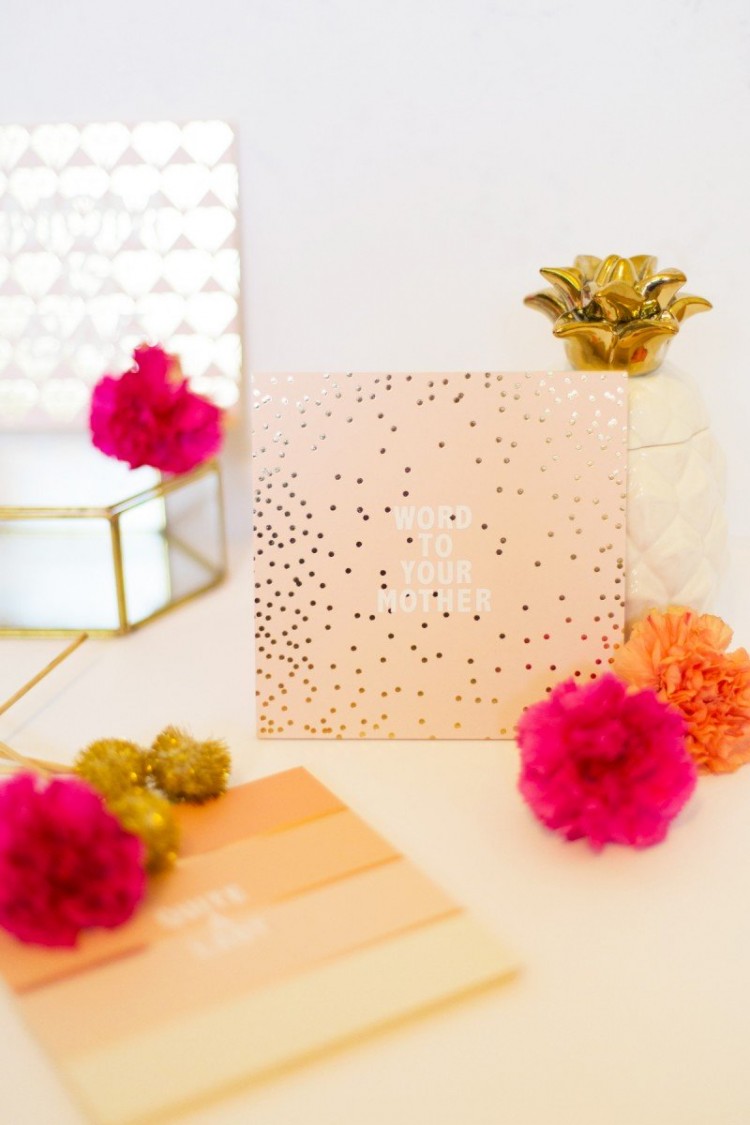
Mother’s Day is coming! It’s high time to make some decorations and gifts. This one is pretty easy! Prepare 6 x 6″ wooden boards, patterned paper, spray adhesive, alphabet stickers, scissors. Trim your patterned paper to the size of your wooden boards. Spray a light coat of adhesive onto one side of the boards. Carefully...
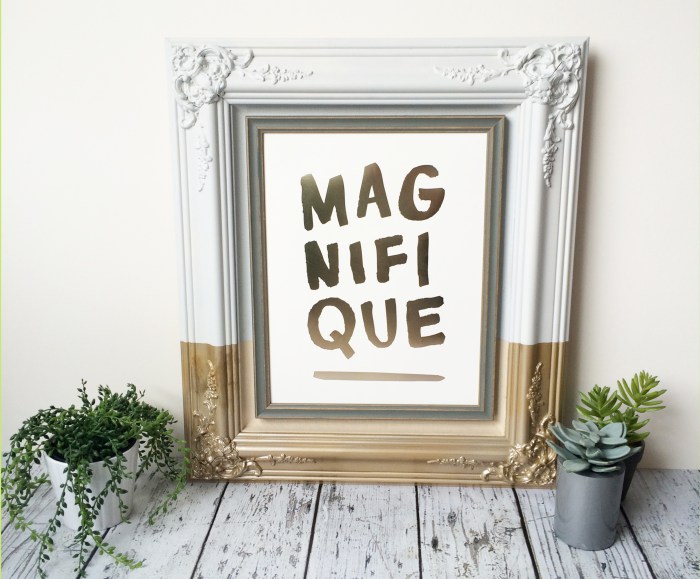
Got a usual frame? Hack it to get a unique piece! You’ll need masking tape, a frame, gold spray paint, white paint. The tutorial is very easy: tape the frame and then gold spray paint. Let it dry fully before moving on. Tape again. For this frame make sure you get the tape into the...
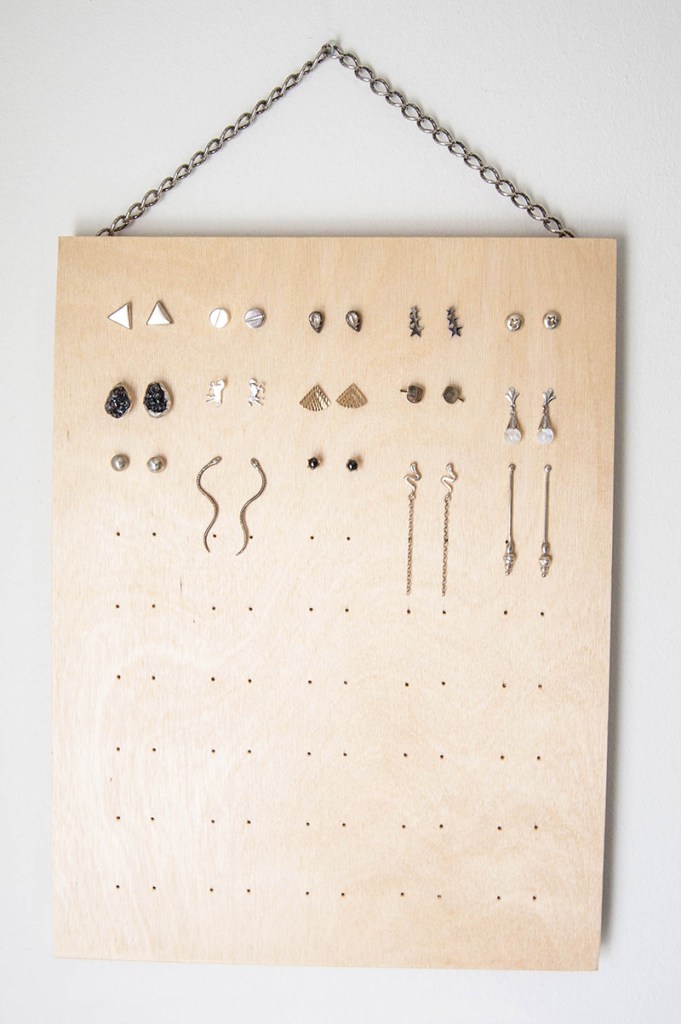
Got a lot of earrings? We’ve got a solution for you! This earring rack is right what you need to organize them all. Prepare a hole template, a plywood sheet, 1/8″ thick, a square wood dowel, 1/2″ square by 36″ long, screw eyehooks, sturdy chain, about 10 inches, jump rings or split rings, masking tape,...
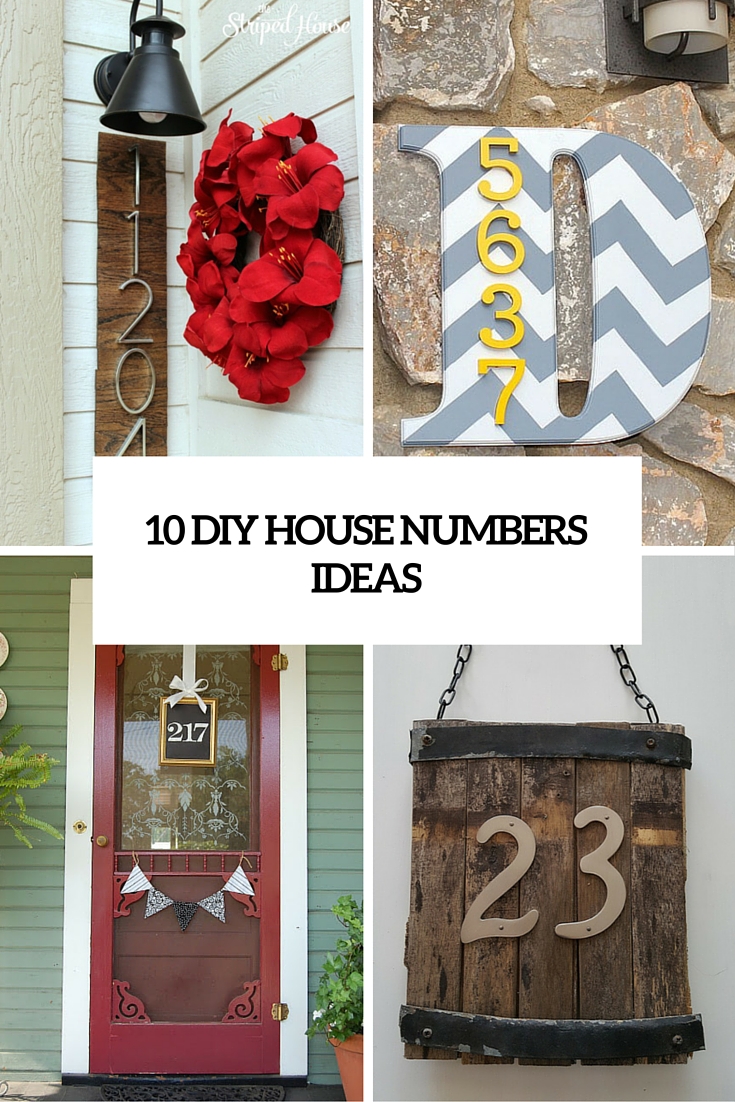
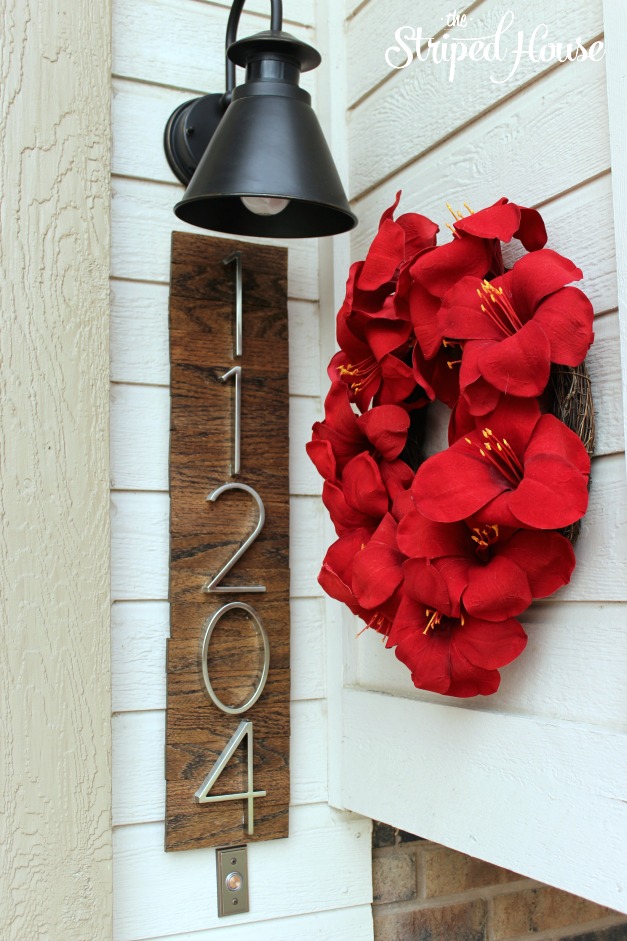
House numbers are a must for every home or apartment to make finding it easier but who said they should be boring? Make your own ones to show your creativity and personalize your nest! The easiest idea is to take usual house numbers and attach them to a wooden plank or a board stained or...
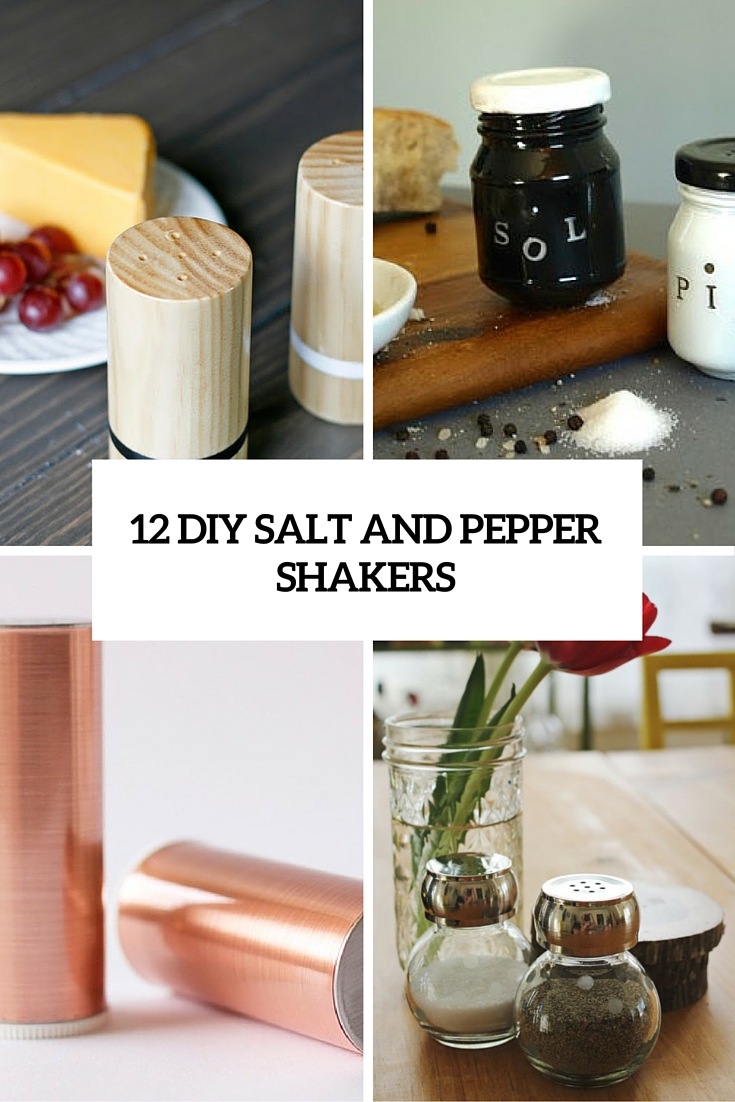
There are many ideas to store salt and pepper, and you can make unique salt and pepper shakers to make a statement and fit your kitchen style. You can take usual shakers or containers and give them a new life using vintage stickers, metallic tape, colorful duct tape or just spray paint. Turning unusual objects...
These modern house numbers are stylish, would fit any outside décor and are easy to make! Prepare stain, house numbers, gorilla glue, Elmer’s wood glue, red oak, a picture frame hook. The tutorial is pretty easy: take your wood and stain it with as many layers as you need, let it dry. Glue the wood...
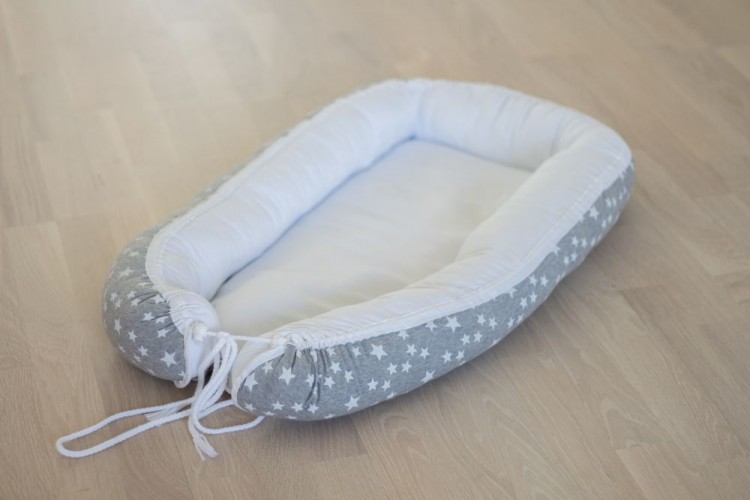
This cute baby nest is so adorable for your kid to tuck in! You’ll need: 1 m fabric (you may use two different fabrics like here), string, edging 2m, padding. Start by cutting out the fabric as outlined below. If you use two different fabrics, you will need some of each. Sew the fabric right...
