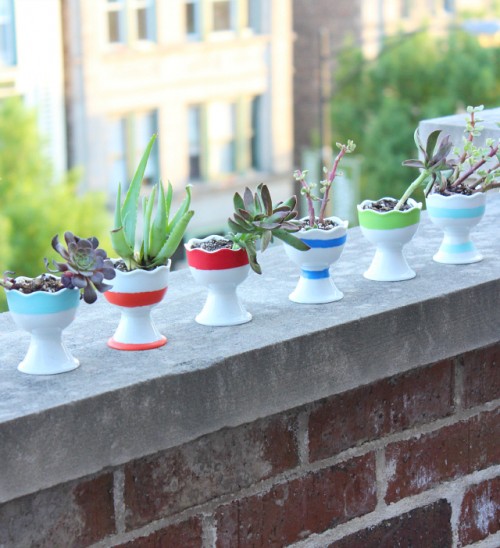
Succulents are everybody’s love today! Let’s make a succulent centerpiece for any party or even a wedding reception table. The supplies are egg cups, succulents, Martha Stewart Multi-Surface Paints, a small paint brush, and some thin masking tape. Put some masking tape onto the egg cups creating a nice straight line and paint above the...
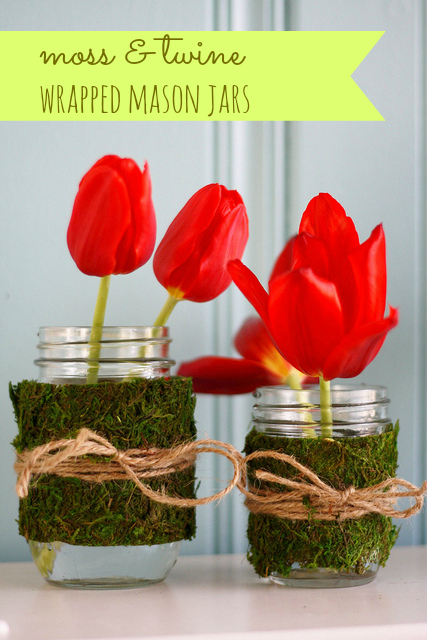
We’ve already told you of an easy spring and Easter centerpiece with grapevine, here’s one more similar idea with wrapping. The supplies are craft moss, twine, mason jars and scissors. First cut your moss into strips of the desired size, then wrap it around your jars and secure with the twine around a few times...
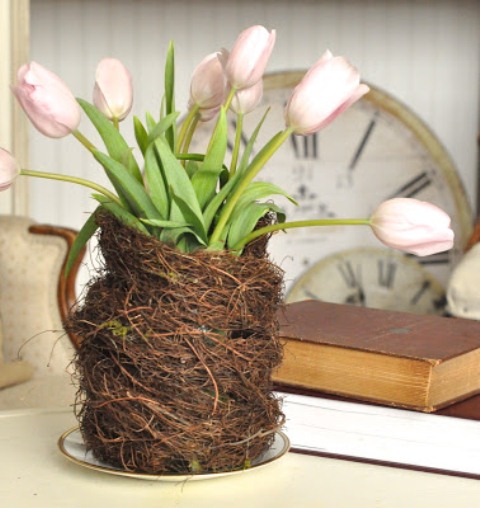
Guys, we’ve already told you of some pretty spring and Easter centerpieces and here’s one more to the collection. The piece is so simple to make that you won’t need much time at all! The supplies are grapevine, wire, a glass or any other vase and some fresh flowers. All you need to do is...
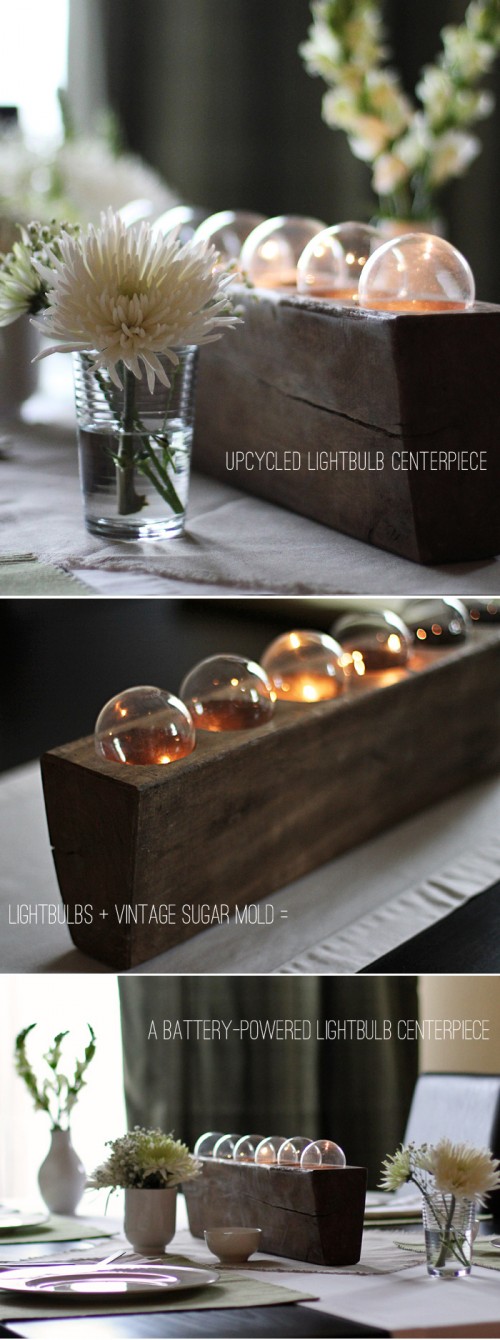
We’ve already told you of some Easter and spring centerpieces, and it’s time for an upcycled spring centerpiece that would make your table rather unusual. The supplies are light bulbs, batteries, or flashlight bulbs, wooden pots or candleholders, electrical wire and tape. Remove the lights from the light bulbs and substitute them with battery-powered lights....
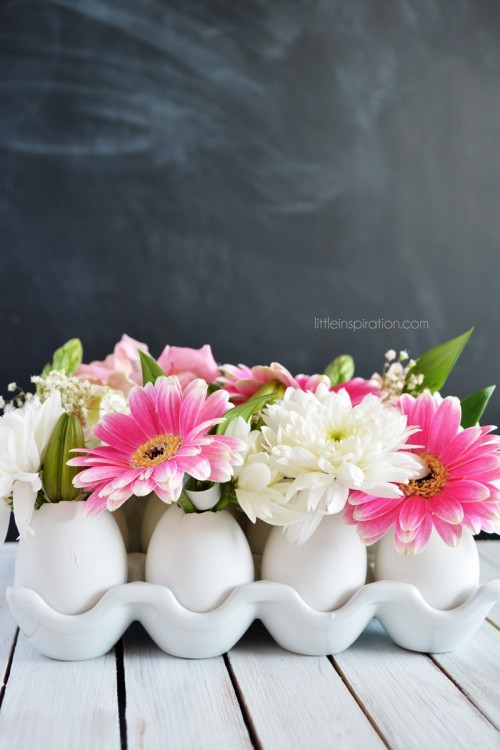
Continuing the topic of Easter décor, we’d like to tell you about some simple Easter centerpieces that you can easily make yourself even if you are not much of a crafter. The height of fashion this year is a centerpiece of empty egg shells and flowers or succulents as it’s a slight hint on the...
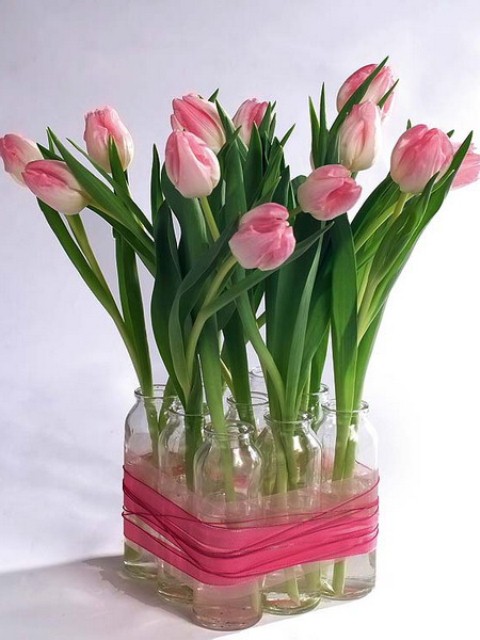
Spring has almost come and here’s a simple spring centerpiece that will bring a fresh blooming touch to any table. You’ll need 9 small bottles, silk ribbon, a thin rope of the same color, silicone glue and transparent tape; 9 rose tulips, holly for décor. Take two bottles and glue them as you see on...
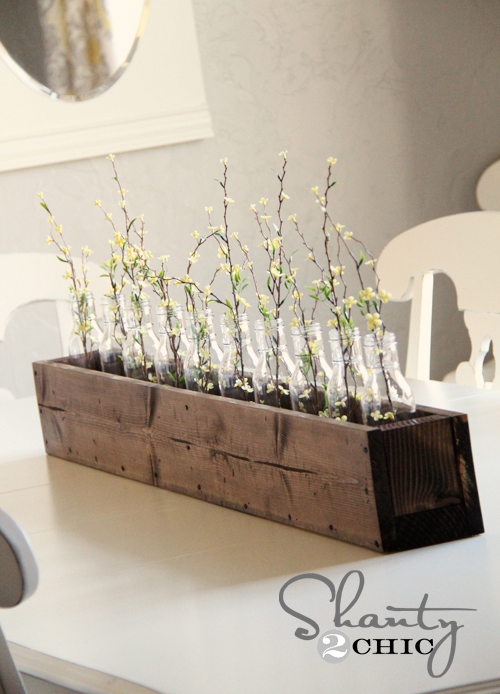
We’ve already told you of some spring table centerpieces that you can easily make yourself, and here’s one more idea! The supplies are two 1x6x4 whitewood boards, 2×4 stud, Gorilla Wood glue, stain and nails. Cut your boards, using glue and nails to attach the 1×6′s to the 2×4. Cut 2 small pieces of from...
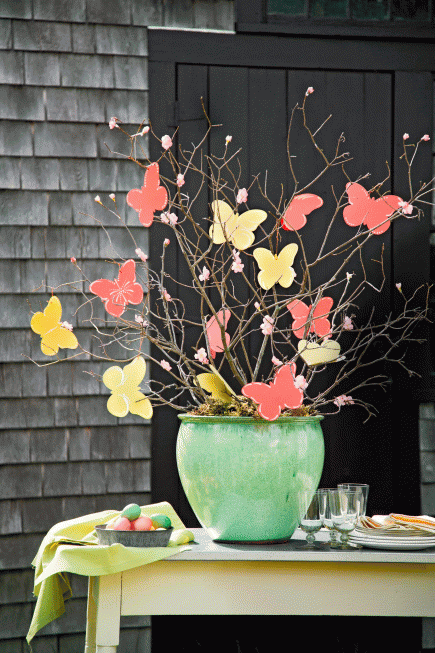
Get ready for spring! Let’s make some pretty spring centerpieces to decorate your table and feel the flourishing season! To make your simple flower centerpiece more original, add curly willow tips inside the vase. Flowers made of colorful felt are also cool and won’t wither. Eggs and daffodils would remind you of Easter; large white...
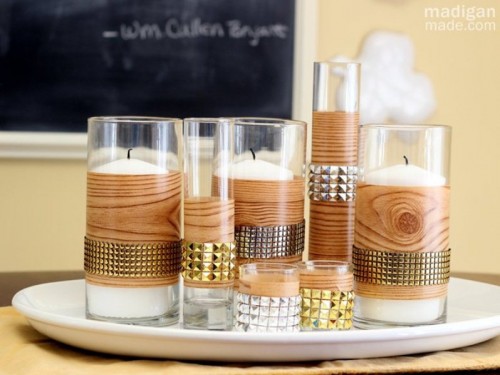
Fall is here already, and if you want to make a nice and inspiring fall centerpiece for a cozy meal with those that you love, have a look at this idea. You’ll need a white platter, five metallic studded headbands, wood grain contact paper, glass vases, white candles, hot glue and paper trimmer. First, cut...
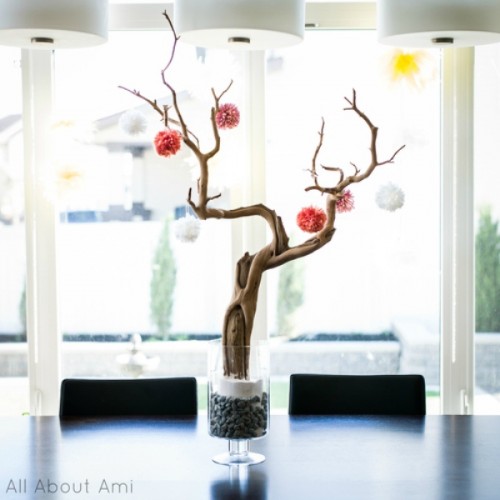
Fall table centerpiece is simple to make if you have some colorful yarn, tree branches and glass decorations or kind of that, a glass, some filler and coffee grains for decoration. First make yarn pom poms – that’s simple: just take cardboard circles, wrap the yarn and tie the center together by sliding it between...
