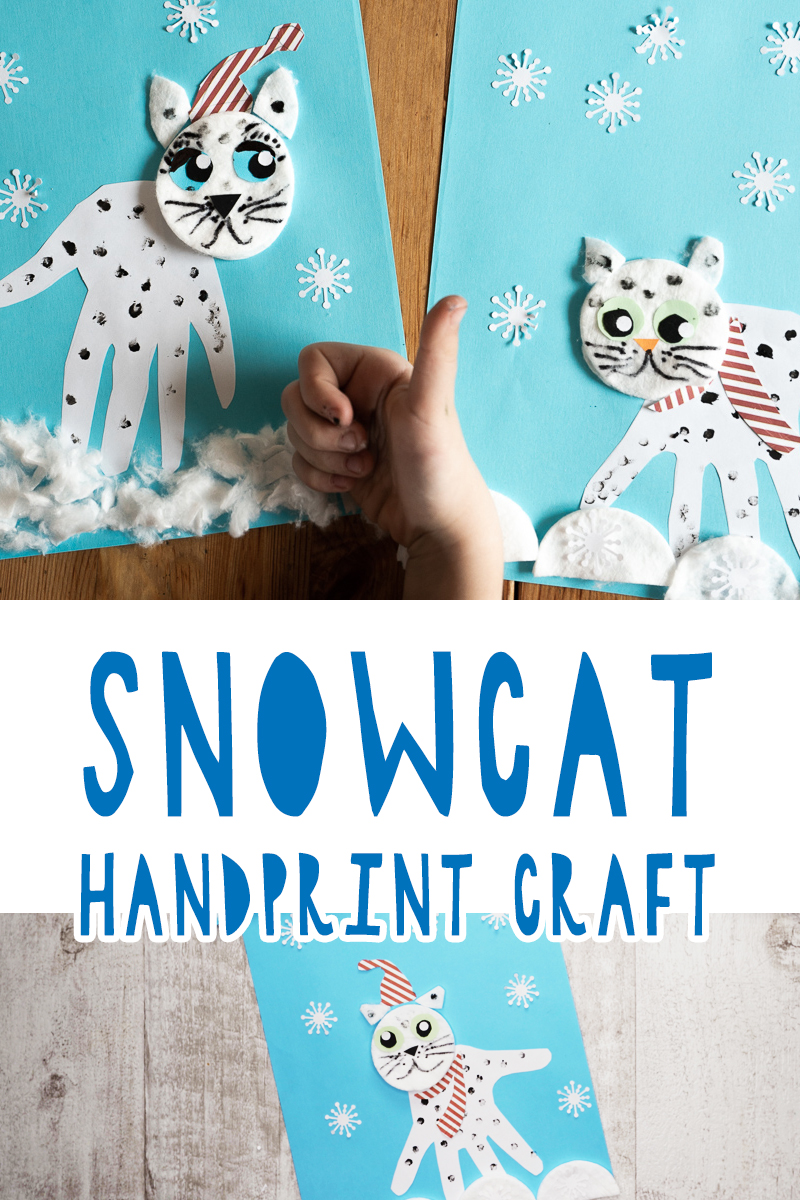
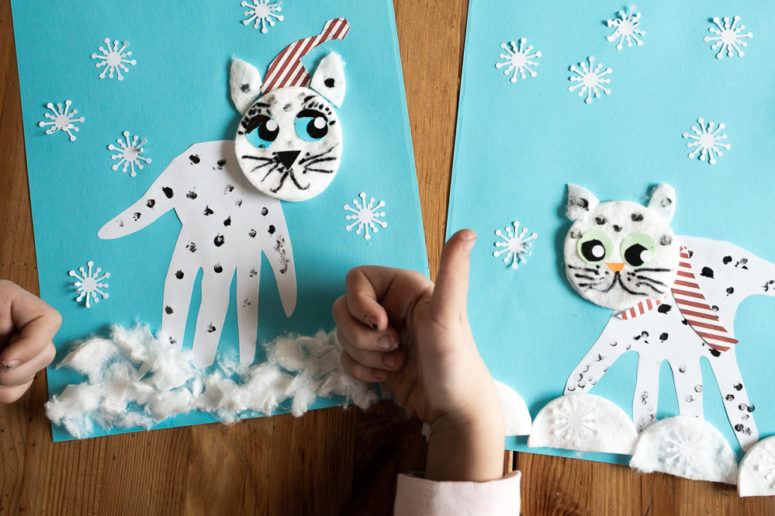
Spring is just round the corner but you may still enjoy winter and everything connected with it. Offer your kids to make this charming snow leopard, and while the child is busy crafting you may tell him or her about this rare species, which is in IUCN Red List. Create a leopard and inspire your kids to think of saving the planet and rare animals!
Step by Step Handprint Paper Snow Leopard
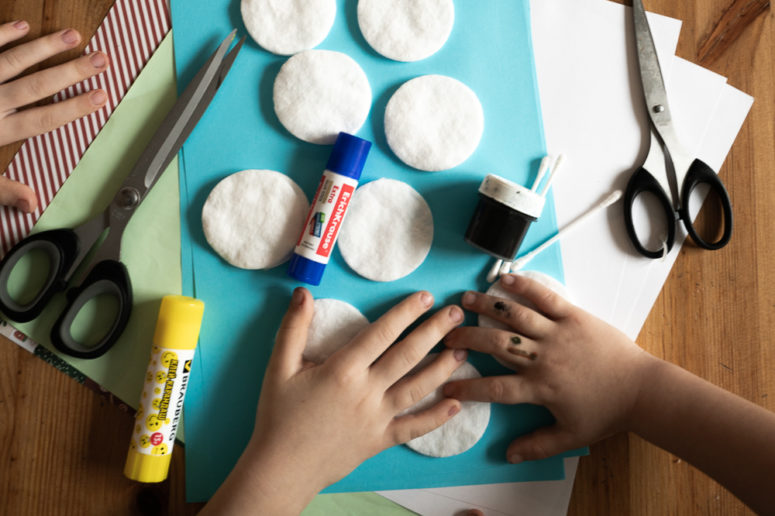
The supplies are black and blue paint, scissors, a puncher, a snowflake puncher, a glue stick, a sharpie and a pencil, colored paper (blue, light green, black and white), striped wrapping paper and some cotton pads.
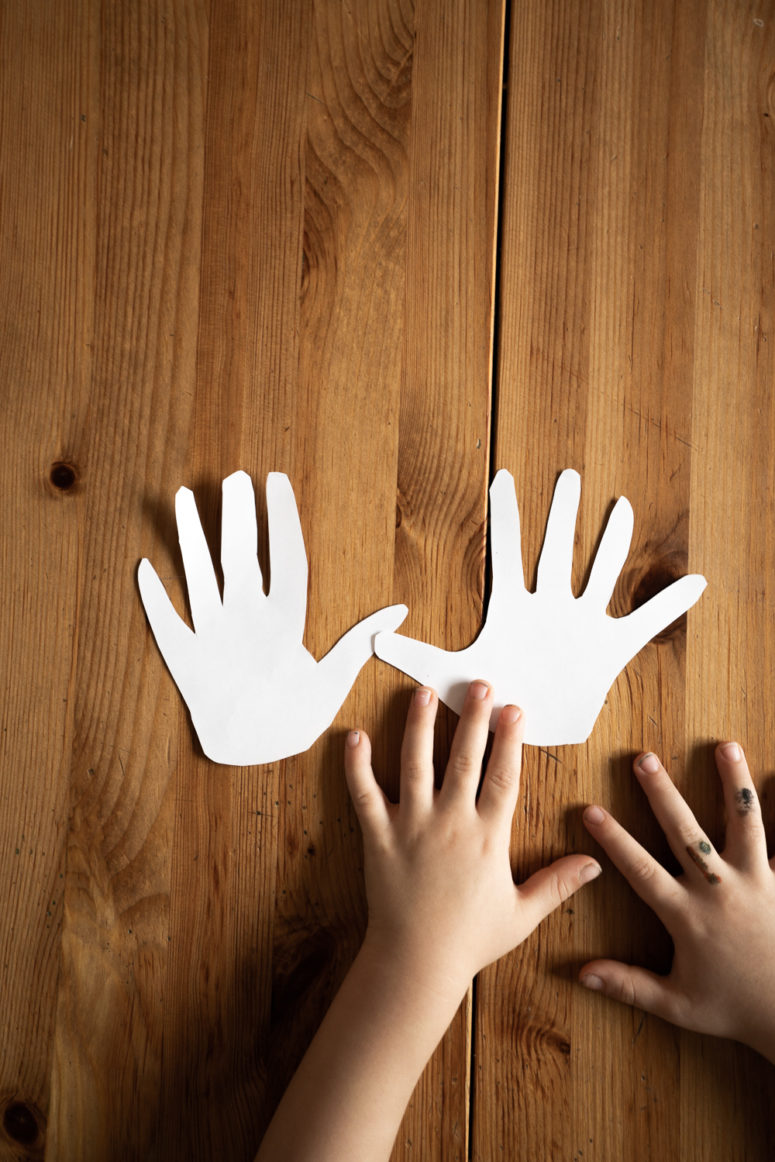
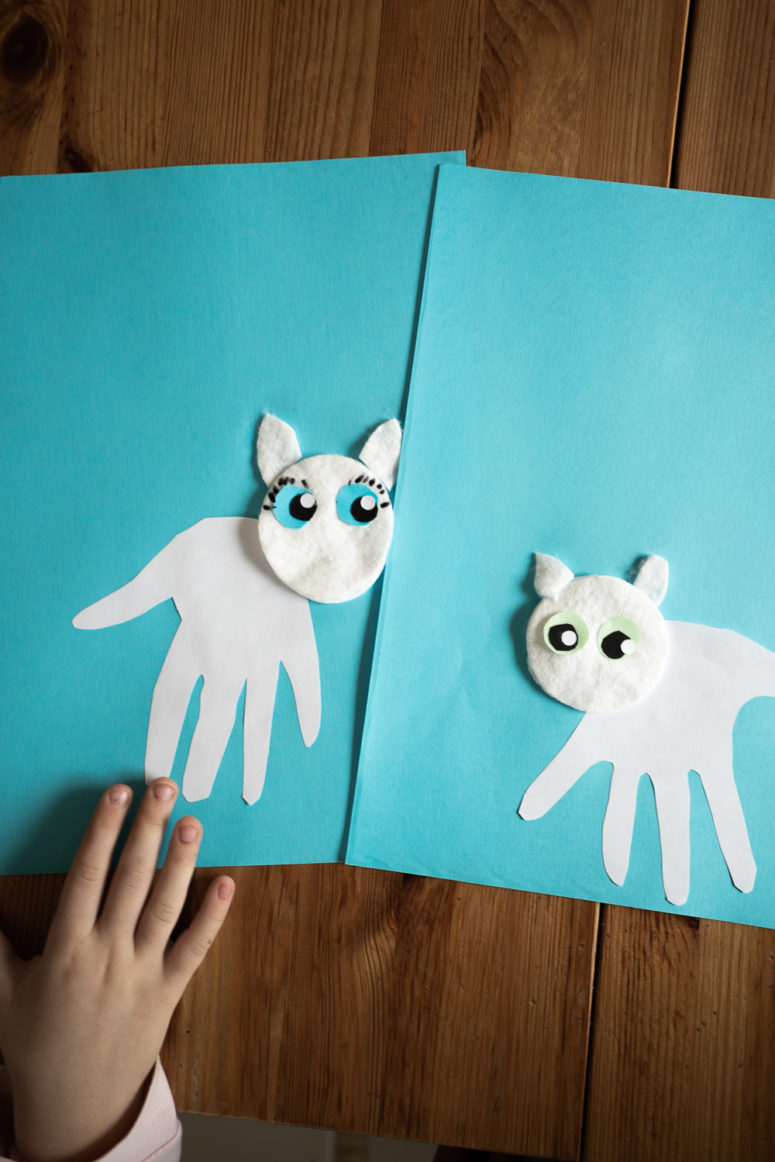
Take you child’s hand and trace it with a pencil on a white sheet of paper, then cut out the silhouette.
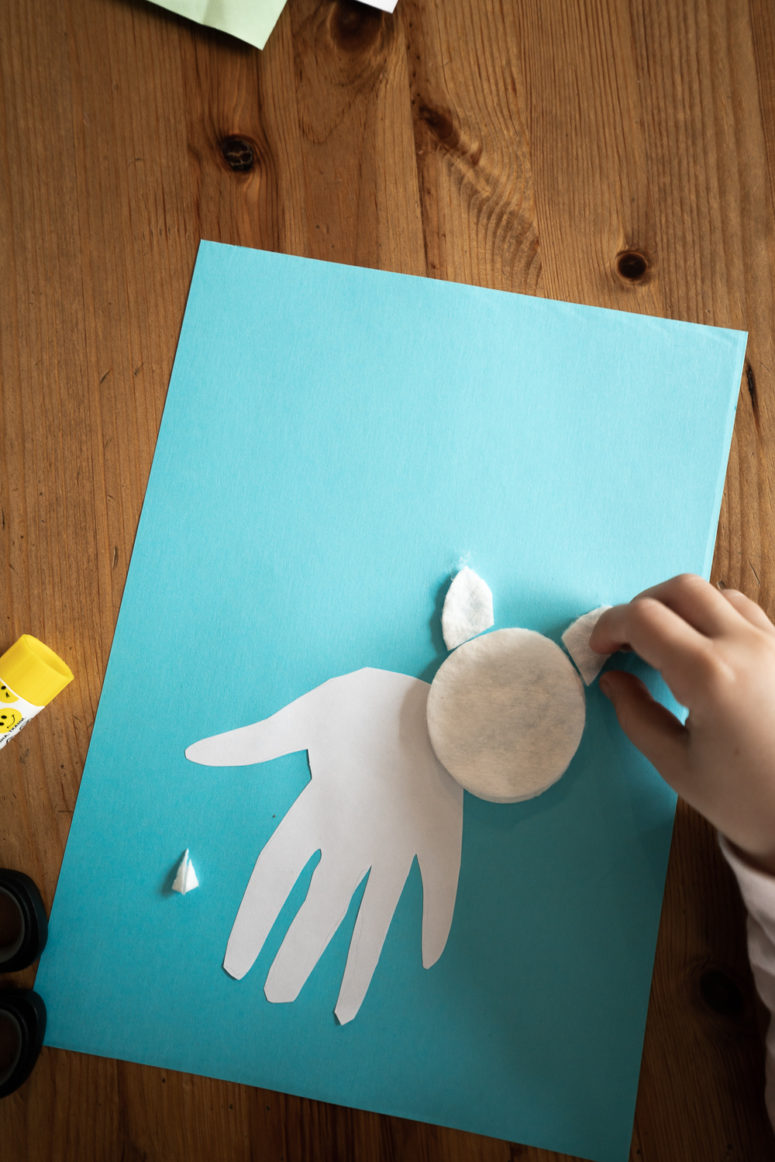
Glue this paper hand to the blue sheet of paper, take a cotton pad and glue it on top the hand to represent a head. Cut out two little triangles from the next cotton pad and attach them to the head as ears.
Cut out two small circles out of green paper, then do the same with black paper but the circles should be smaller. Take a puncher and use it to cut out two little white circles of paper. Now take your leopard and attach the eyes: first green circles, then black ones on the top and then white ones to create beautiful leopard eyes.
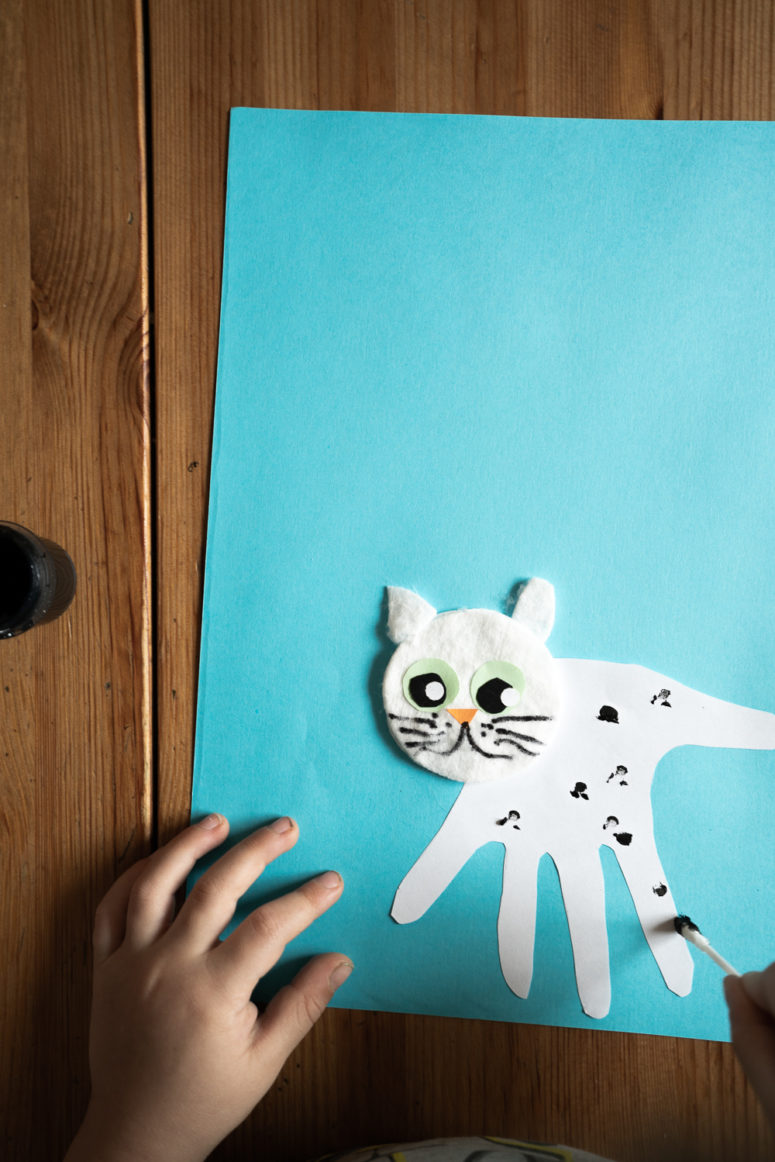
Glue a small black triangle to represent the nose of the animal, then take a sharpie to draw a mouth and whiskers. Take a cotton bud and black paint and dot the whole animal with black paint.
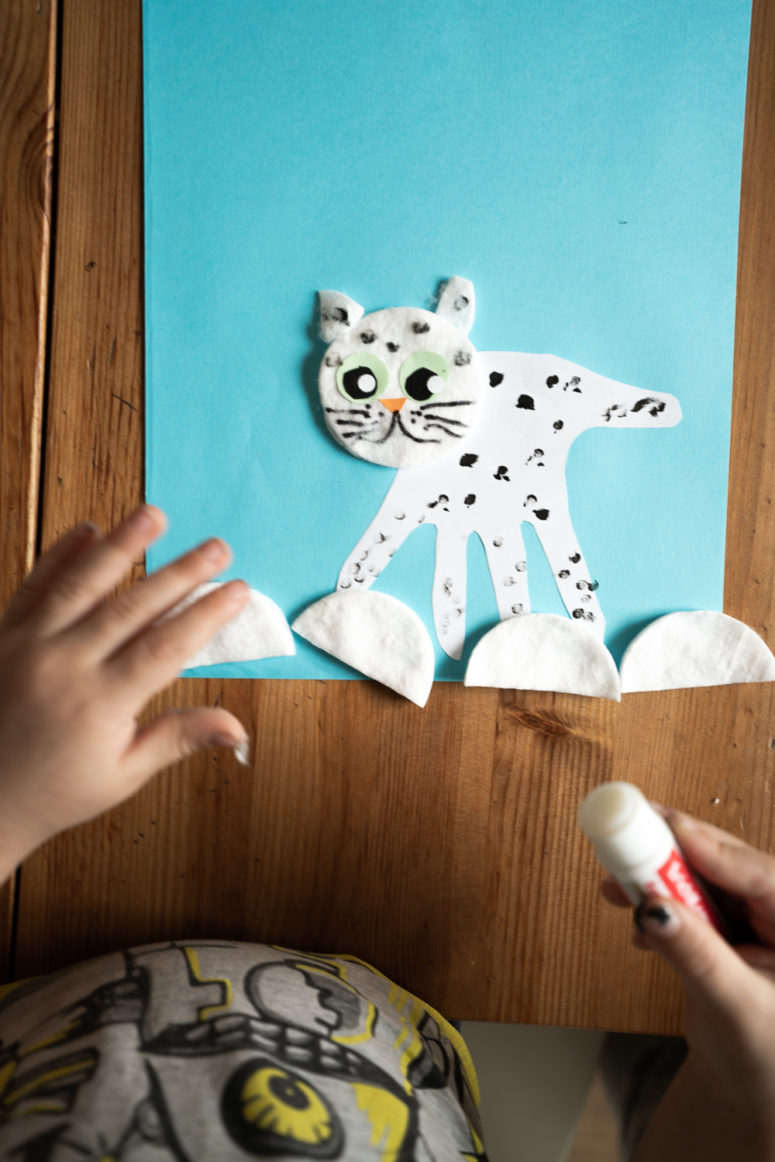
. Cut cotton pads in halves and attach them to the edge of the sheet to represent snow.
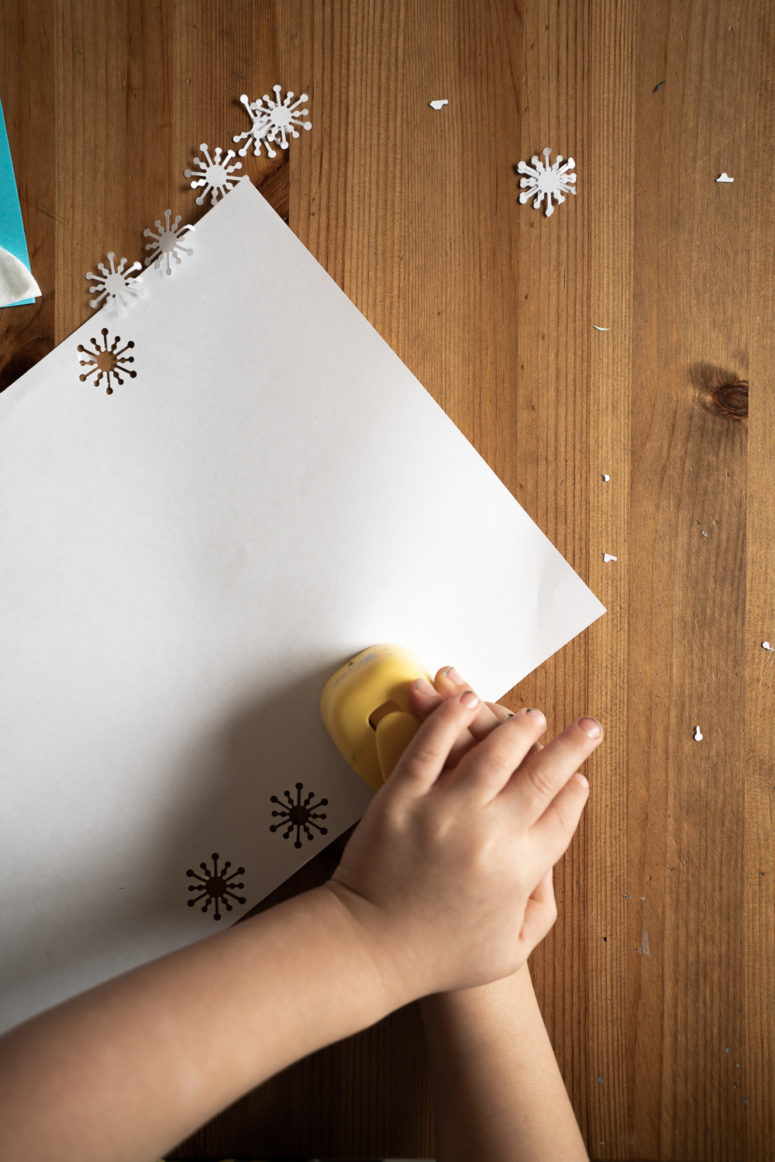
Make some snowflakes with a snow puncher and attach them wherever you want.
Take your wrapping paper and cut out a striped hat and a striped scarf to dress up your leopard. That's it! Experiment with colors and leopard looks to have more fun.
Video Showing How To Make Handprint Snow Leopards
Here are some more similar tutorials you might want to check: cute paper spiders and a funny octopuses paper craft.
