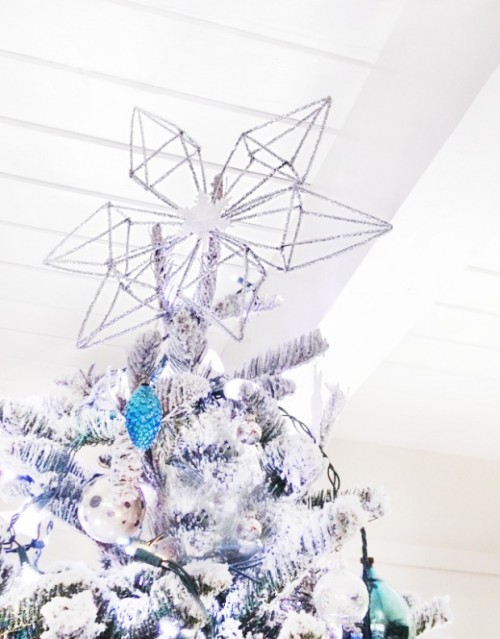
Have you chosen a tree topper for your Christmas tree already? If you haven’t here’s a great idea! The supplies are metallic pipe cleaners, a wire cutter, wire. Bend one pipe cleaner into a square and close it by wrapping wire around the ends. Bend the four others into open bottom triangles. Attach your open...
Search Results for: Christmas
DIY Gingerbread Ornaments Of Felt
Gingerbread ornaments are typical and traditional for Christmas, and tasty! If you don’t want to make foodie ornaments as they can be easily destroyed or spoilt, let’s make felt ones. The supplies are brown felt, paper & pencil, scissors, brown thread and a thin needle, white thread and a thick needle and white beads. Start...
8 DIY Driftwood Centerpieces For Festive Decorating
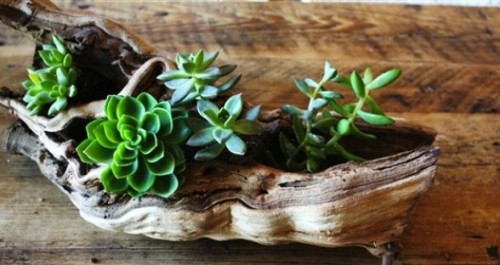
Driftwood is an ideal material for creating – it’s eco-friendly, you needn’t spoil any tree to get it and looks chic! Driftwood can be used for different crafts, and it’s especially cool for coastal décor. No matter if you have a holiday or not – make a driftwood centerpiece that would attract attention! The easiest...
Rustic DIY Ornaments Of Wood Discs
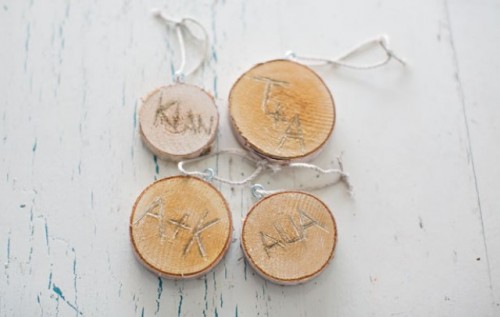
If you’ve chosen rustic décor for Christmas and are looking for some simple rustic ornaments to make, here’s an idea! You’ll need wooden cut discs, small eye hooks, a gold-filled pen, a screwdriver or any sharp point, twine. Using your sharp point, carve names or initials onto the wood rounds. Screw the eyehook onto the...
DIY Glass Heart Ornaments With Eucalyptus Leaves
We’ve already told you of some natural and foodie ornaments you can easily make using the things you have in the kitchen. Here’s one more cool idea to the list: glass ornaments with eucalyptus leaves inside. The supplies are clear glass ornaments of any shape you like, dried and dyed eucalyptus leaves (their color is...
DIY 3D-Looking Himmeli Wreath
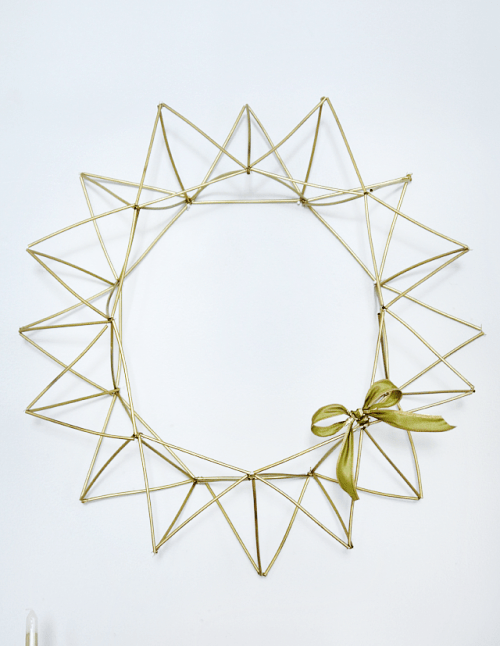
Remember the himmeli ornaments we’ve recently told you about? Here’s a himmeli wreath to complete the décor. You’ll need about 100 coffee straws, gold floral wire, gold spray paint, wire clippers. Start by threading a long piece of wire through three straws. Bend wire and straws to form a triangle and secure and the top....
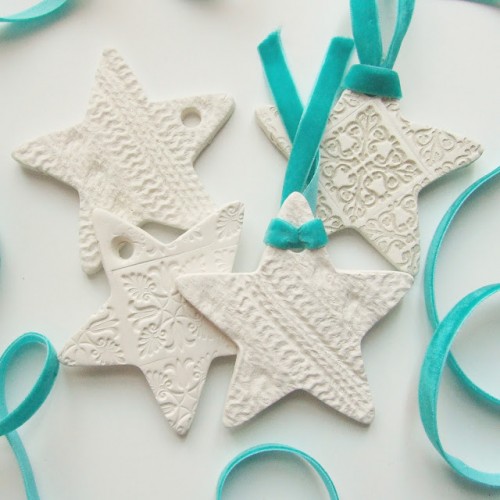
Pretty DIY Embossed Clay Star Decorations
There are many ideas to make a Christmas ornament of clay but these ones are special because they have a fabric pattern, a very non-typical thing. The supplies are air drying clay, a rolling pin, cable knit, a star shaped cookie cutter, sandpaper, some ribbon or string. Start by rolling out your air hardening clay...
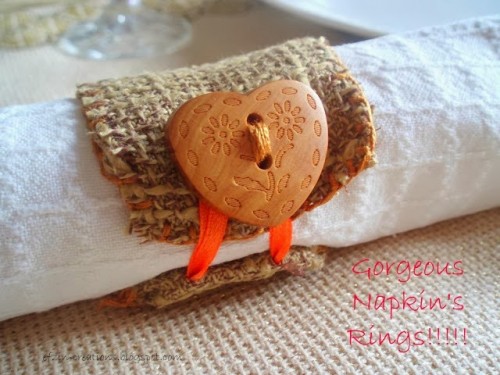
Cool And Easy DIY Button Napkin Ring
Let’s make awesome napkin rings suitable for any occasion including Christmas – everything depends on the buttons you choose. The supplies are buttons, cotton thread, scissors, a sewing needle, satin ribbon, fabric scraps. Cut your fabric in strips and in the middle of it make with your scissor two tiny holes. Use your ribbon in...
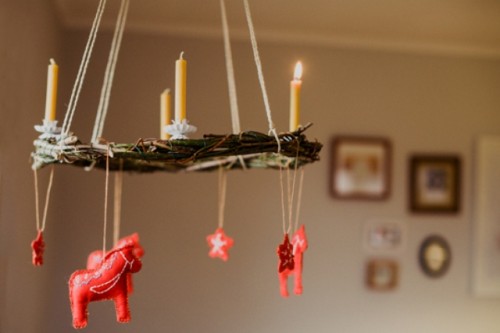
DIY Advent Wreath With Candles
There are not so many days left before Christmas and if you haven’t yet made an advent calendar of any kind, it’s high time to! To make this original advent wreath you’ll need a wreath, red felt ornaments (you can easily make them yourself), candleholders in the color you like. Take some wire or threads...
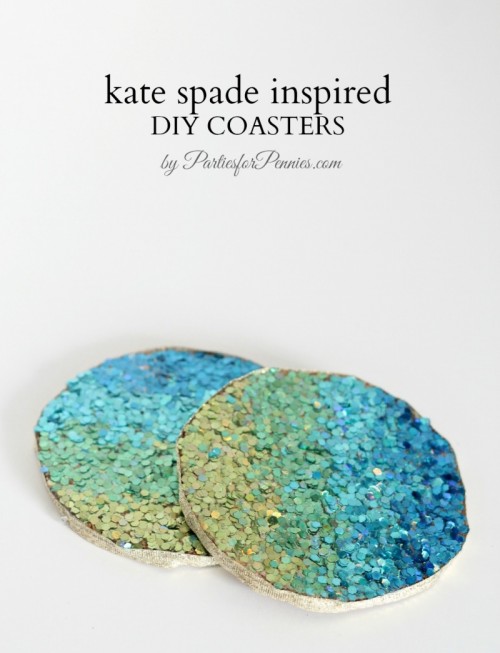
Easy DIY Glam Coasters
Easy glam coasters? Yes, please! They are ideal for your tableware or as a Christmas gift, so take cork, Mod Podge, a paintbrush and glitter. Start by using another coaster to trace an outline. Cut it out. With a paintbrush, start covering one side of the coaster with mod podge. Continue to cover the entire...
