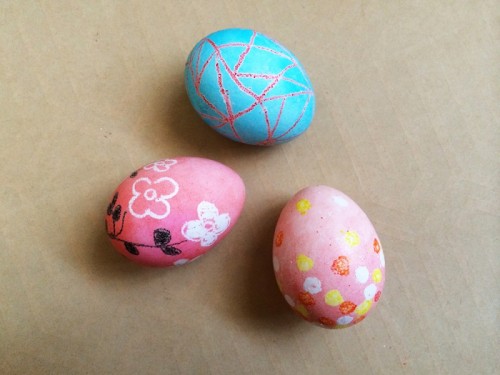
Dying Easter eggs is a tradition but why not decorate them in another way paying tribute to it? You’ll need eggs, wax crayons, food coloring and water. First you boil the eggs, cool and dry them. After drawing the pattern with crayons, we dyed them in diluted food coloring. The wax from the crayon will...
WHAT'S NEW:
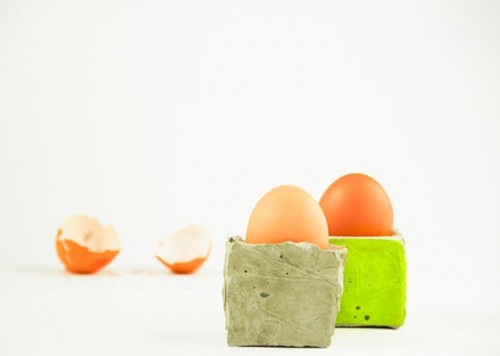
If you don’t want traditional Easter décor, this roundup is for you! We’ve gathered several tutorials for creating a modern Easter atmosphere. Let’s start from eggs, without which I can’t imagine Easter. Dying them is traditional but you can choose something unexpected like indigo eggs, light blue eggs with geometric patterns or making terrariums instead...
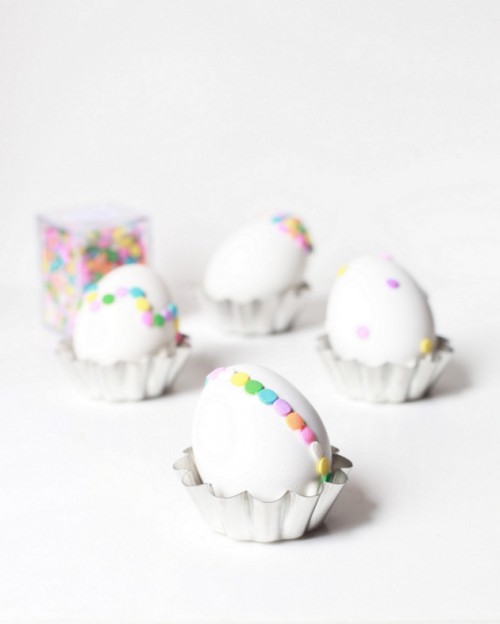
Tired of traditional décor? Looking for original ideas for this Easter? Here it is! We all got used to dying or wrapping Easter eggs but what about decorating them with confetti? I’d say it’s so glam and amazing! The supplies are 1-2 ounces of pastel edible confetti, 4-6 eggs, boiled, cooled and patted dry, 2...

This cool summer- and cocktails-inspired body scrub will help you to keep your skin soft and moisturized. Take 1 cup salt, 1 cup coconut oil, 3 lime peels, 2 x 250 ml jars. Half fill the saucepan or double boiler base with water and bring to a simmer. Seat the bowl on the saucepan of...
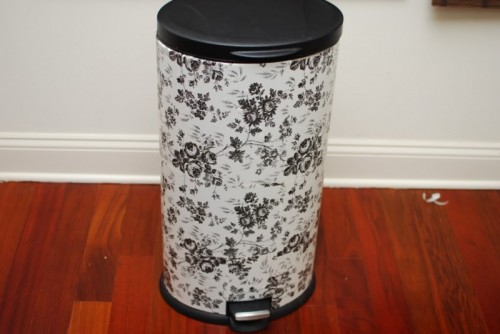
An ugly trash can spoil any interior design, no matter how much time you spent for it. Renovate your trash can to avoid it! There are ideas and ways for any colors and any interior – from painting to fabric. Love Star Wars? Make an R2D2 trash can! Take wallpaper or newspapers and decorate your...
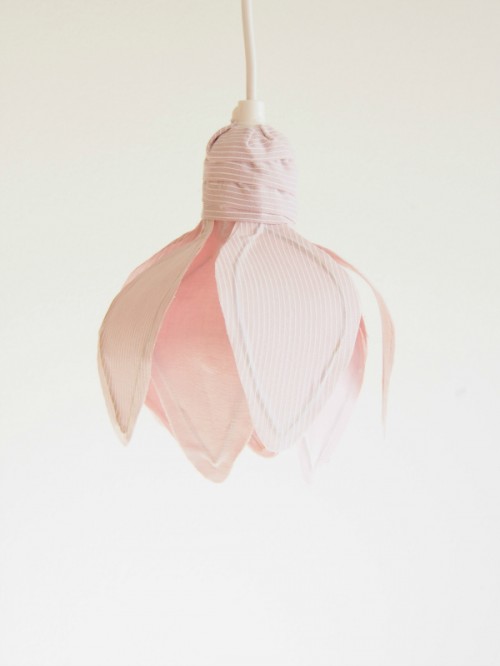
We’ve already told you of a flower lampshade, and here’s one more idea – a flower lamp that looks like a real big flower! What a cool craft for spring! The supplies are a pair of scissors, needle nose pliers, a sponge, decoupage glue, 12 stems of aluminum wire, a socket with a LED bulb,...
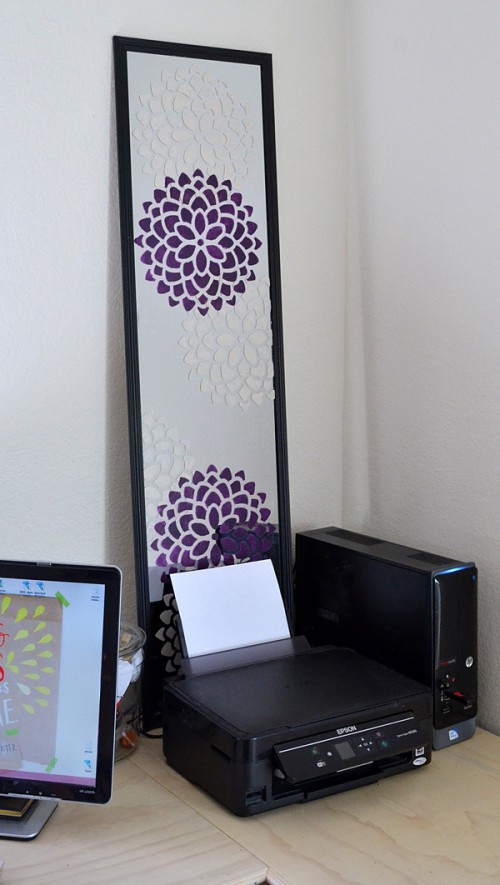
This mirror is not kind of a real mirror but mostly a decoration, so prepare a door mirror, a sponge brush, masking tape, a temporary or move-able spray adhesive, Ed Roth stencil, FolkArt Multi-surface paint. The stencil is 12 x 12 inches and the pattern is fresh and not dated. I don’t know how many...
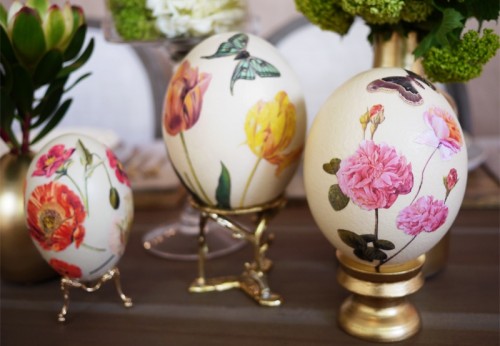
Vintage is a very popular style in every area today, so if you want some vintage charm for this cute holiday, the tutorials below will help you. Decoupage is a great technique to create something vintage, so use this idea for decorating Easter eggs or tableware. Doilies can also become a nice idea, for example,...
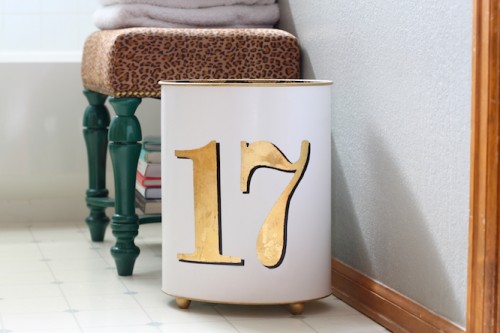
Everyone has a trash can at home, or maybe several ones. Are they pretty? If they are not, why not to renovate the cans so that they would look stylish? The supplies are a gold leaf, mod podge, snake print wrapping paper. Tape the numbers off a few times and re-paint to make sure that...
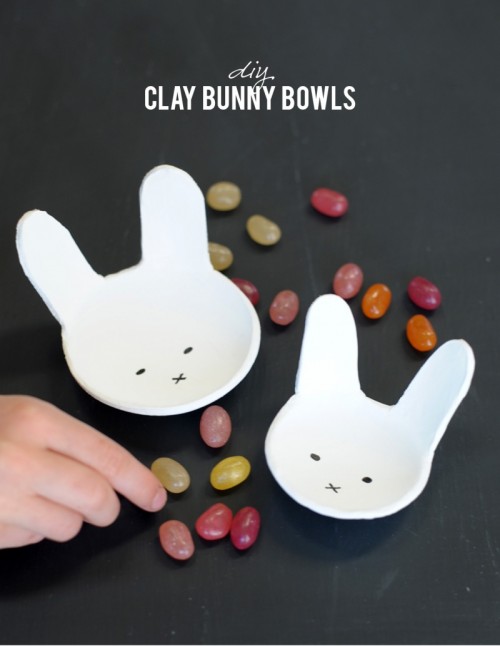
Easter is not far, so it’s time to make some decorations for your home to celebrate the holiday at its best. To make these funny clay bowls you’ll need air dry clay, acrylic craft paint, a rolling pin, a sharpie oil-based paint marker, a paintbrush, glass bowls and sandpaper. Roll out air dry clay on...