Spring is time to surround yourself with flowers! And, of course, to wear some! To make this flower necklace you’ll need flowers, gauge 26 floral wire, yarn or twine, felt, scissors or pliers. Cut your yarn or twine to your desired length of necklace. Make it longer because you can always trim it. Cut wire...
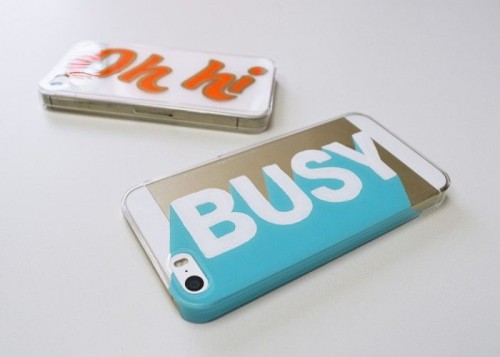
Original DIY iPhone Case Stencils
These cool iPhone case stencils make your phone look so original! To make them you’ll need a clear iPhone case, scissors, masking tape, paintbrushes, acrylic paint and/or paint pens. Pick the word or phrase you want for your case and print the stencil. Remember to print your stencil backwards. Use a pencil to trace the...
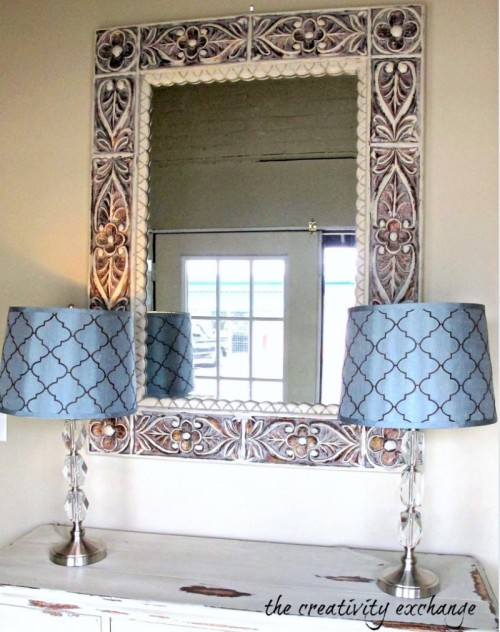
How To Dry Brush: 9 Easy Tutorials
Dry brushing is a painting technique in which a paint brush that is relatively dry, but still holds paint, is used. The resulting brush strokes have a characteristic scratchy look that lacks the smooth appearance that washes or blended paint commonly have. Dry brushing furniture makes it amazingly distressed, so if you want to achieve...
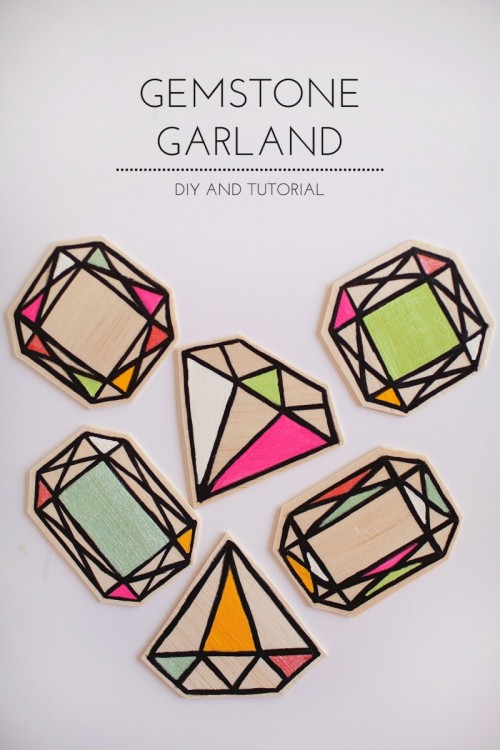
Colorful DIY Wood Gemstone Garland
This colorful garland is perfect for any party décor, to make it you’ll need balsa wood 1/16 x 3 x 36, an x-acto knife, a paint brush, gold cord, a glue gun and paint of the colors you prefer. Print out the paper and cut out the gem stones. You can download the file here....
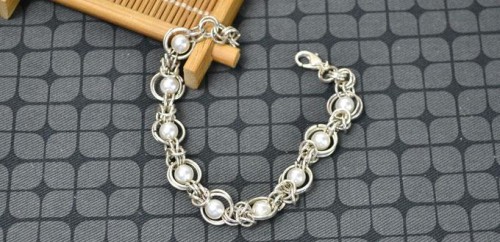
DIY Byzantine Chainmail Bracelet With Pearl Beads
Byzantine style has recently been in trend, and to look stylish you can make this Byzantine chainmail bracelet. Take 0.6mm glass pearl bead, mixed jump rings, lobster claps, eye pins, wire cutter plier, flat plier, round nose plier. Slide an eye pin through a glass pearl bead and make a loop with the round nose...
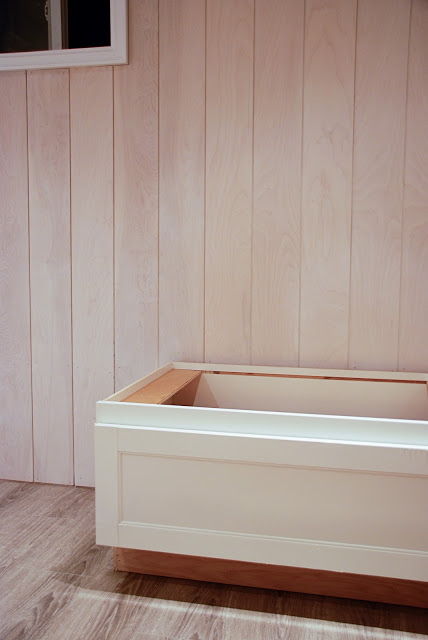
How To Whitewash Walls: 7 Tutorials
We continue the theme of whitewashing, and today we’ll talk about whitewashing the walls. Whitewash paint makes everything look refined and chic, and with it even the simplest plank wall becomes amazing. The number of layers of paint depends on the material of the wall and the effect you want to make. You can also...
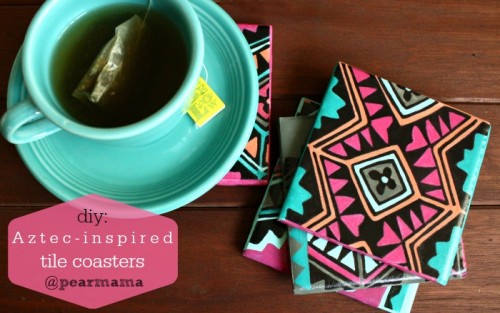
Colorful DIY Aztec Print Tile Coasters
This easy craft is cool for your kitchen or maybe as a cool gift. To make these coasters you’ll need 4 white, unglazed 4 x4 tile squares, craft paint, paint brushes, Mod Podge Gloss, 9×11 sheet of felt, scissors and tacky glue. Cut your copies down to the size of your coaster. Paint a layer...
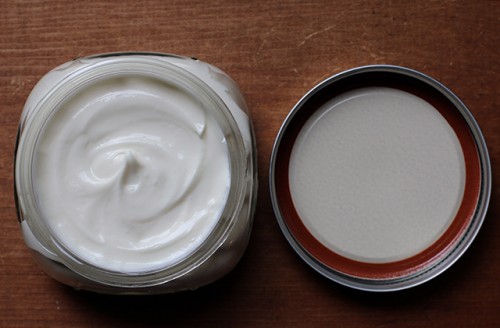
Easy To Make And All-Natural DIY Moisturizer
A moisturizer is a necessary thing for every girl, especially after winter, it will help you to revitalize the skin. All-natural handmade moisturizer is ideal because there you’ll put your own ingredients that are perfect only for you. Prepare 2/3 cup distilled water, 1/3 cup aloe vera gel, 2 drops lavender essential oil, 1/4 apricot...
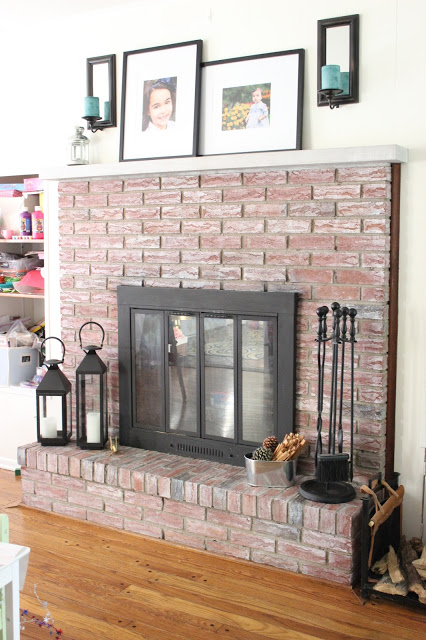
How To Whitewash A Brick Fireplace: 8 Tutorials
Whitewashing a fireplace is the easiest way to renovate your old fireplace, no matter what material it’s made of. Whitewashing give the fireplace an elegant look, and depending on the accessories and material it’s made of, it’ll bring a rustic touch, a shabby chic or even a girlish one. Especially if you are going to...
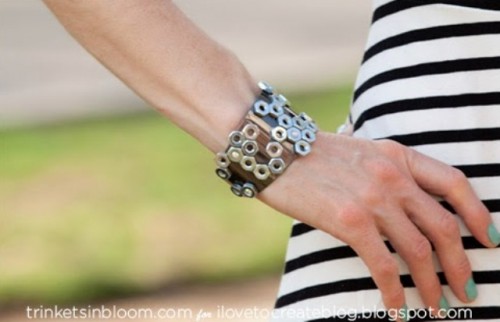
Stylish DIY Hex Nut Cuff
Hex nuts are great for creating jewelry! Unexpected? Look at this tutorial! To make this hex nut cuff you’ll need hex nuts, Aleene’s Super Gel Adhesive, tulip glam-it-up crystals and a metal cuff. If your cuff is a little large or needs adjusting make sure you do this before adding your hex nuts. For a...


