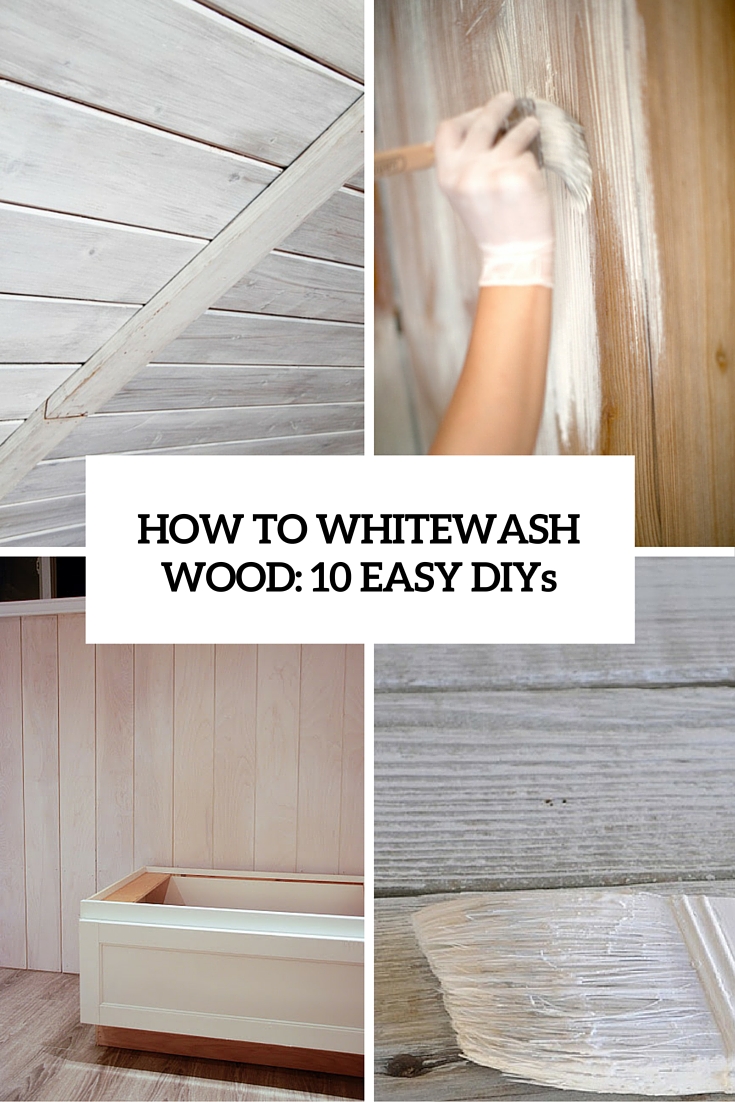
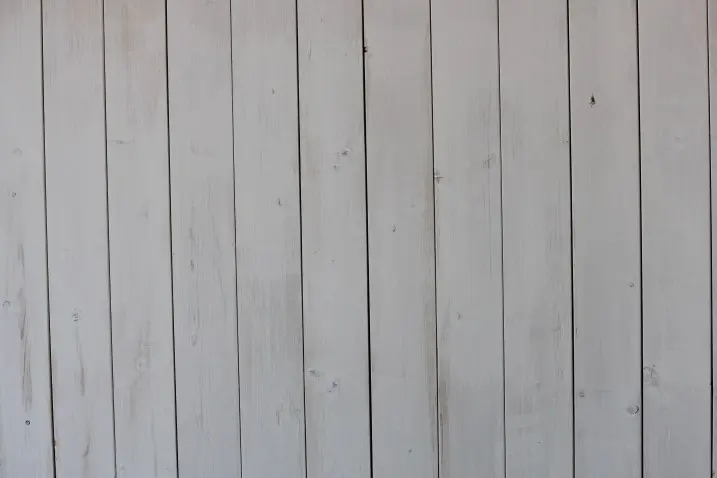
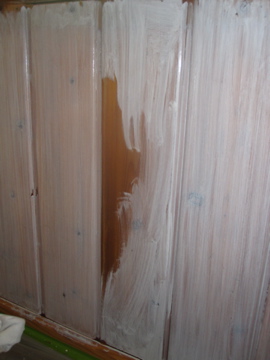
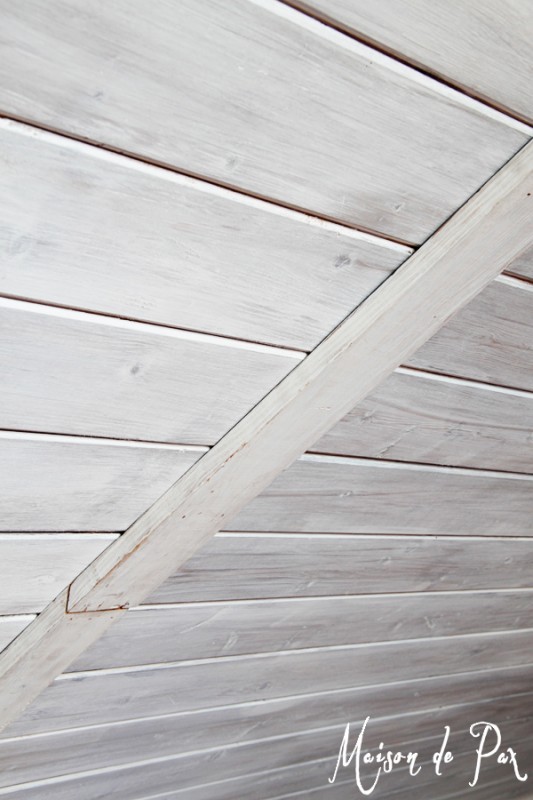
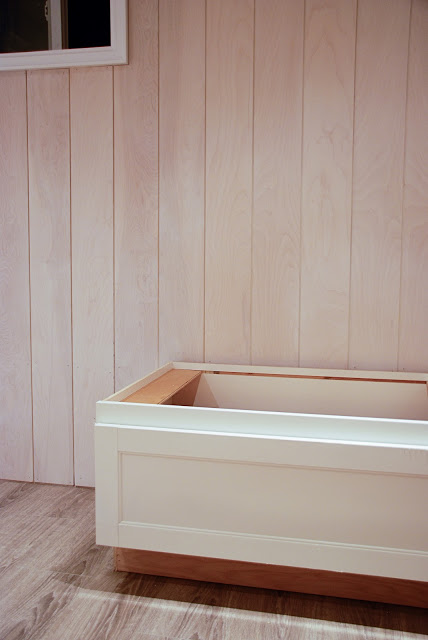
If you want to give your space a cool shabby chic touch, or just want something light and airy for décor, whitewashing is right what you need. We’ve already shared some ideas to whitewash planters and pots and brick walls and fireplaces and today we’ll have a look how to give your wooden surfaces that chic worn look.
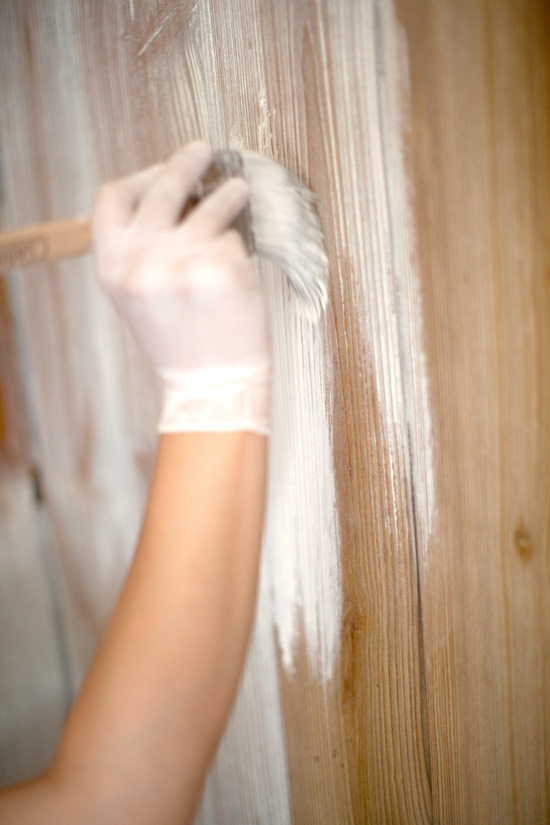
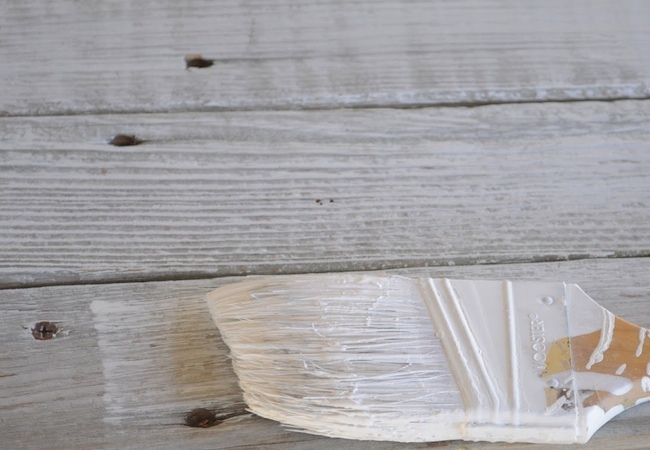
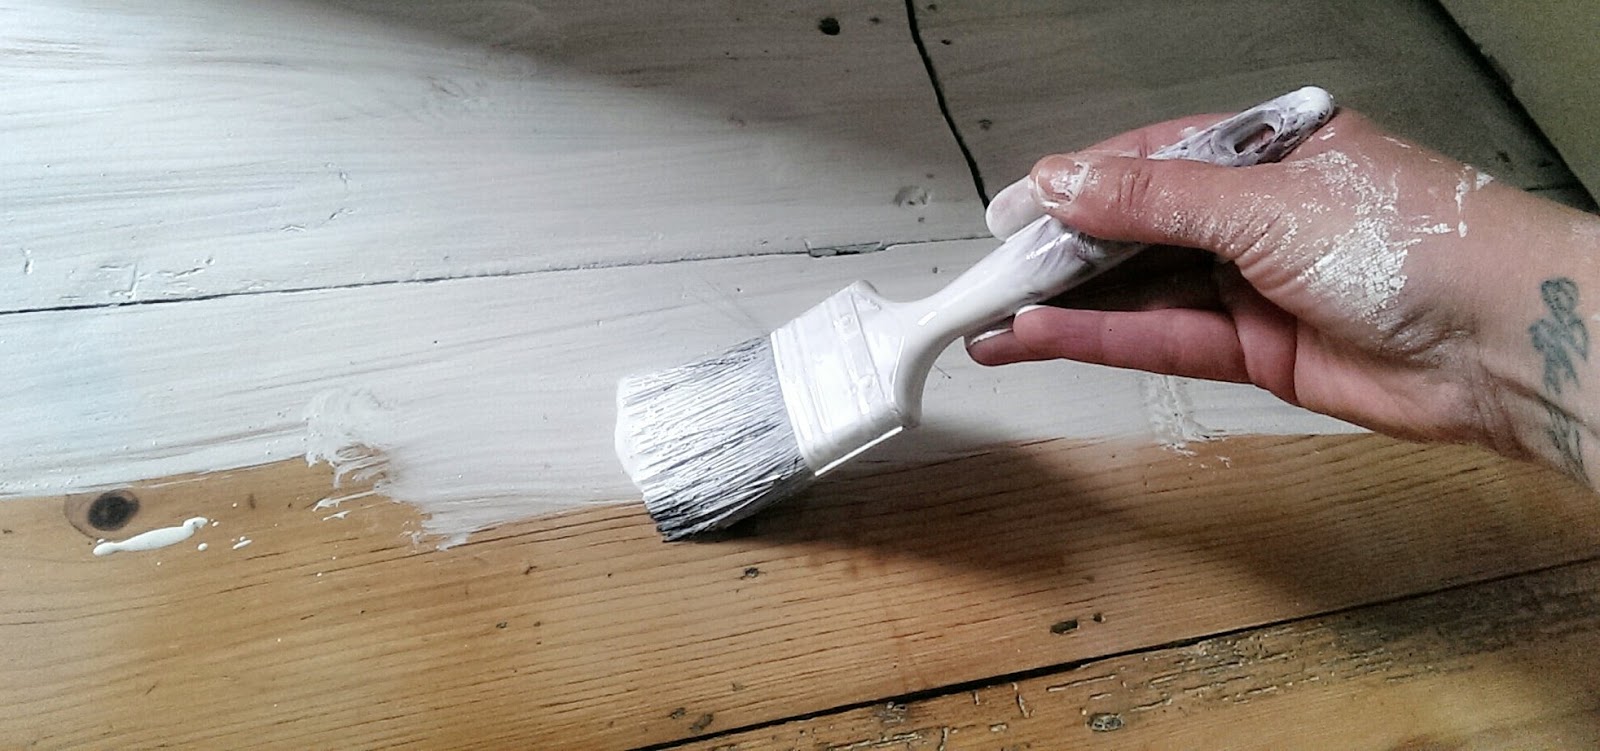
Remove furniture from the area so that you have ample room to work. Lay drop cloths or plastic sheets on the floor to protect it. Using painter’s tape, tape off trim, ceiling edges, molding and any other surface that is adjacent to where you are whitewashing. Whether these are floors, walls, ceilings or just a door, the technique is basically the same. First of all, mix the paint. How many parts of water and white latex paint you take depends on the how whitewashed you want to see your wood. Sand your wooden surfaces well and begin painting them. Before you begin to paint the entire wall, it helps to test a small area. Play around with brush pressure and wiping technique until you get the look you want. Apply as many layers as you want if one isn’t enough. Remove the excessive paint with a rag/ old tea-towel, rubbing the white stain into the grain of the wood, until you get an even finish. Let it dry and voila, you have whitewashed wood!
Read the tutorials below to find out more details, tips and tricks to whitewash the wood in the best way.
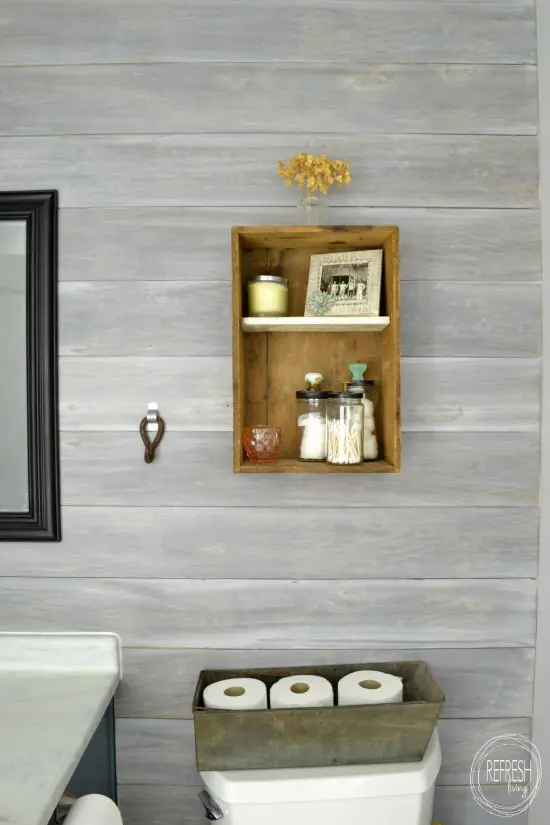
How to whitewash wood in the best way (via refreshliving).
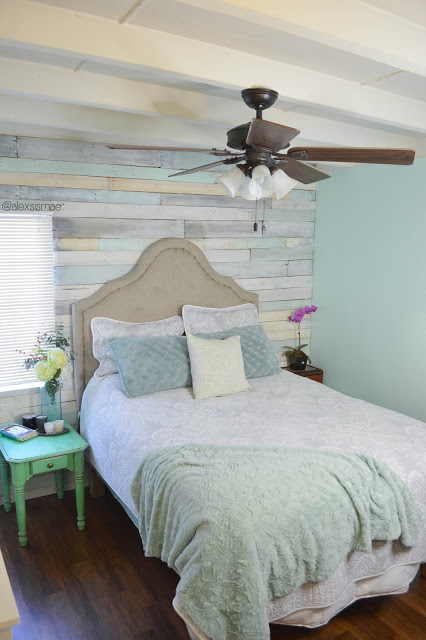
DIY whitewashing a pallet wall (via alexsismae).
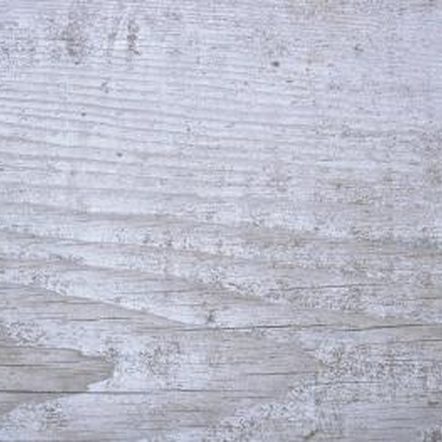
How to whitewash wood walls (via homeguides).
How to whitewash wood in 4 steps (via thedempsterlogbook).
How to whitewash wooden walls (via blog).
DIY wood whitewashing (via bobvila).
How to whitewash wooden flooring (via nostalgiecat).
How to whitewash wooden walls (via justatouchofgray).
DIY whitewashed wooden plank ceiling (via remodelaholic).
DIY whitewashed plank walls (via ramblingrenovators).
