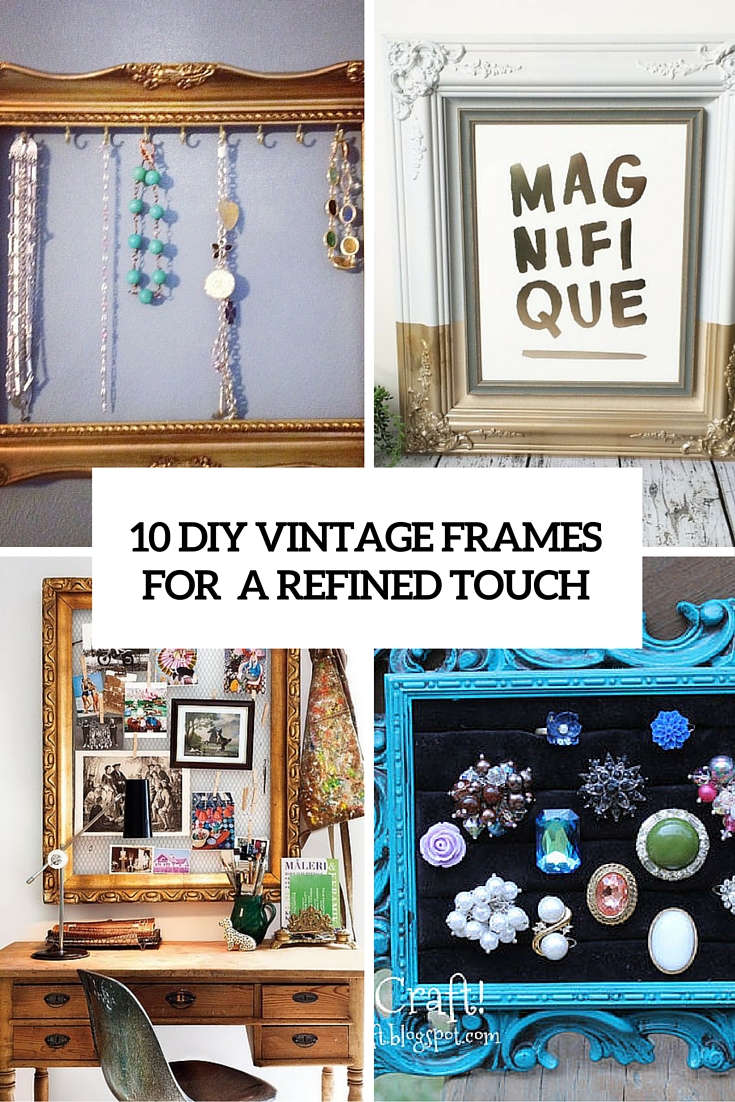
Frames are an indispensable part of our home décor, they allow displaying pictures, jewelry, keys, even tableware and mirrors if you want it – they can help you display anything! You can create gallery walls of them or just accentuate some space with an oversized framed wall art. Today I’d like to share some DIYs for vintage frames and ways to use them that will make your space and the piece you display more refined.
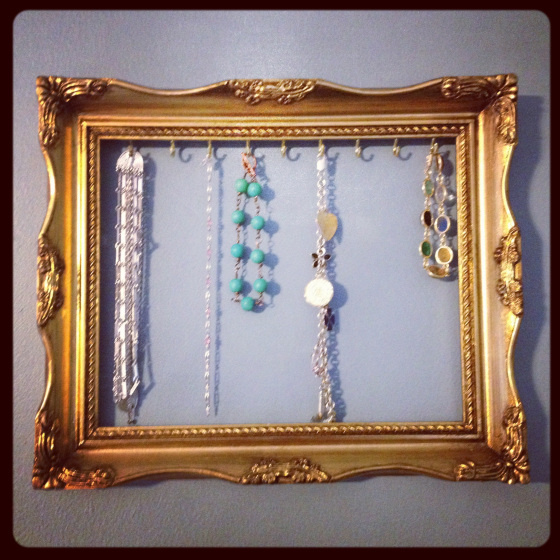
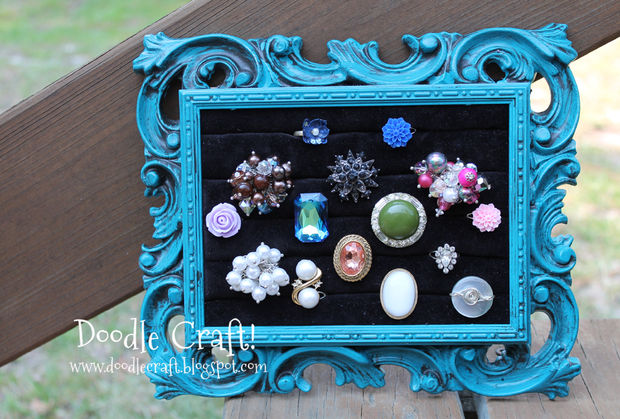
To make a vintage frame jewelry display, prepare cotton batting, some silk, a primer, paint , a small paint brush, glue, vintage frames, your jewelry and sandpaper. Lightly sand each frame, removing any sheen. Then give the frames a quick wipe with a damp cloth. Using a small brush apply a coat of primer, let it dry overnight, then applied two coats of paint. Use a smaller artist’s brush to get the paint into the “carved” detail. Spray paint with a built-in primer would make light work of this job. Cut a piece of batting and silk slightly larger than the backing and upholster it. Wrap the fabric tightly, squeeze the backing back into the frame to check fit, and then glue the batting and fabric in place on the back. Secure with tape while the glue dries. Staple beside the backing so instead of the staples going through the backing, the staples hold the backing in a kind of friction fit.
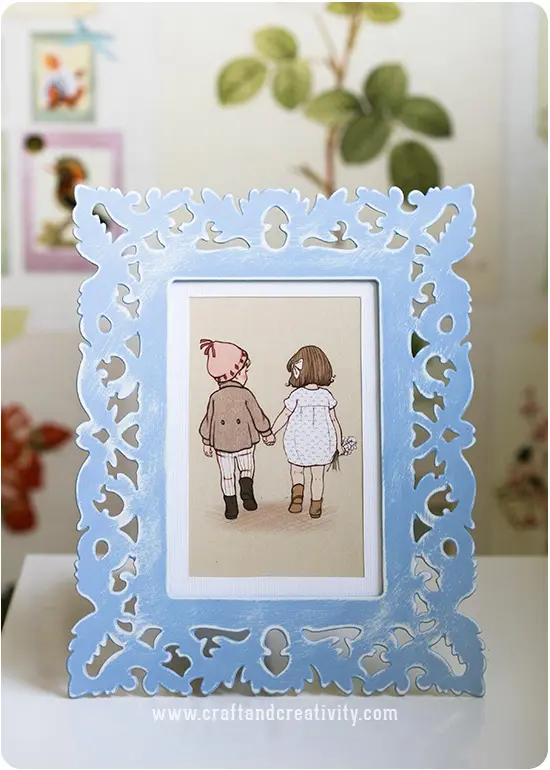
How to make a usual metal picture frame a vintage one? Add some vintage-styled chalk paint! Paint the frame with two coats of paint in two different shades, ivory and blue. Let the paint dry 1-2 hours between each coat. After two coats of paint, let the frame dry for 24 h. Then distress the surface softly with a sheet of fine sand paper to create a worn look and feel where both colors are visible. The only thing left was to pick a pretty motif and frame it.
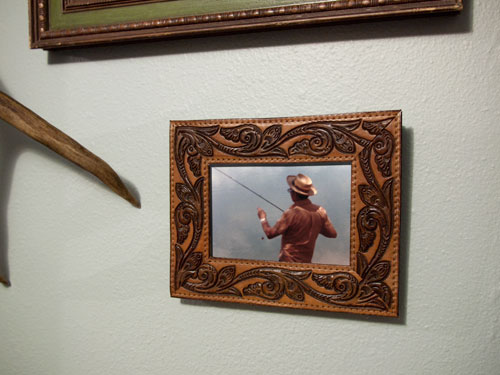
One more super original idea is making a vintage frame of a belt. Unreal, right? Start by figuring out what size your frame will be. The belt edge of the frame must be small enough to hold your picture and glass in, and also realize that the overall frame size will then add the width of the belt to itself. After your belt pieces are cut, we can build the back frame. Measure your belt pieces’ outer dimensions and let’s cut a panel to that size. Then, cut some spacer pieces to glue onto the panel to hold our leather pieces off the panel enough to fit our picture and glass. Glue the frame back together, leaving a top open so you can replace the picture in the frame. Once the glue dries, you can slide your picture and plexiglass into it. Depending on the space, you could add some packing to keep the picture flat.
Need more ideas? Read the tutorials below!
DIY metal chalk paint frame (via craftandcreativity).
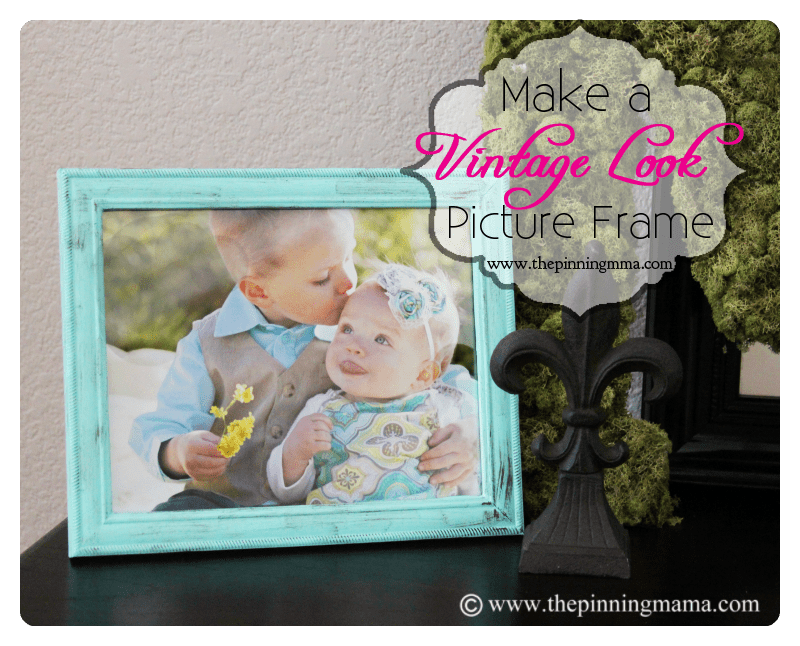
DIY vintage dry brush technique (via thepinningmama).
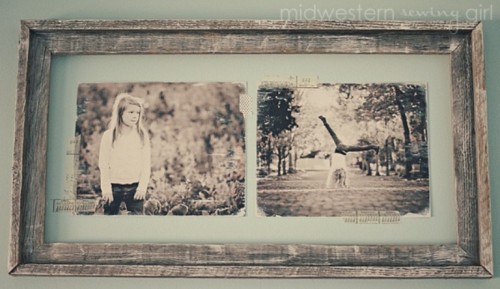
DIY vintage photo display (via shelterness).
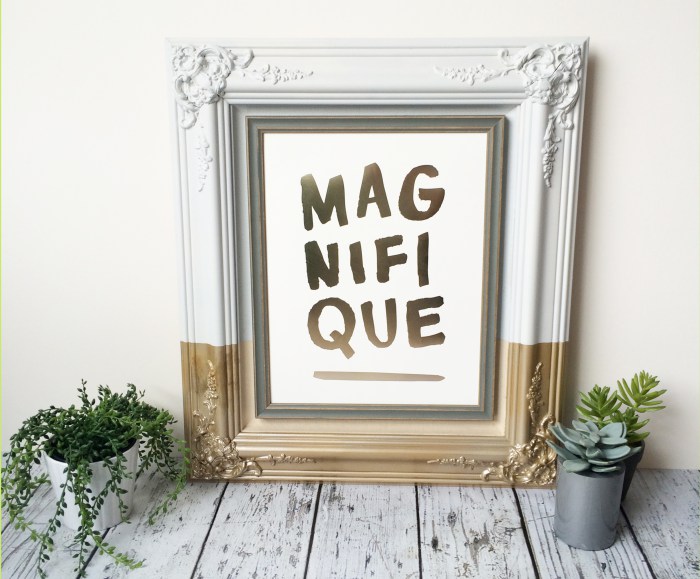
DIY dipped vintage frame (via brooklynberrydesigns).
DIY vintage-inspired frame jewelry display (via https:).
DIY vintage shabby photo frame (via shelterness).
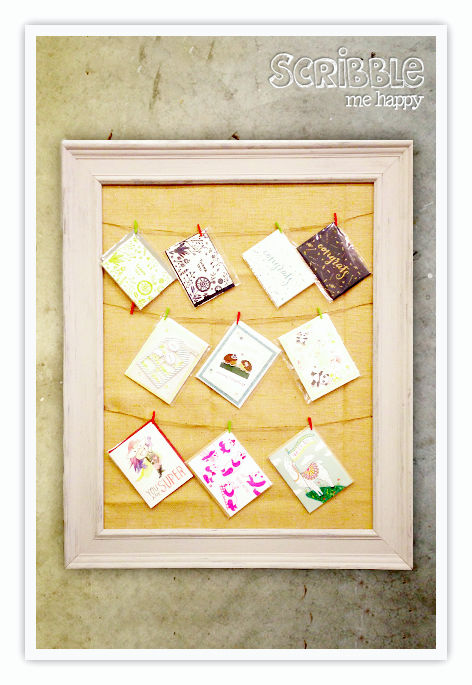
DIY vintage picture frame using chalk paint (via scribblemehappy).
DIY vintage frame ring display (via instructables).
DIY vintage belt picture frame (via designsponge).
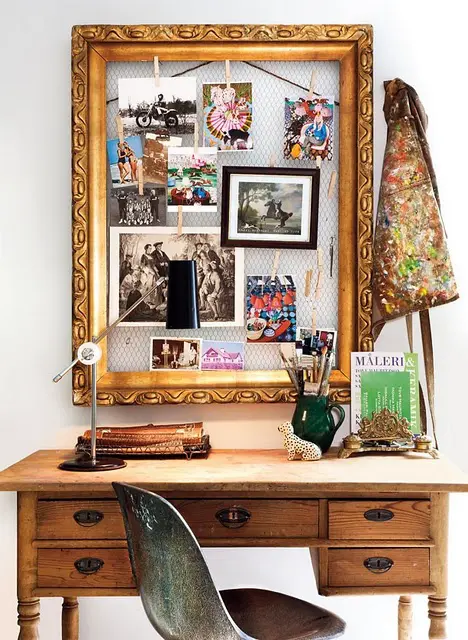
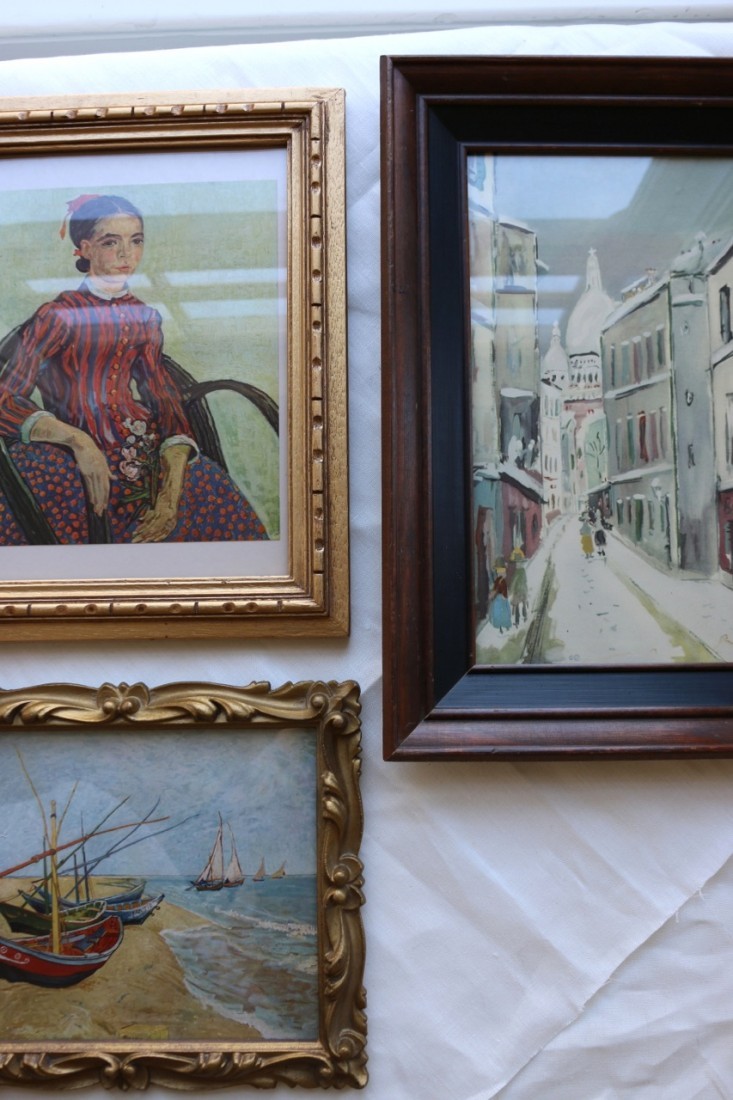
DIY vintage picture frame wall (via remodelista).
