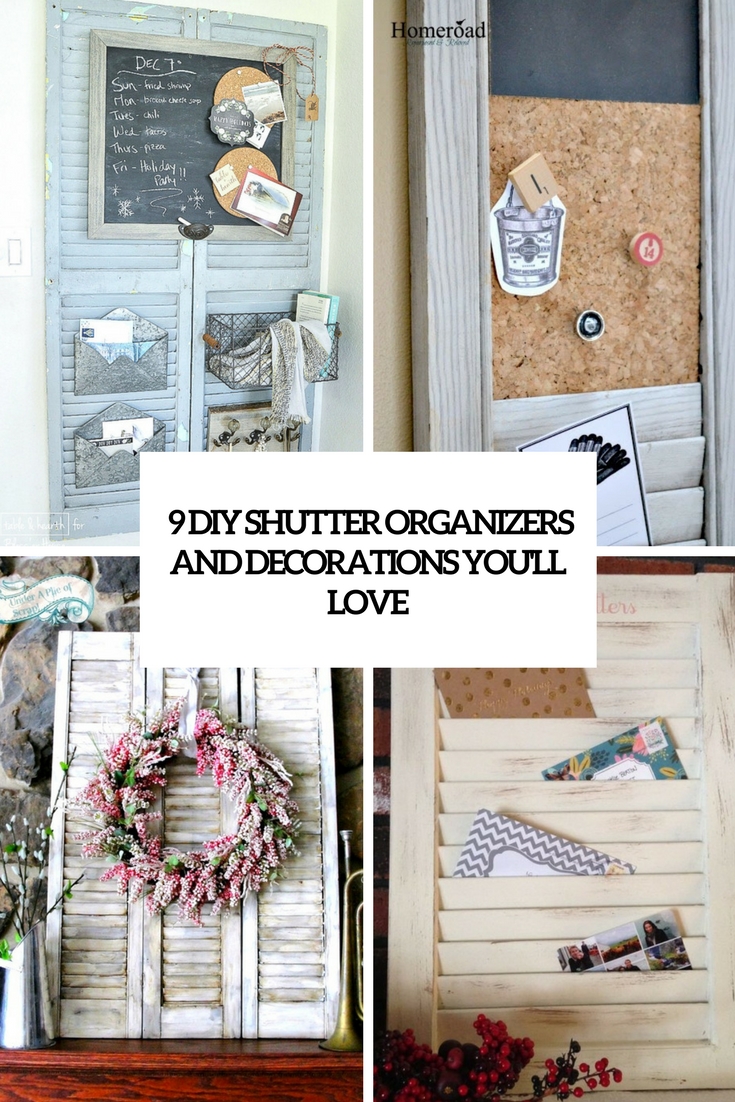
Old shutters may be reused in many different ways, from making barn doors of them to creating organizers and furniture. As we’ve already shared some cool furniture projects, it’s time to have a look at smaller things: organizers and decorations. Let’s get started!
Organizers
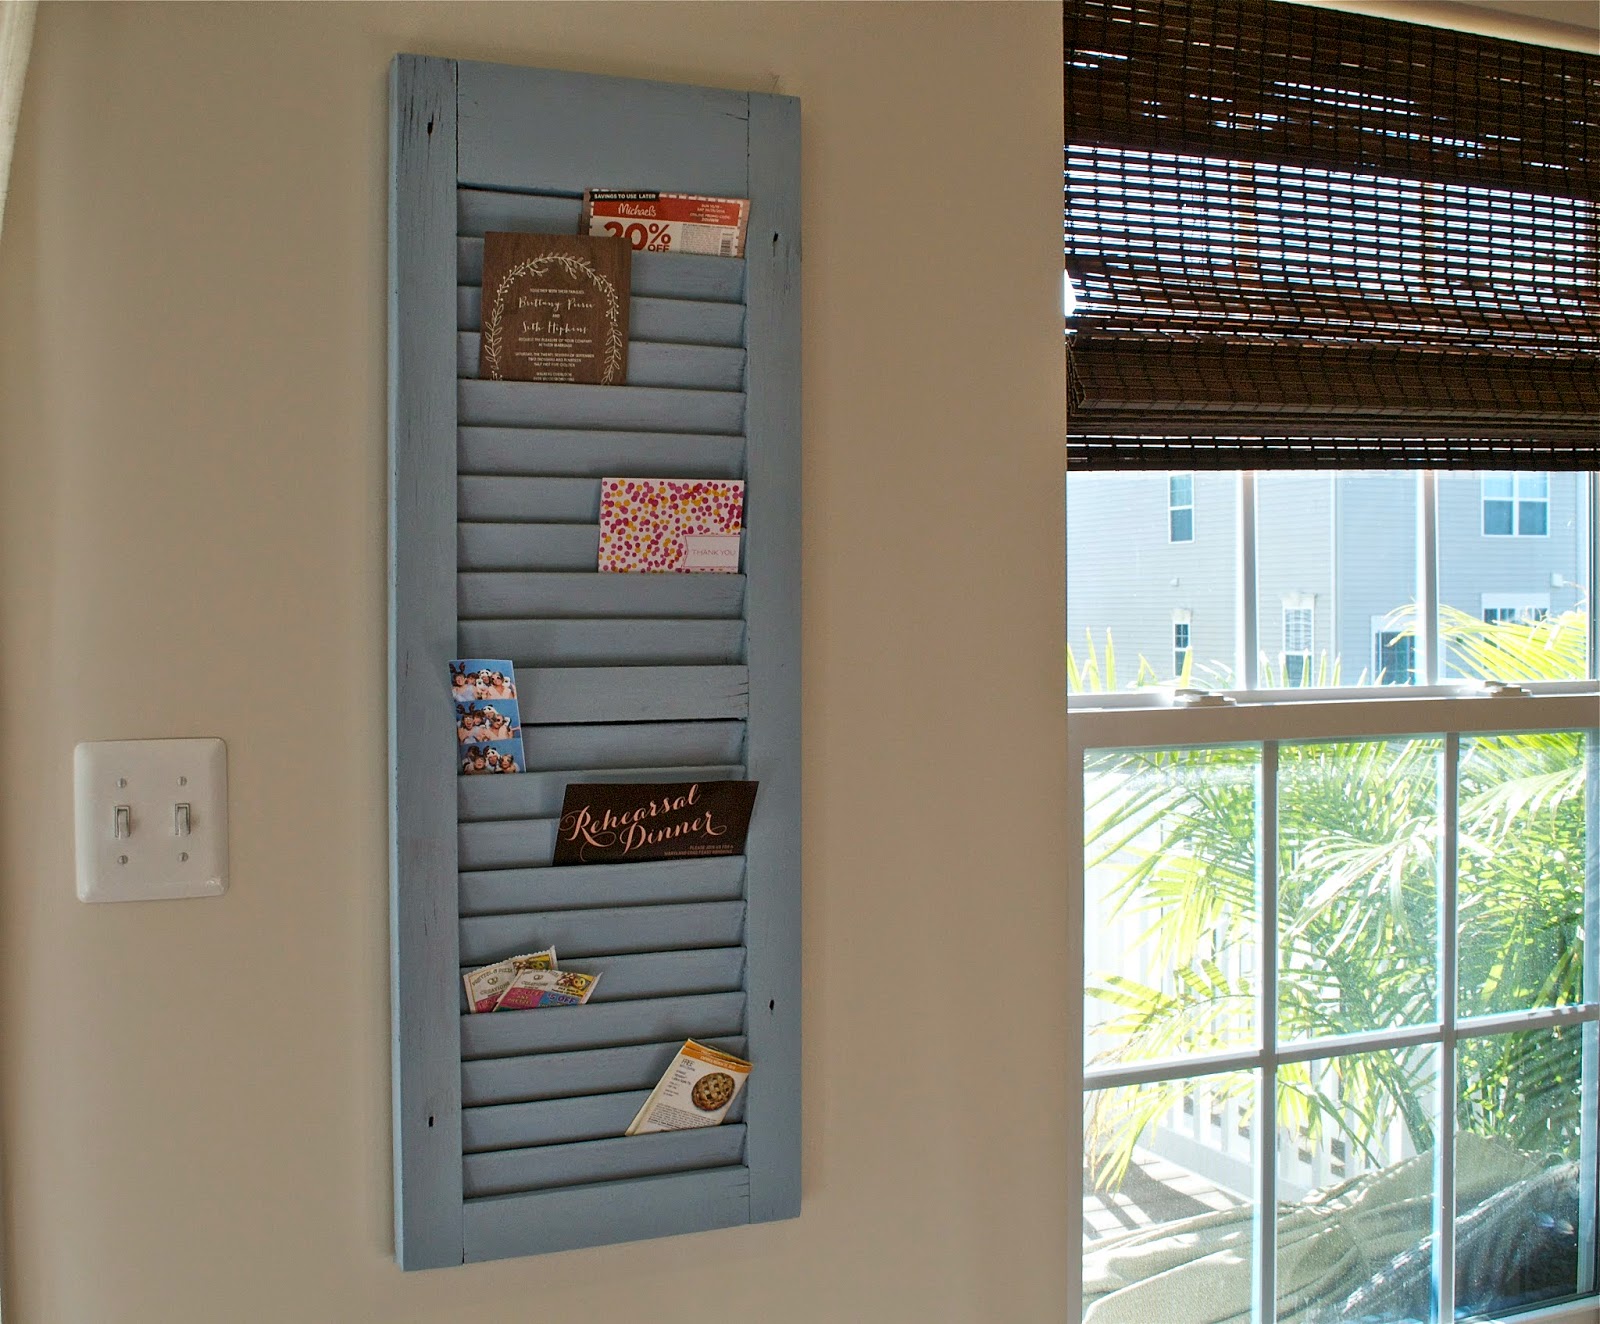
Most of us need mail organizers in the entryway, and making it will take little time if you have a ready shutter at hand. Sand and paint it the way you like (here it’s vintage light grey) and then attach in your entryway to store your mail there. Enjoy!
DIY shutter mail organizer (via hollybbaking.com).
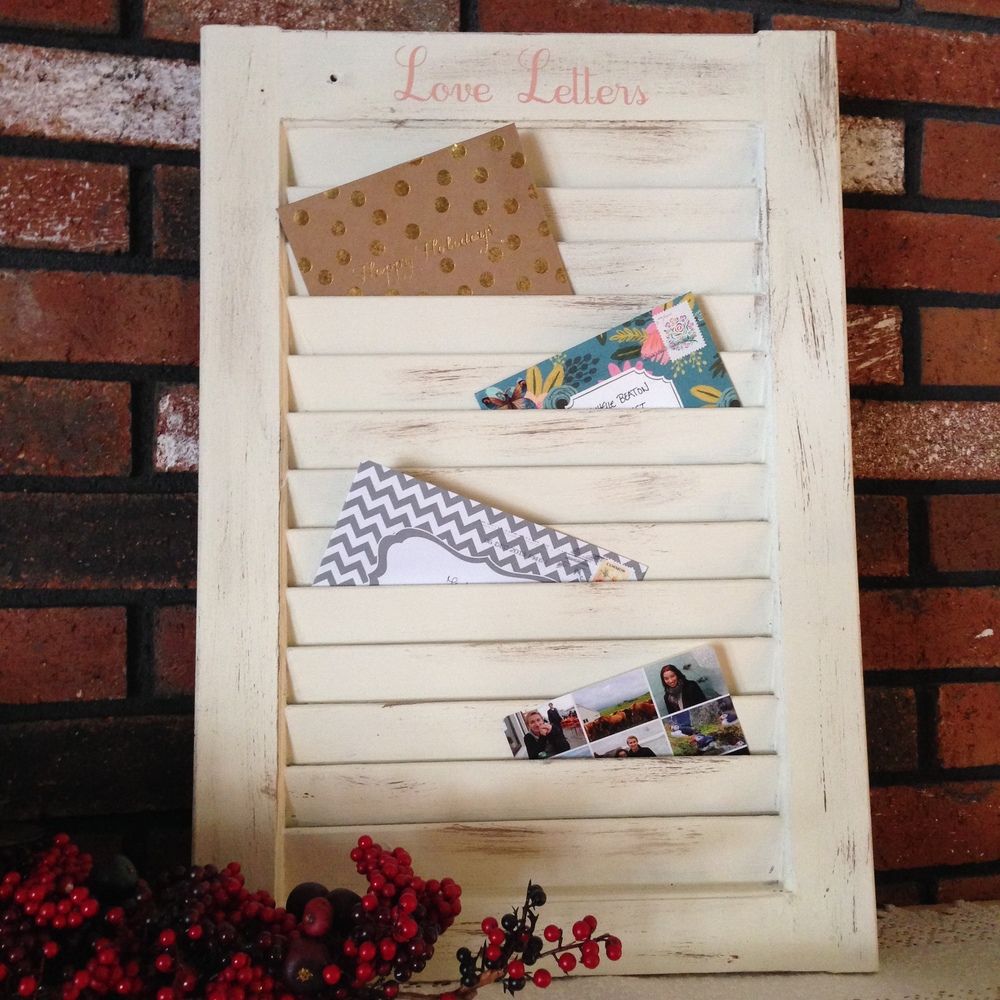
Here’s another similar mail organizer – it’s a shutter painted with chalk paint to give it a rustic look. Attach it to the wall or place on a mantel or console and then just tick your mail in between the wooden planks. So easy!
DIY window shutter mail organizer (via www.instructables.com).
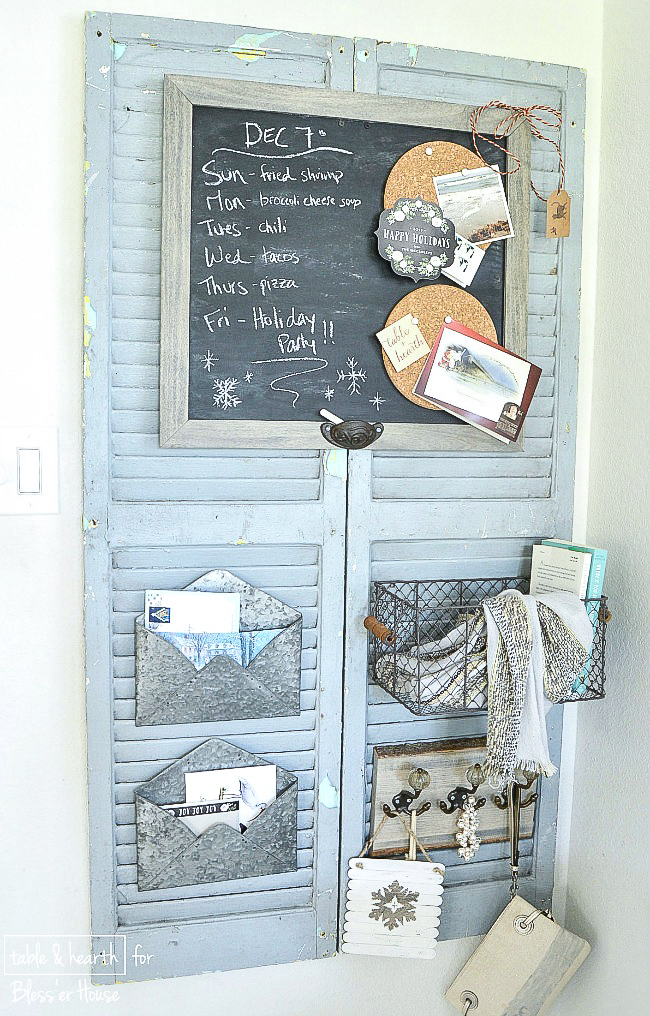
This is a large shutter organizer, and it’s not only for mail – for anything you want! It’s a good idea for a home office or a craft room as it contains some shelves with hooks and metal baskets plus styled envelopes to hold the mail. The whole setup is very interesting and creative and perfectly fits a vintage space, so find out how to make one.
DIY rustic shutter home office organizer (via www.blesserhouse.com).
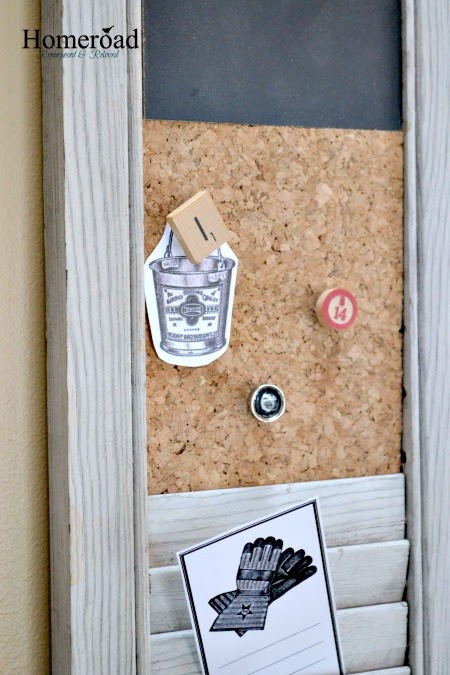
This shutter organizer consists of several parts and comprises all the useful ideas: a chalkboard, a corkboard and a shutter part. So you may hang it in a home office, entryway or a kid’s room and use all the parts: one for leaving messages, another for pinning something and the third one for ticking papers inside. The whole piece is framed, which gives it a more unified look. Hurry up to make one!
DIY weathered shutter organizer with a chalkboard and a pinboard (via www.homeroad.net).
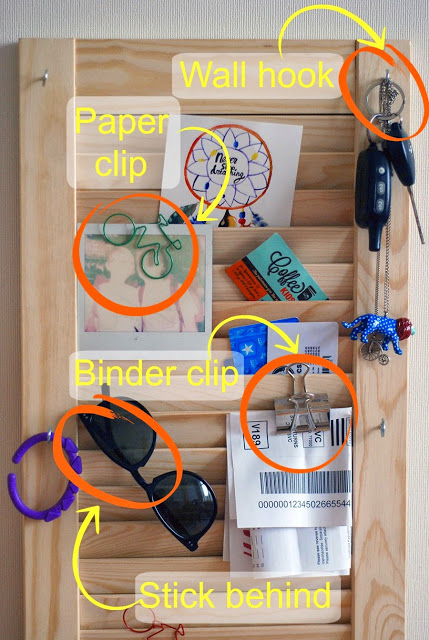
This simple shutter organizer contains some hooks and looks rather modern as it has no finishes. It will add a rustic touch to the space, and you can hang your glasses, keys and other stuff on the clips and hooks, which is very comfortable – no need for catch-all trays!
DIY hallway wall mail and keys organizer (via www.thethings-we-do.com).
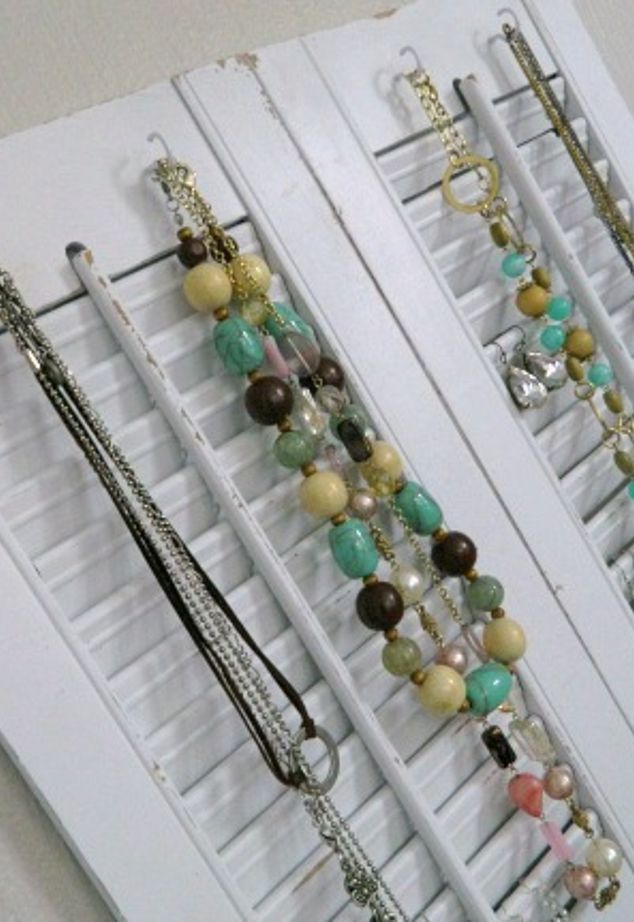
Shutters are a great idea to display and store your jewelry! The idea is about attaching some shutters to each other, giving them a proper look and adding hooks for hanging all your belongings. Voila!
DIY jewelry shutter organizer (via www.hometalk.com).
Decor
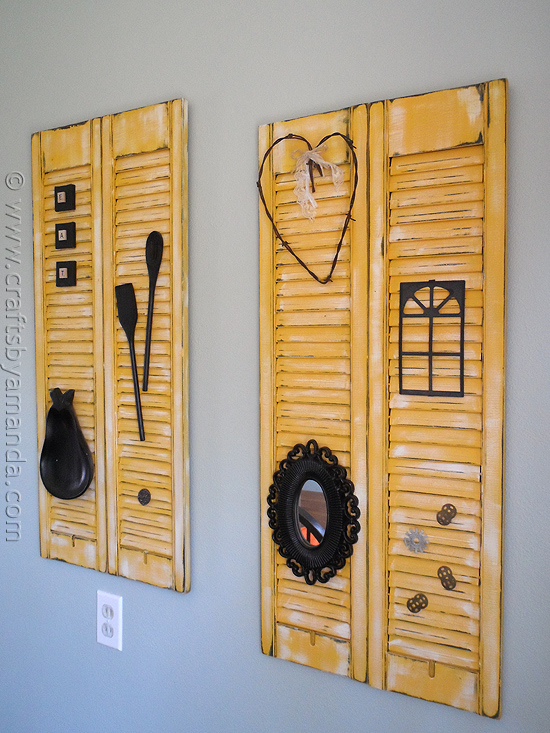
If you have a rustic or shabby chic space, I bet I’ve found a nice wall decoration for you. This piece is made of shutters and can hold various items like frames, key rings, monograms, gears and other stuff you decide to attach. Actually, you can attach various stuff to the shutters to style the artwork for your interior perfectly.
DIY distressed shutter wall decor (via craftsbyamanda.com).
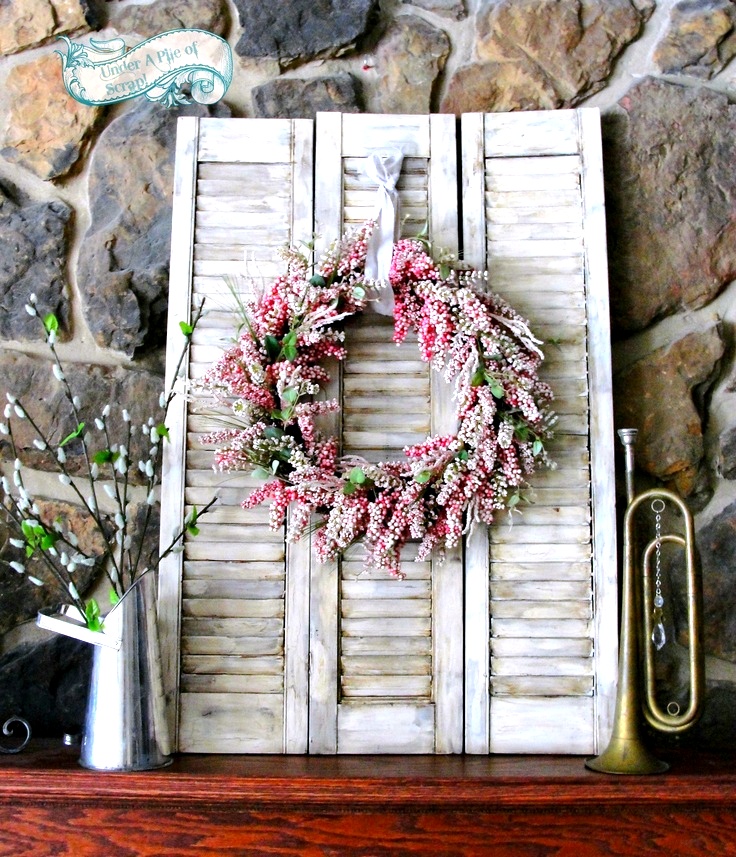
I totally love the tender look of this piece! These are several shutters attached to each other with a shabby chic and weathered look, and a flower wreath attached – so soft, cute and sweet! Such a decoration will be a nice idea for any space, you may place it on a console or on a mantel to give it a spring feel.
DIY old shutter decor with a wreath (via www.funkyjunkinteriors.net).
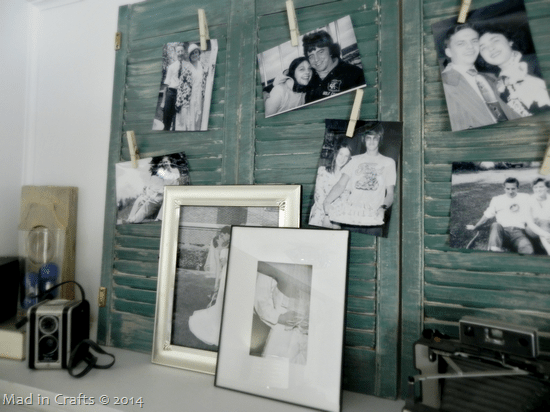
What about displaying family pics? You can make a great display of old shutters! Attach several of them to each other – as many as you want and then sand and paint the way you like. Here it’s teal color to contrast the black and white photos but you can go for any color combos. Place the whole thing where you want: on the desk, mantel, console or attach to the wall and attach photos with clips or in another way. Enjoy!
DIY vintage mantel photo display (via madincrafts.com).
