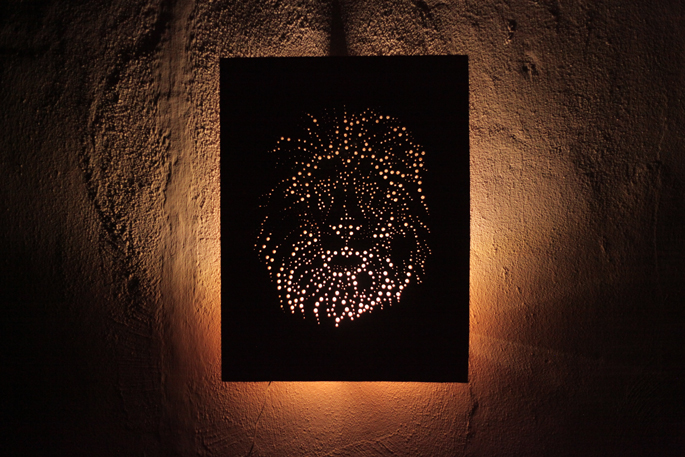
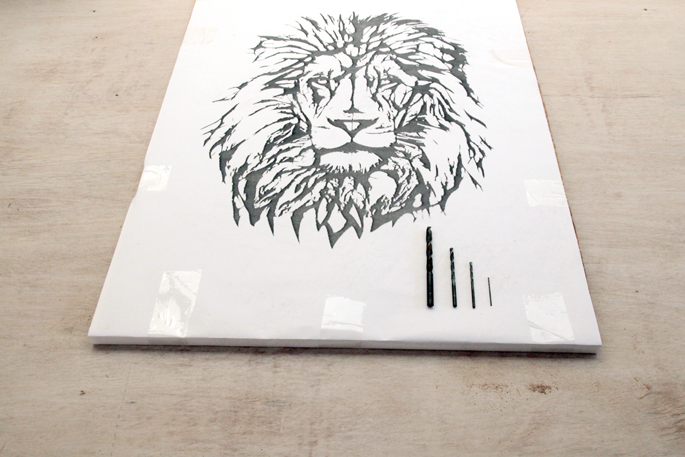
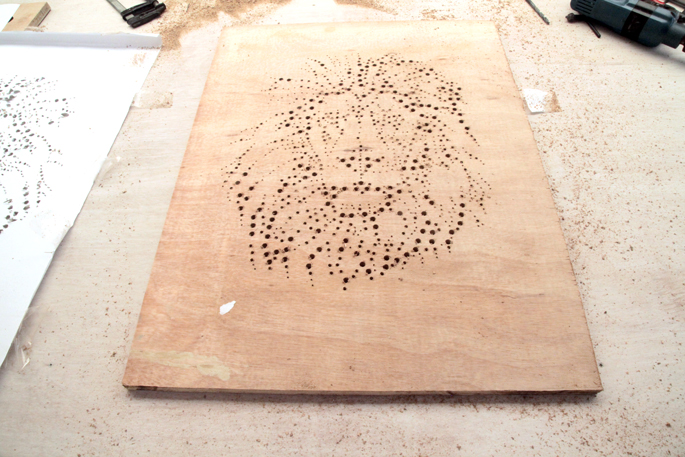
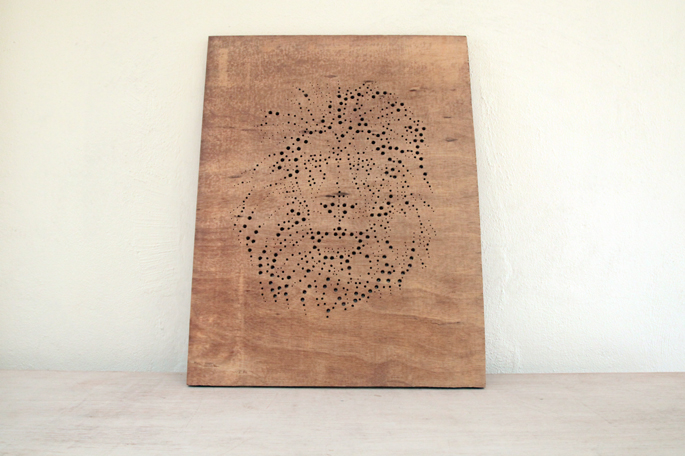
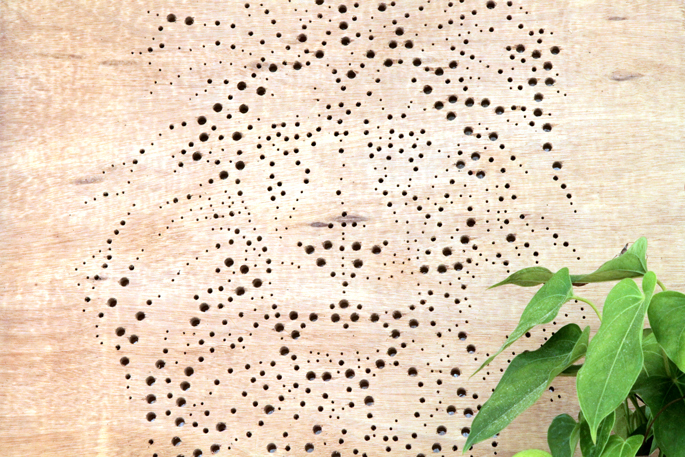
Drilling holes you can create a fine art piece! Don’t believe it? Prepare a drill, different sized drill bits, plywood, an illustration, a printed piece, tape, fine grit sandpaper, polyurethane, IKEA DIODER LED lights. Once you have the plywood the same size as the illustration, glue the print to the plywood. Clamp down your board so half of it hangs over the table. Drill where you think best. The biggest drill bit can be used on the thickest areas of the illustration. Leave the most important and defining details (the eyes, mouth and nose) mostly for the smallest drill bit. This way you can get more details to show through. Keep reading the instructions at hometreeatlas.com.
