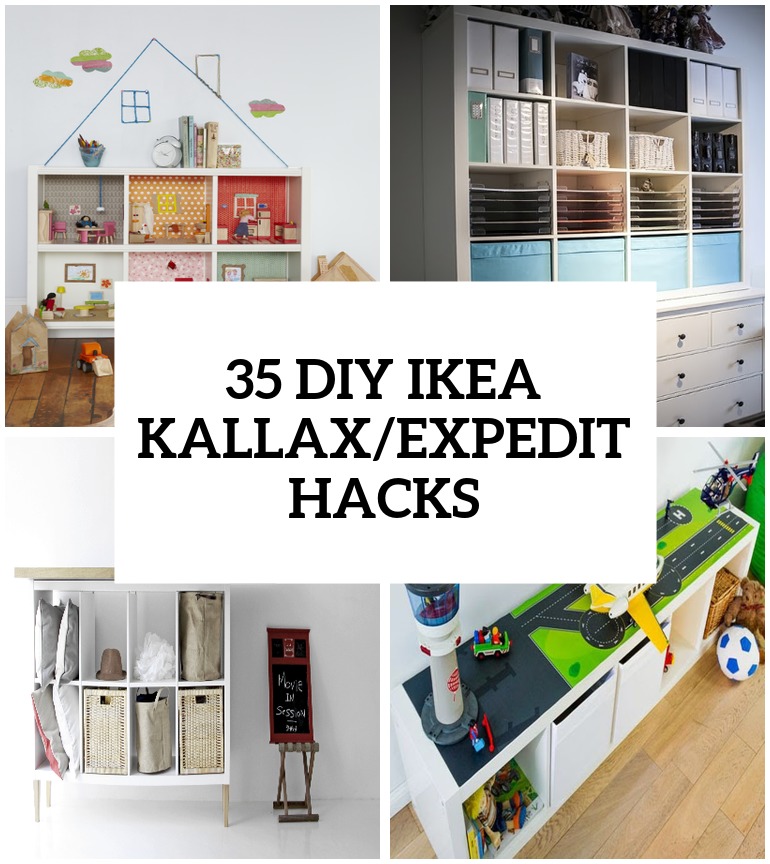
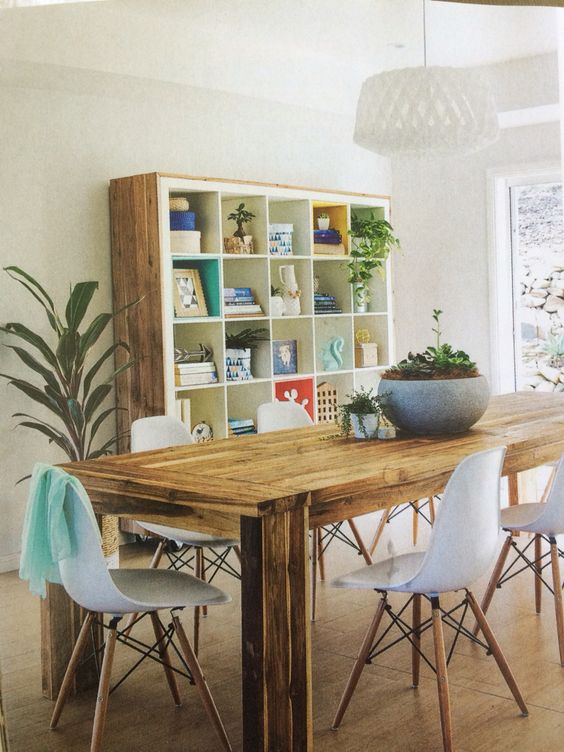
If you’ve ever owned an IKEA Kallax—or the OG Expedit—you know it’s a real game-changer. It’s that rare combo of simple, sturdy, and fits everywhere. But here’s the kicker: it’s also a blank canvas just waiting for your creative touch. Whether you’re in the mood to build a cozy bench, organize your kid’s chaos, or just spruce it up for some stylish storage, I’ve got you covered. Let me walk you through some of my favorite hacks (and a few lessons learned the hard way).
Quick Kallax Upgrades for Any Room
Don’t have time for a full-blown project? No problem—there are so many little tweaks you can make to elevate your Kallax in minutes. Here are a few ideas that have worked for me:
- Add Rattan Panels: Grab some pre-woven rattan sheets, cut them to size, and attach them to the cubby doors. It’s such a simple way to get that boho-chic vibe.
- Swap the Knobs: If your Kallax has doors or drawers, change out the knobs for something fun—think brass, ceramic, or even leather pulls. It’s a tiny change that makes a big impact.
- Wallpaper Inserts: Line the back of each cubby with peel-and-stick wallpaper. You can go subtle or bold depending on the room.
- Switch the Legs: IKEA’s default options are fine, but swapping in some mid-century modern legs from Amazon? Instant upgrade.
- Stick-On Vinyl Decals: Use peel-and-stick vinyl to create patterns or faux wood finishes on the cubby backs or sides. You can even go bold with metallics for a glam look.
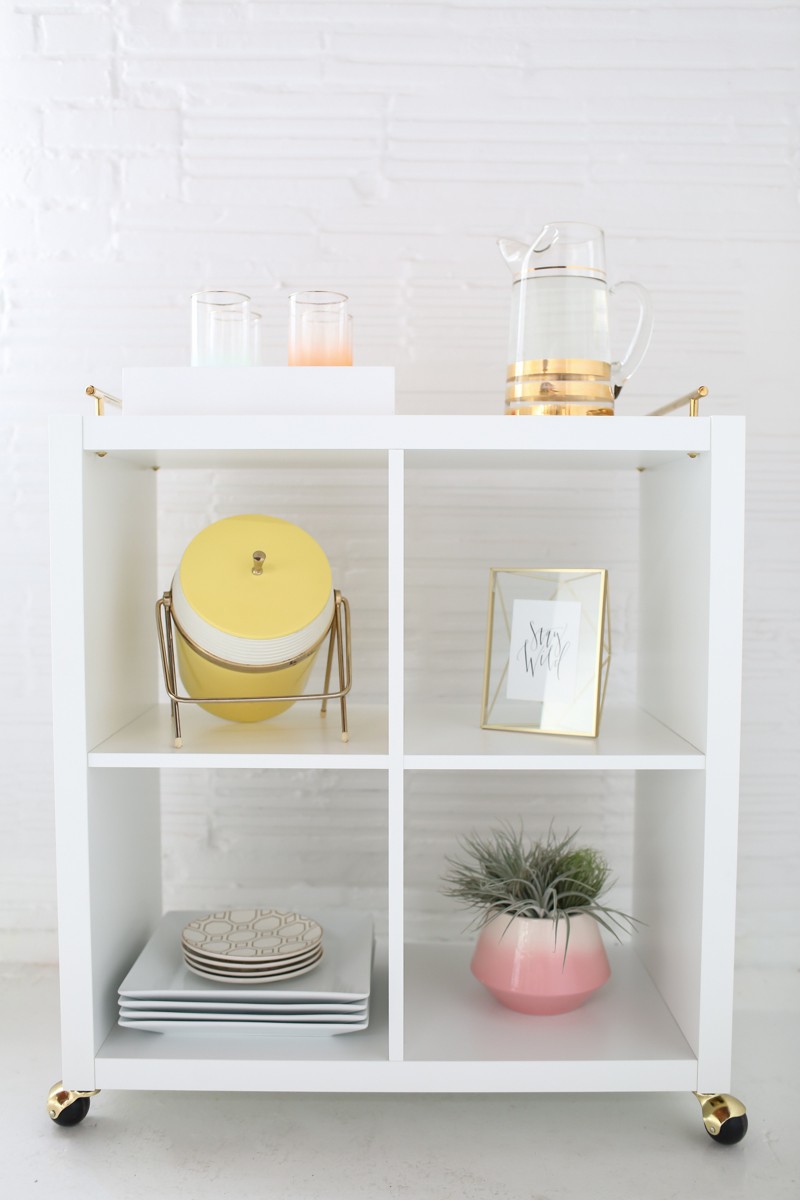
- Add Casters for Mobility: Turn your Kallax into a rolling cart by adding casters to the base. Perfect for craft supplies, bar setups, or mobile storage anywhere you need it.
Kallax Storage Hacks: Functional Meets Fabulous
Need extra storage that looks chic? The Kallax is perfect for sideboards, nightstands, or organizers. Start by adding a painted plywood backing for a pop of color. Nail it on securely—especially for heavy items.
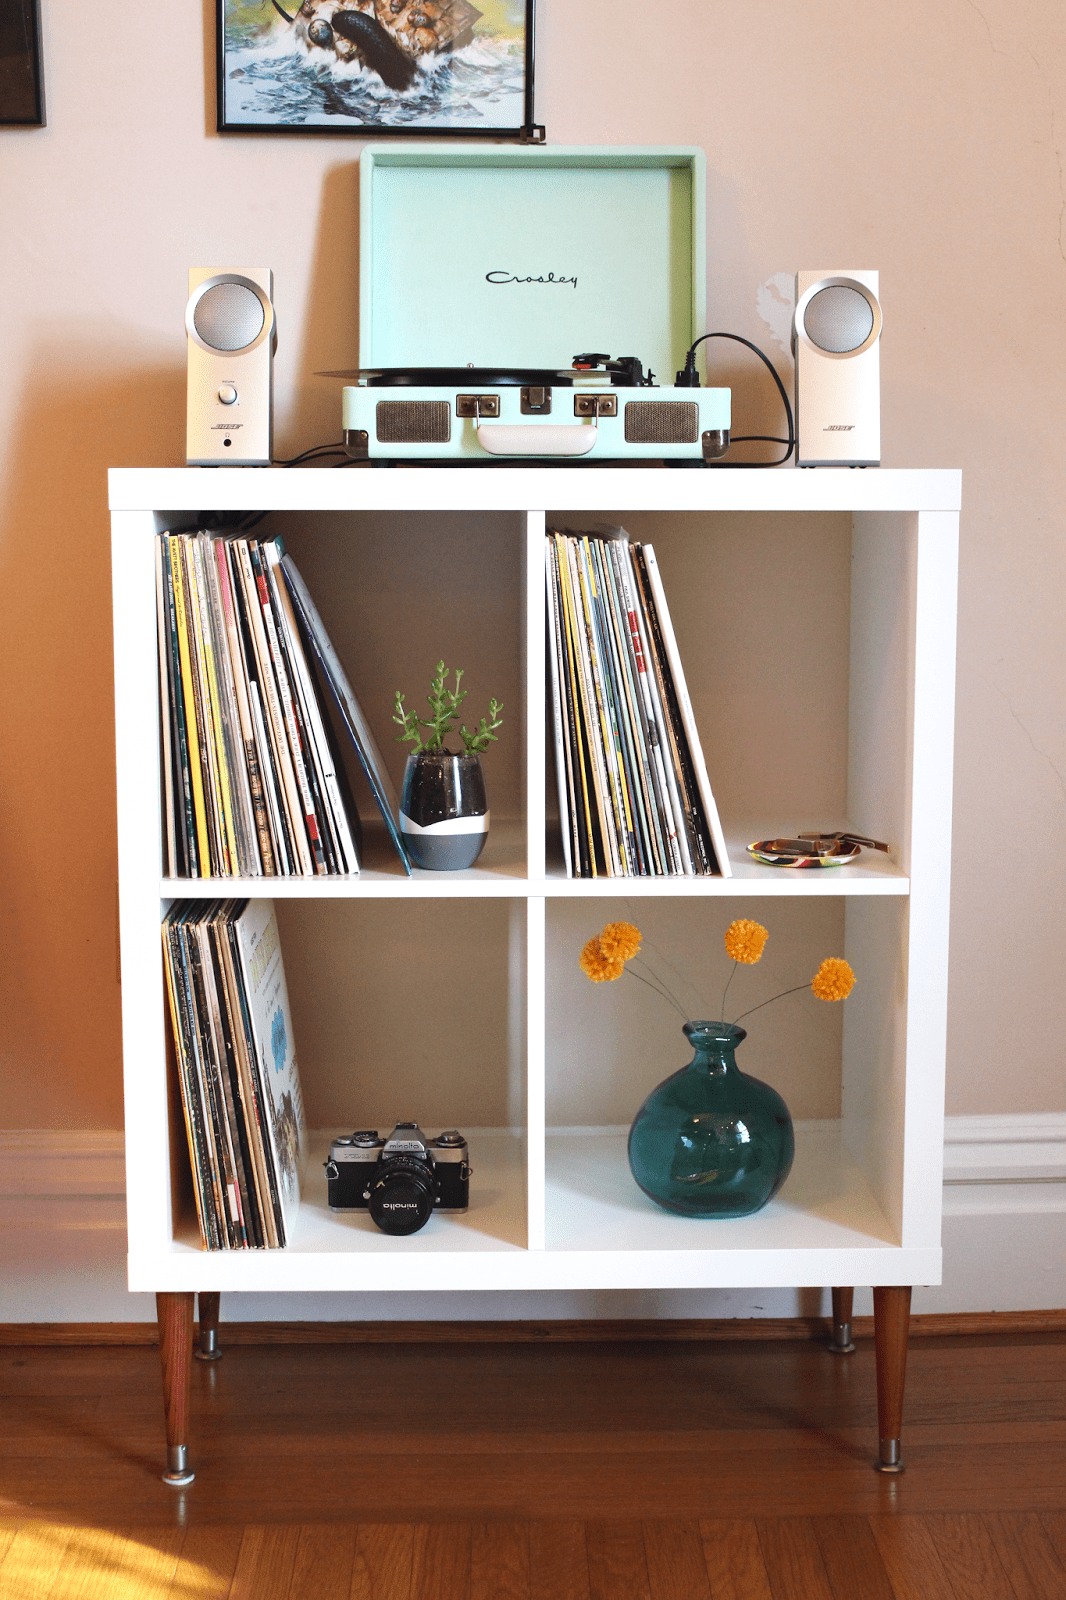
Upgrade the legs with stylish furniture feet—wood for mid-century vibes or metal for a sleek look. Pre-painting them saves time later (trust me on this one).
For the cubbies, mix in wicker baskets, fabric bins, or even wallpaper-lined inserts. It’s a quick, affordable way to turn a simple shelf into custom, high-end storage!
Elevated elegance with a touch of vintage charm! This painted Kallax unit with tapered legs is both practical and effortlessly chic. (@ruth_atmeadowvalehome).
A dramatic and elegant transformation that turns simple shelving into a statement piece. Arched cutouts and moody tones create a sophisticated home library or display area. (@handmadehome_durham).
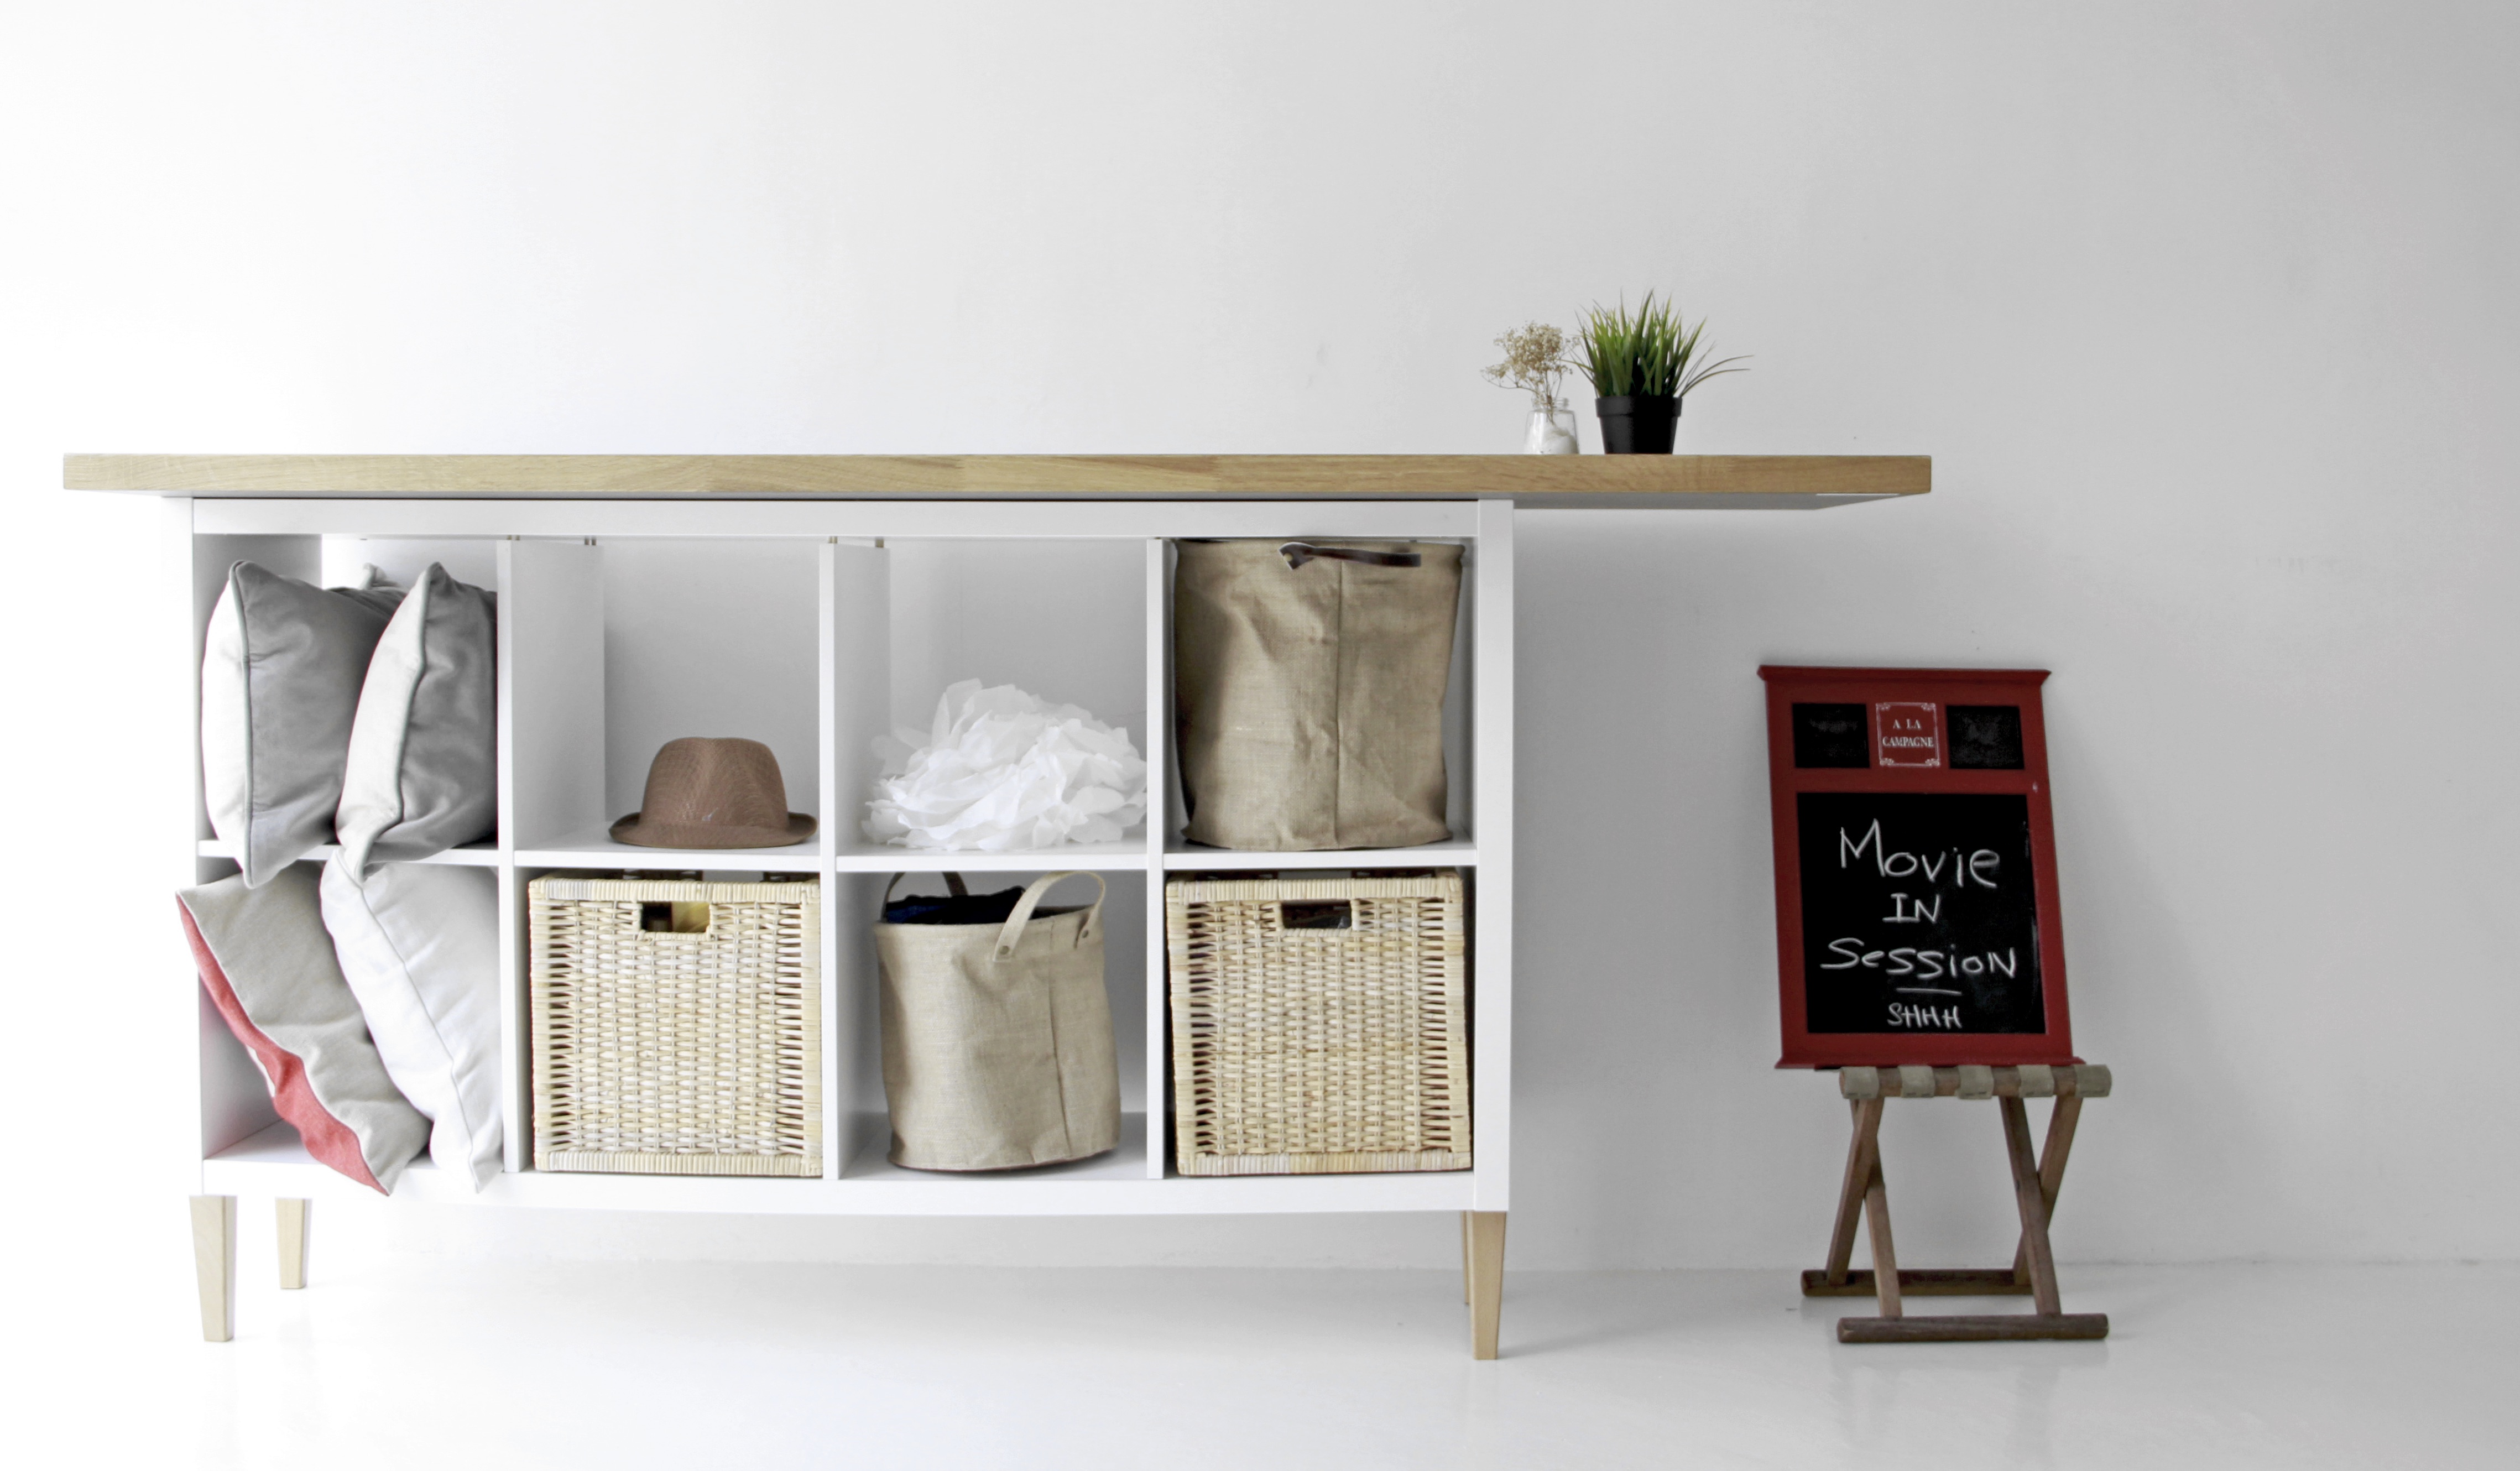
The natural wood top gives this piece a fresh, modern touch, making it a perfect mix of practicality and style. Paired with baskets and plants, it creates an inviting, organic aesthetic. (@newswedishdesign).
A perfect blend of function and style, this unit combines crisp white shelving with warm wooden textures. Ideal for keeping things tidy while maintaining a cozy, minimalist vibe. (@stylingmyinterior).
A stylish upgrade with mid-century modern vibes! Raised legs and woven baskets add warmth and sophistication to this classic storage piece. (interiors/ renovation).
Elevate your space with a touch of glam! This Kallax transformation features chic golden overlays, adding a refined and luxurious feel to your storage. (@interior_sv).
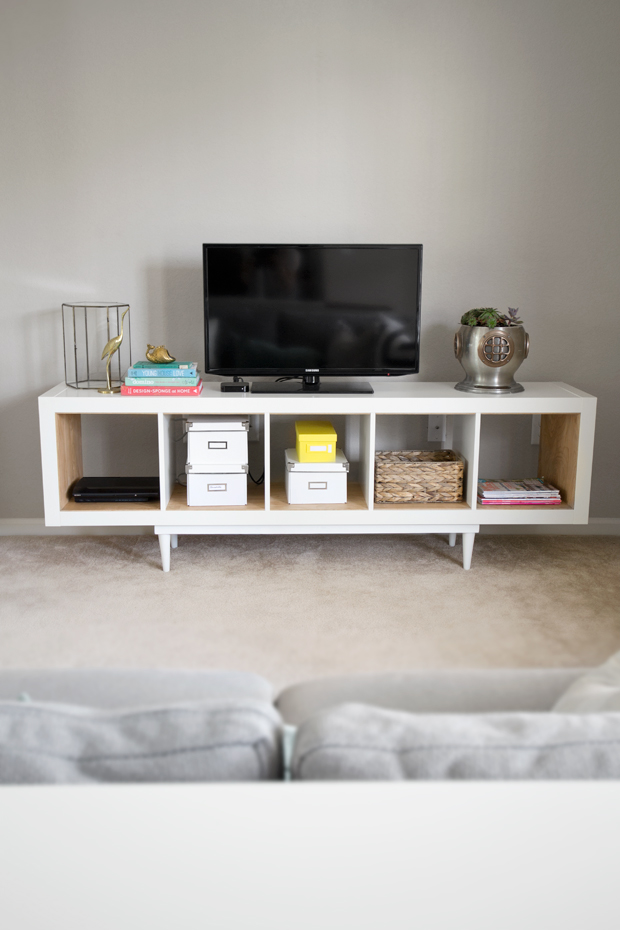
DIY Kallax TV stand (via infarrantlycreative).
DIY IKEA Kallax Benches
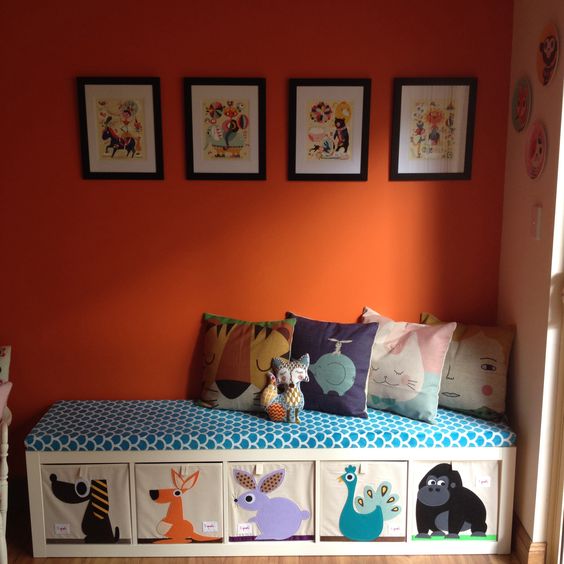
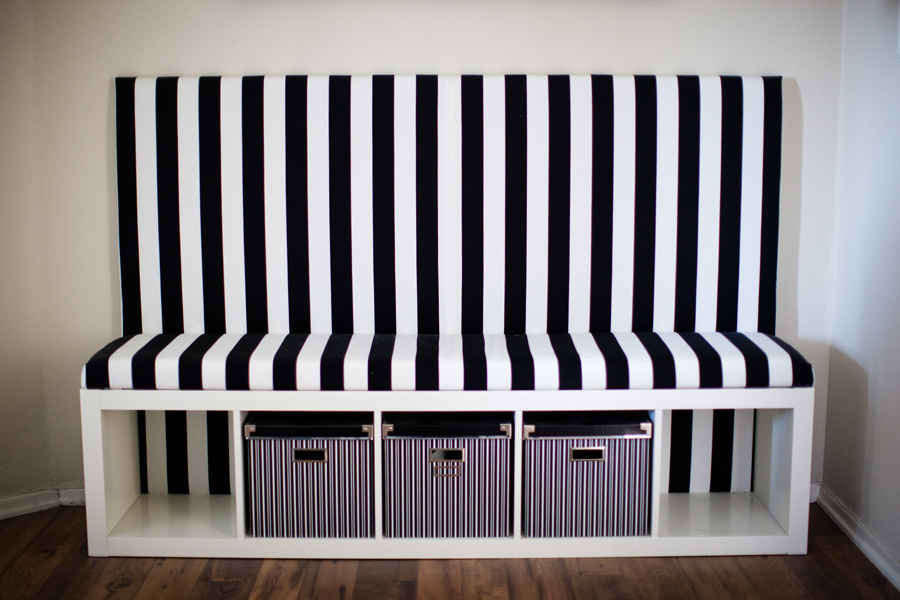
Turning a Kallax into a bench is hands-down one of my favorite upgrades. My home always feels like it’s short on storage (and seating, TBH), so this was a no-brainer. Plus, it looks like a million bucks when it’s done—even though it’s way more affordable. That said, my first foam-cutting attempt was… let’s just say, less than perfect.
Here’s the gist: You’ll need a Kallax, six IKEA Capita legs, a sturdy MDF board, foam, quilt batting, and fabric. Attach the legs (corners + two in the middle), then focus on that seat. Pro tip: use a carving knife to cut the foam slowly—and triple-check your measurements before you slice. Stretch the batting over the foam, staple it to the MDF, then do the same with your fabric. Pull the fabric tight (seriously, tight!) for that crisp, professional look. Once it’s ready, screw the cushioned board onto the top of the Kallax, and boom—you’ve got a bench with hidden storage. Trust me, you’ll want to make more.
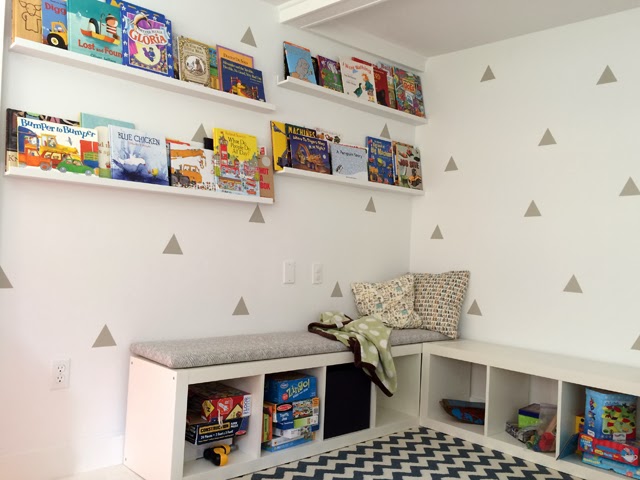
Contemporary looking corner reading nook hack (via campestral).
Kallax as the Ultimate Organizer for Your Creative Spaces
If you’re tackling a messy craft room or trying to tame your home office, the Kallax is a total game-changer. With its versatile cubbies, it’s like it was made to hold craft supplies, office essentials, or even your ever-growing collection of random tools.
For a craft room, load the shelves with clear bins or baskets to keep everything from yarn to paintbrushes organized and visible. I even added labels to mine (chalkboard tags are great!) so I’m not digging around mid-project. Bonus: the cubbies fit scrapbook paper and fabric stacks perfectly.
In a home office, pair it with file boxes, magazine holders, or smaller organizers for pens and chargers. You can even add a couple of doors or drawers to hide the clutter—because who wants to stare at a pile of papers all day? Whether it’s for work or play, the Kallax keeps things neat and easy to find, all while looking super stylish.
The ultimate creative station with neatly arranged supplies and colorful organization. A perfect blend of inspiration and practicality for any DIY enthusiast. (@bookgirlcreations).
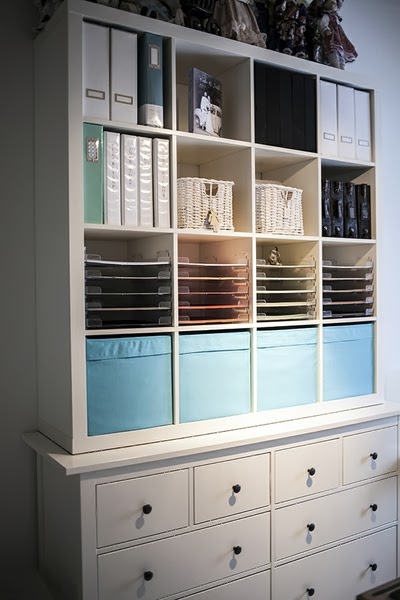
Craft storage unit could be made by combining IKEA's Kallax and Hemnes units (via craftystorage).
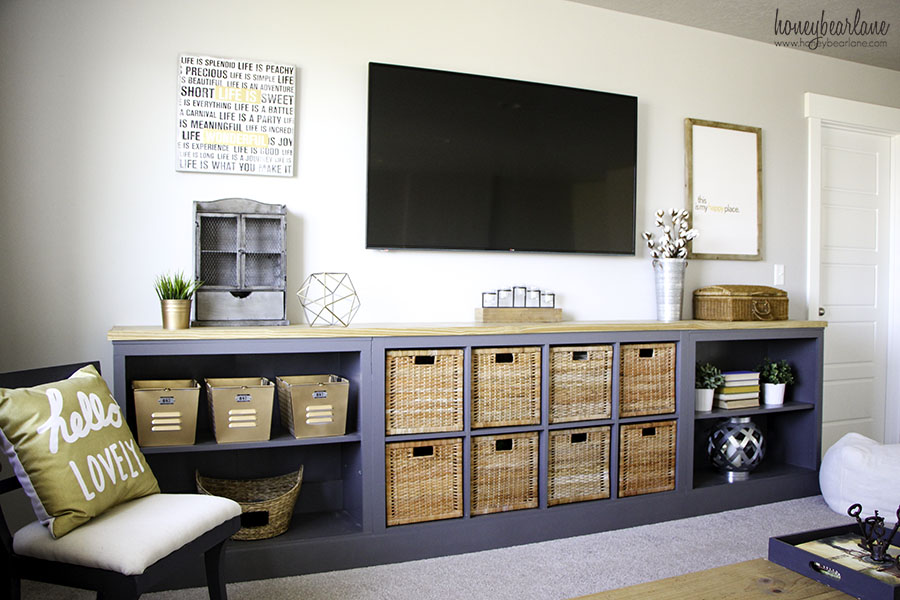
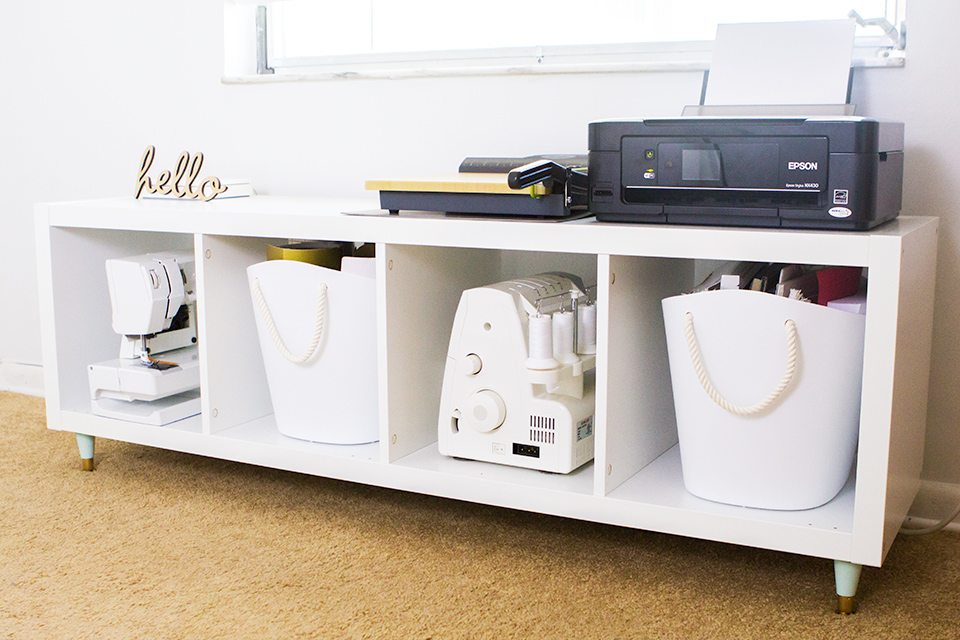
Turn Expedit into a long storage unit (via honeybearlane).
Kallax for Kids’ Rooms: Organize the Chaos
If you have kids, you already know the struggle: toys everywhere, books in random places, and no system to contain it all. Enter the Kallax. I added one to my son’s room, and it’s been a total lifesaver. The cubbies are perfect for baskets, bins, and even those tiny LEGO creations he refuses to take apart.
Here’s a tip I wish I knew earlier: label the bins! I used some clip-on chalkboard tags, and now cleanup is less of a battle (not no battle, just less). Oh, and for a fun twist, I let my kid pick a color to paint the back of each cubby—his room now feels so much more him without looking messy.
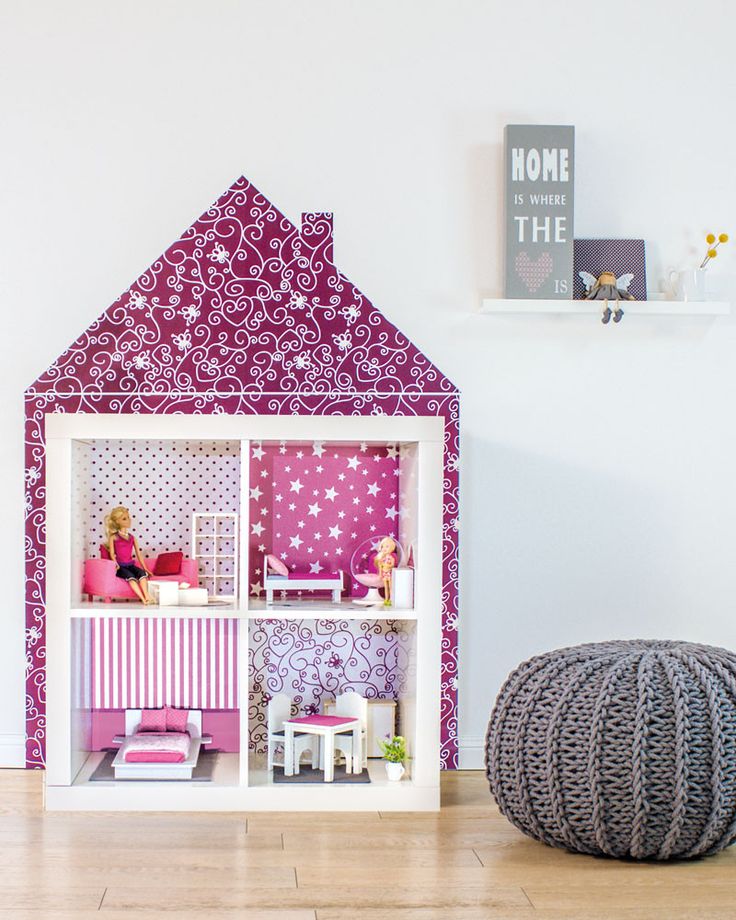
A magical dollhouse transformation using a simple IKEA shelf! Thoughtfully decorated mini rooms make it an enchanting play space for kids. (@limmaland).
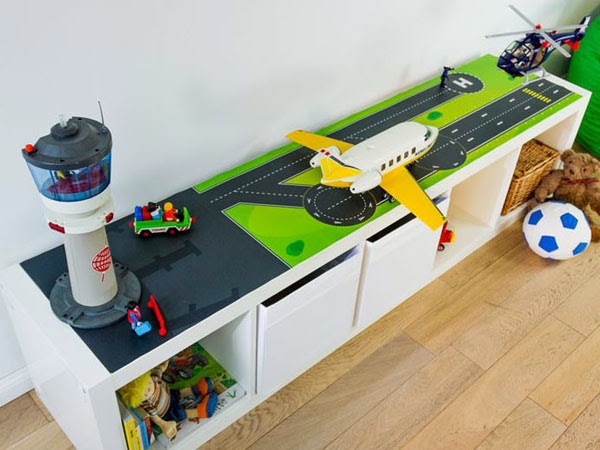
A bright and cheerful toy storage solution that keeps playtime organized. Open cubbies and fun colors make it easy for little hands to grab and put away their favorites. (@littlewishlist_).
A playful twist on storage, turning a simple shelf into a whimsical playhouse! Cute wallpaper backdrops add charm, making it a fun and functional addition to a kid’s room. (@createyourworldltd).
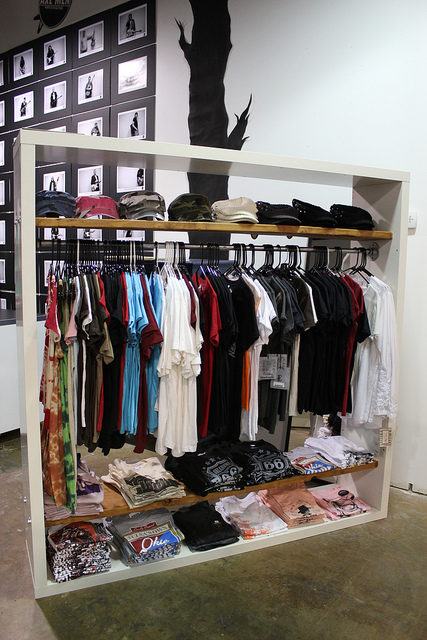
A hack to turn a bookcase into a coat rack (via karapaslaydesigns).
Bonus Inspiration: What Else Can You Do with a Kallax?
Honestly, the sky’s the limit. I’ve seen people turn Kallax shelves into bar carts (just add casters and a wine rack insert), plant stands, or even entryway organizers with hooks and mirrors. My personal favorite? Using it as a display shelf for seasonal decor—I love switching up the vibe with each holiday.
If you’re ready to dive in, don’t overthink it. Start small, experiment, and let your space (and needs) guide you. And if you mess up? Well, you’re not alone—I’ve had my share of mishaps, and it’s all part of the process.
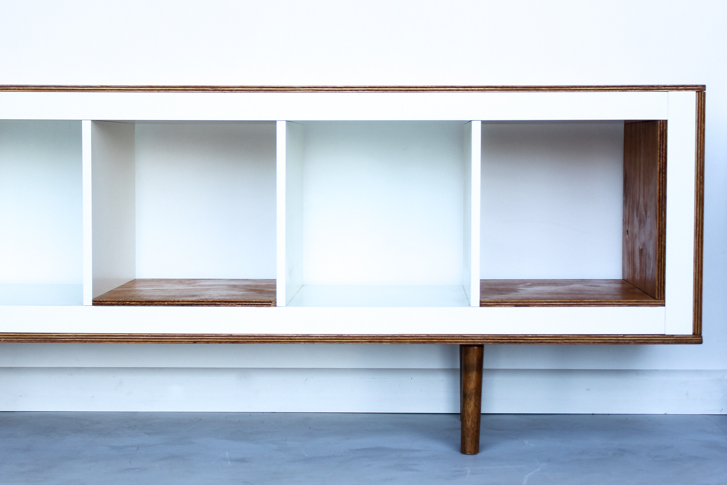
DIY Kallax mid-century modern sideboard (via ikeahackers).
DIY IKEA KAllax bar cart (via sugarandcloth).
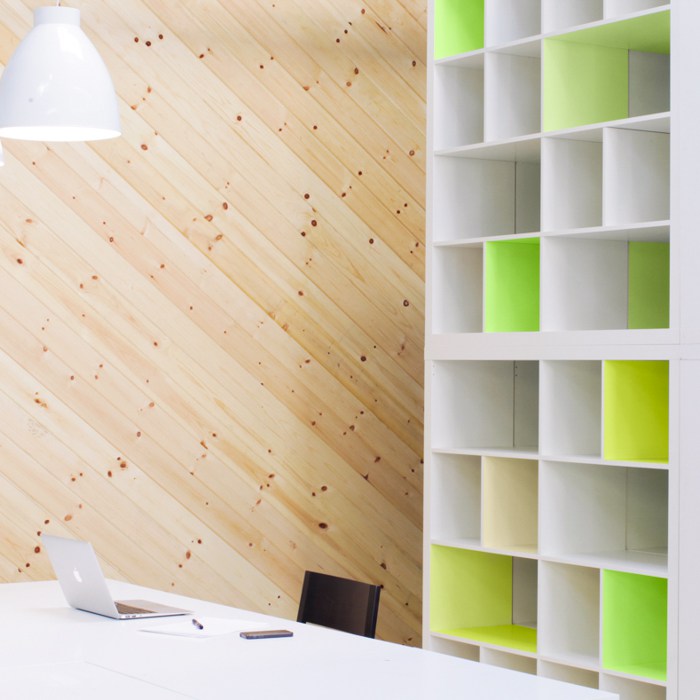
DIY neon bookshelf from IKEA Kallax (via flaxandtwine).
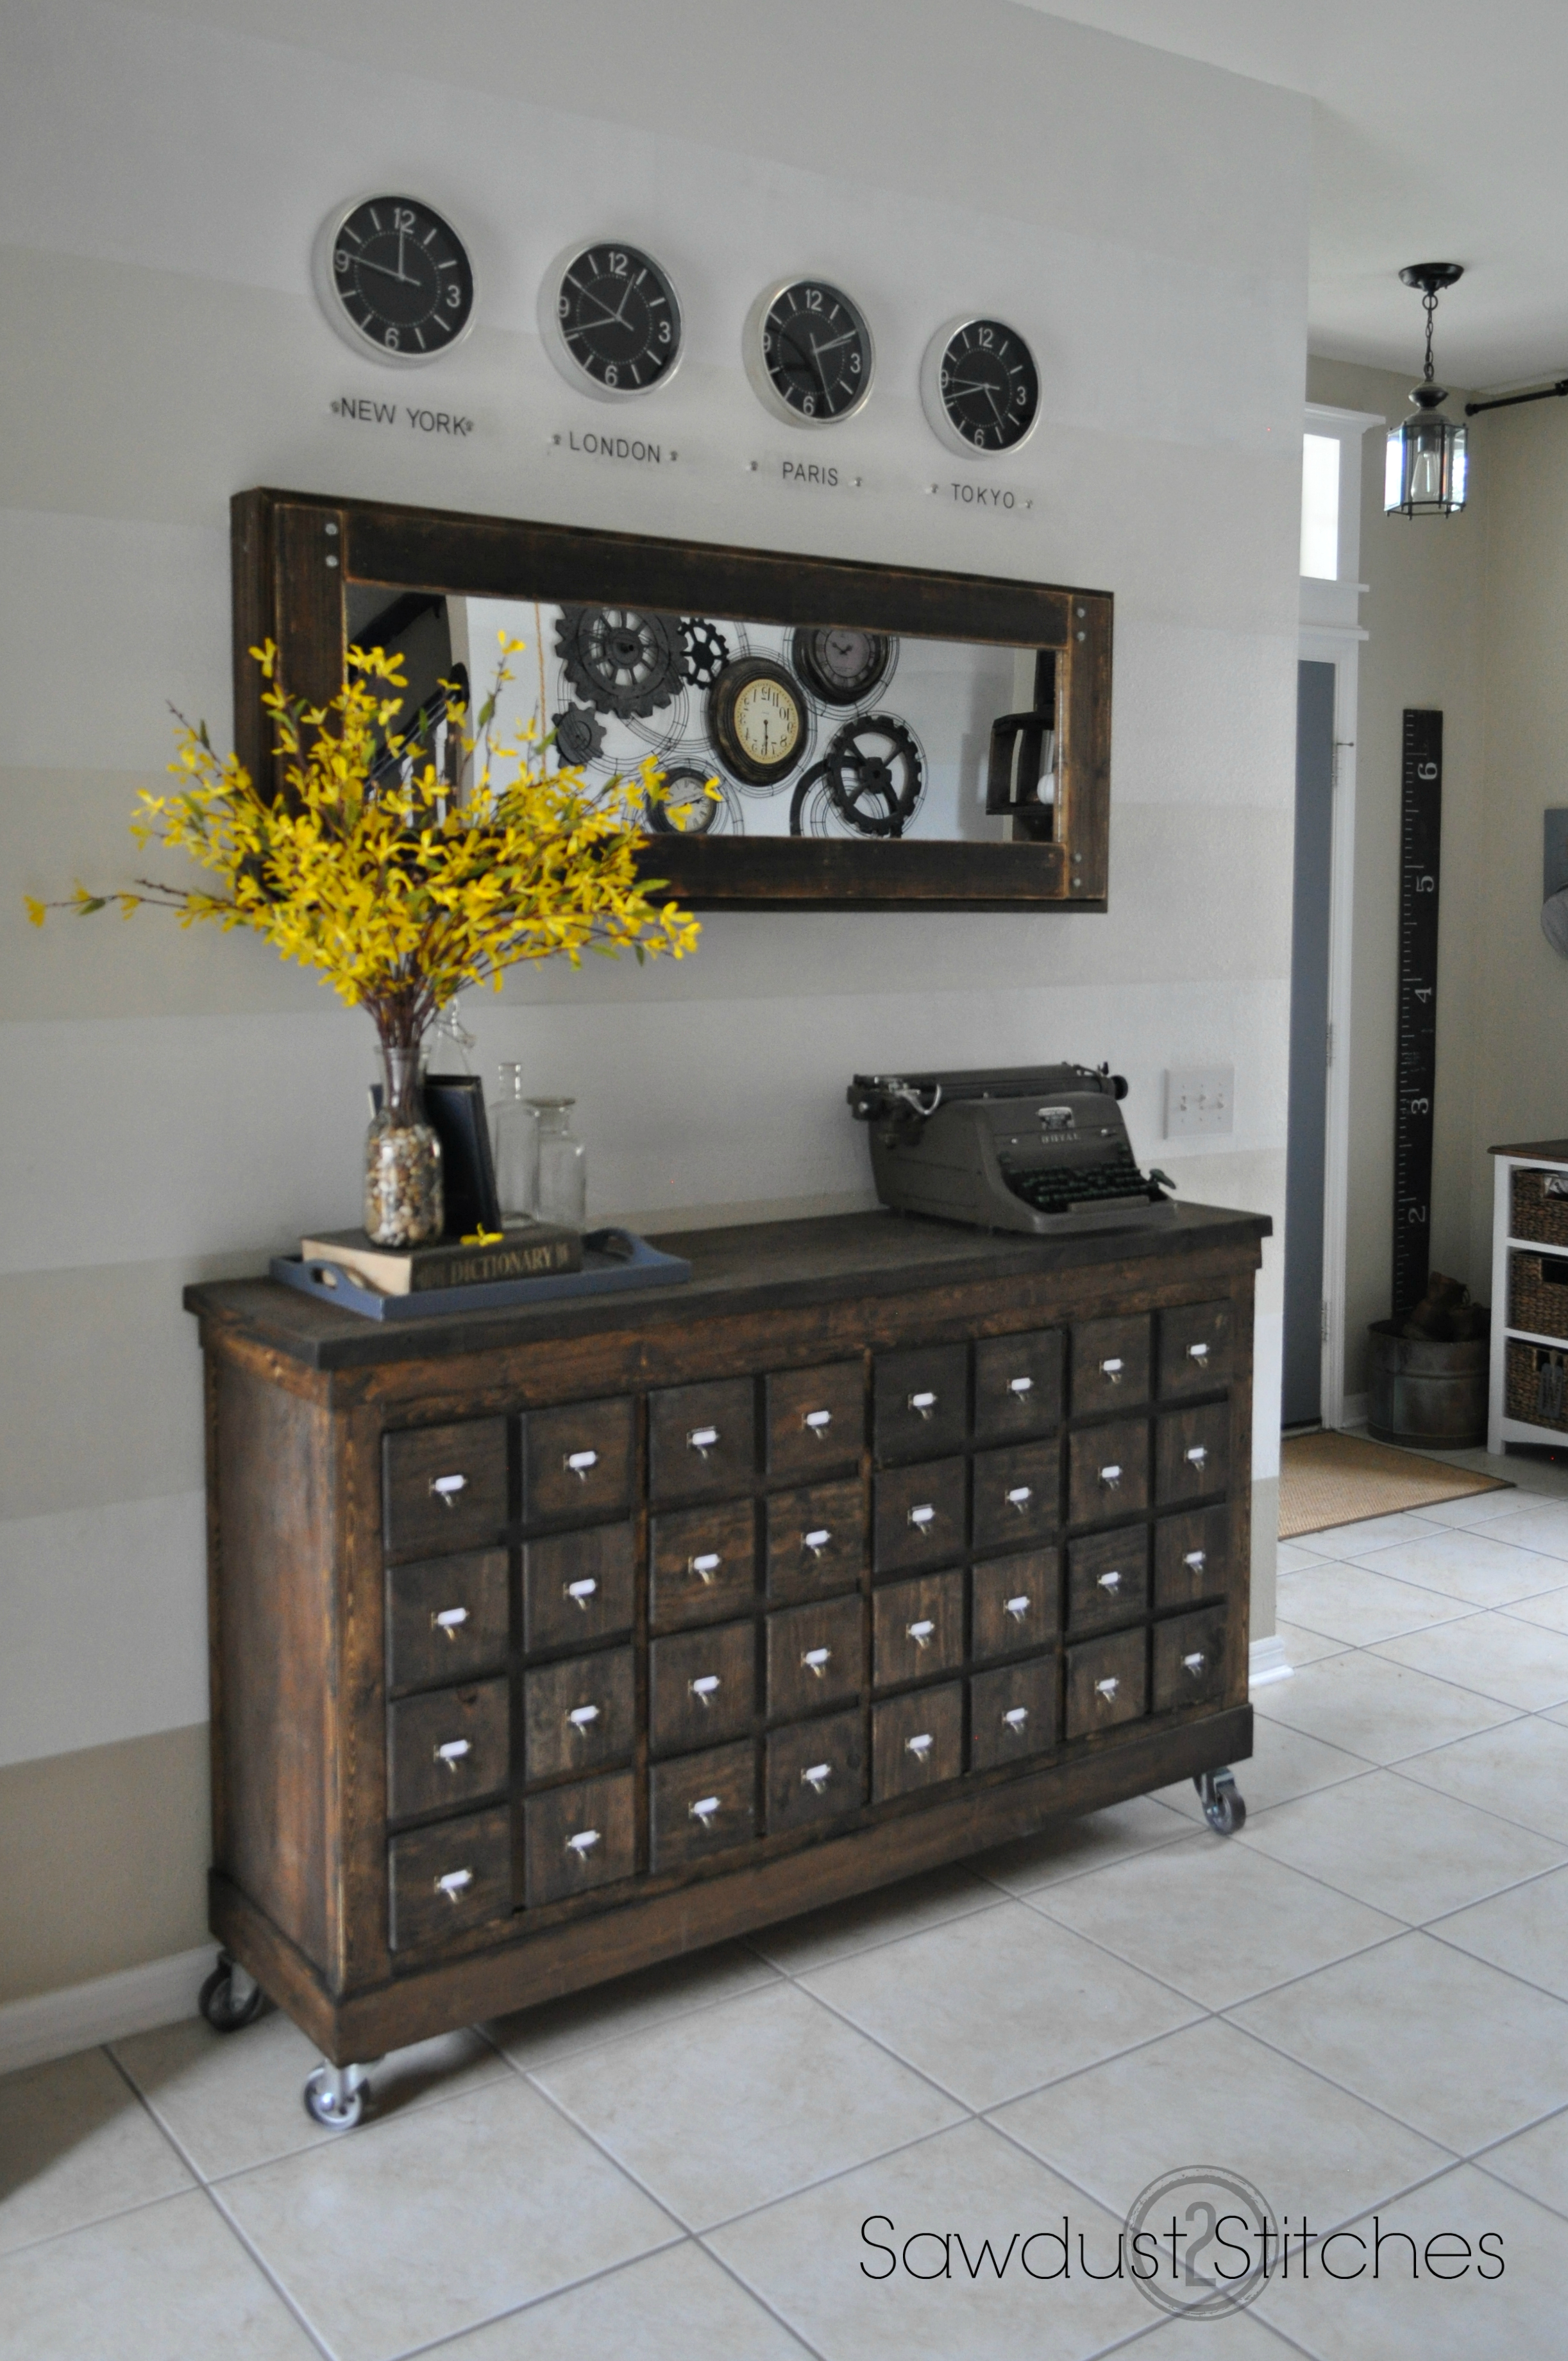
Turning IKEA cubbies into gorgeous rustic apothecary (via sawdust2stitches).
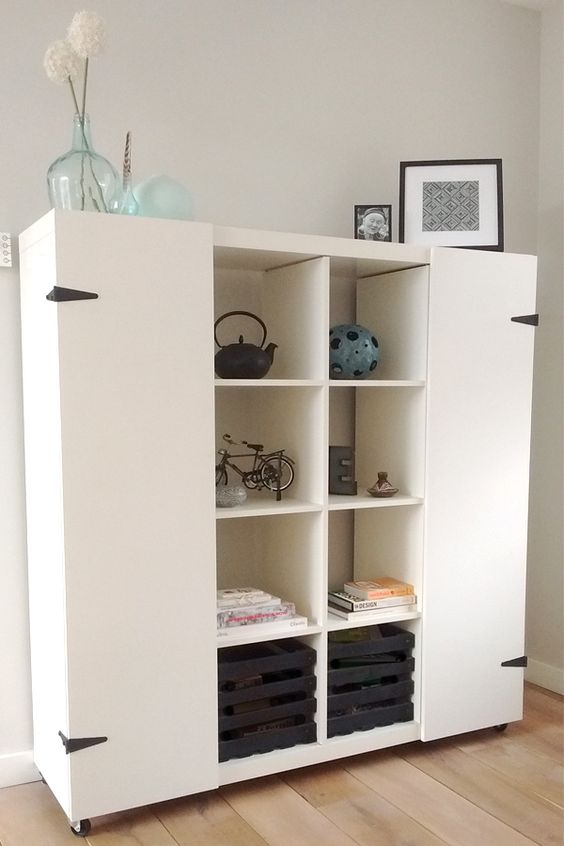
You can make door panels that will turn your Expedit unit into a canvas photo art piece.
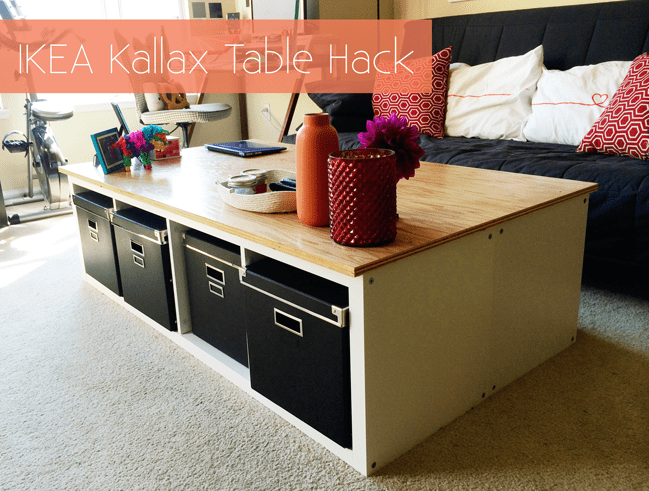
DIY IKEA Kallax storage unit (via sarahhearts).
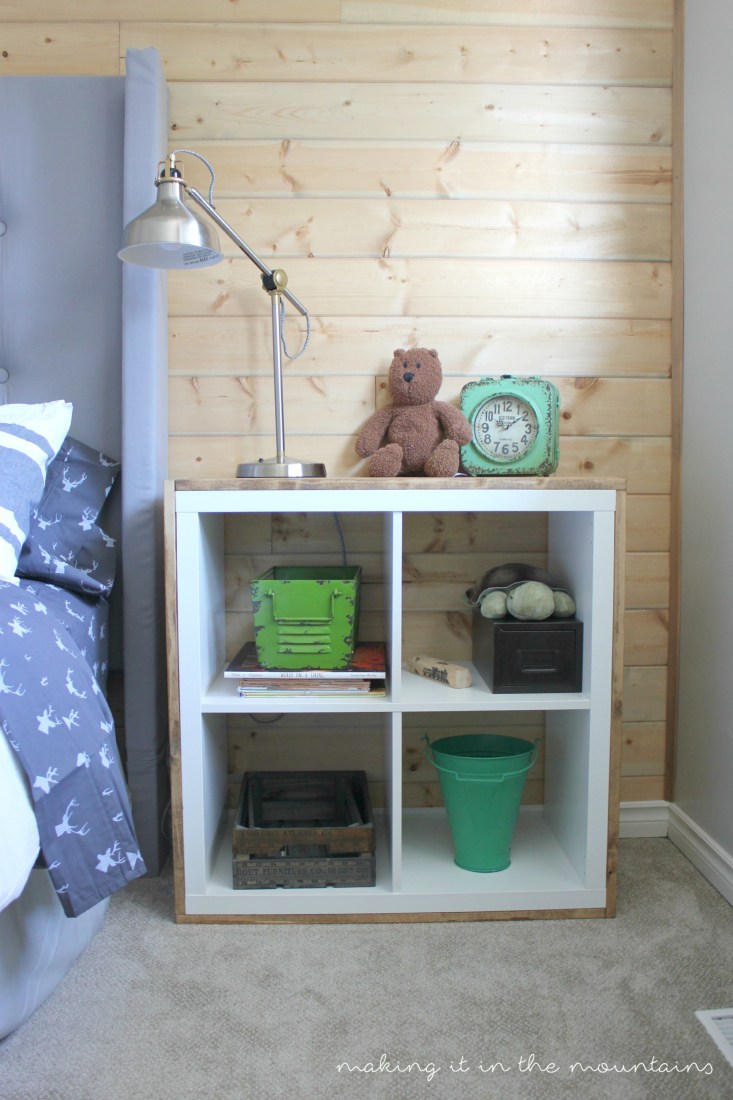
DIY Kallax bedside table covered with plywood (via makingitinthemountains).
A sleek and modern TV console with a mix of storage and display space. The blend of open and closed compartments keeps things stylishly clutter-free. (@hilaryscolourfulhome).
A cozy hideaway for furry friends built right into a storage unit! This clever pet nook blends seamlessly into home decor while offering a snug retreat. (@little.leo.fiene_dachshunds).
This vibrant Kallax makeover brings bold, abstract art into storage! A fun and creative way to turn a basic cabinet into a standout decor piece. (@erinscolorfulcloset).
