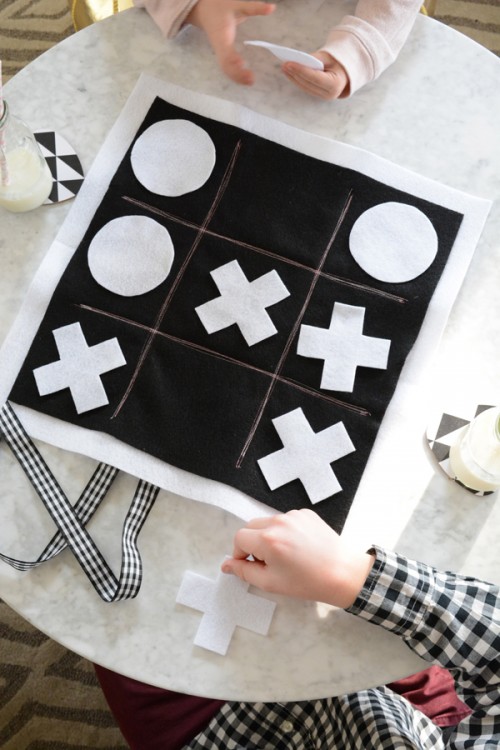
This felt tic tac toe, that Oleanderandpalm blog had shared, is an awesome idea for parties and for having fun with kids. All you need is a little felt, some scissors and you can either sew the game board pieces together, or just glue them with felt glue. Cut two squares of felt. The bottom...
9 DIY Patchwork Art Projects For Home Décor
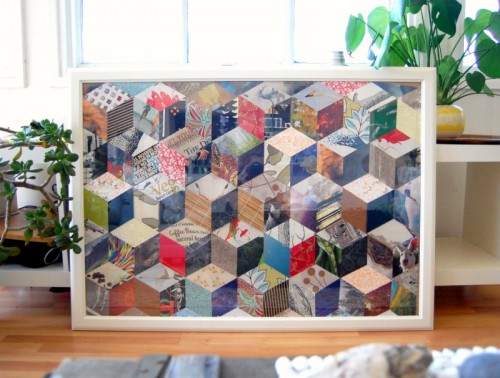
I’ve already told you a lot about patchwork DIYs that are functional but what about decorating? Let’s have a look at awesome patchwork arts! A patchwork wall art is great idea to give your space a cozy and comfy rustic touch, and moreover, it’s very easy to make. Today I’ve decided not to limit myself...
Super Creative DIY Celtic Knot Pillow
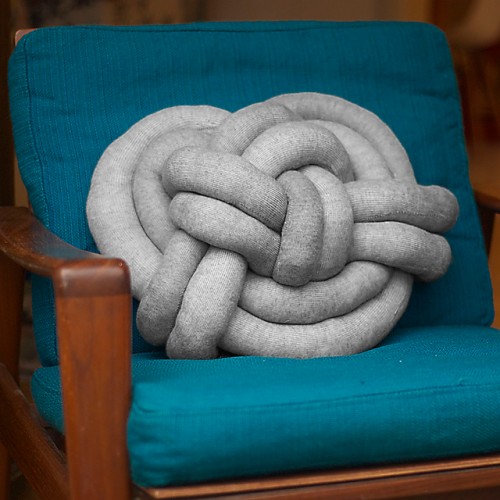
Want to make really an original pillow? This tutorial is for you! The supplies are knit tights in size XL, a lot of cotton wool, a broomstick, a sewing machine, a rotary cutter, ruler and cutting mat, needle and thread, a large safety pin. Put the pantyhose legs long and flat on the cutting mat....
Stylish DIY IKEA Vaster Lamp Hack
IKEA hacks are extremely popular right now, as these simple pieces are a perfect canvas for decorating. Today we’ll hack IKEA Vaster pendant light, besides it you’ll need frosted glass spray paint, metallic spray paint of your choice, 1 PVC vertical blind slat, 1/2” wooden furniture plugs, thin brass/gold wire. Begin by taping plastic bags...
8 DIY Patchwork Stools And Chairs You Can Easily Make
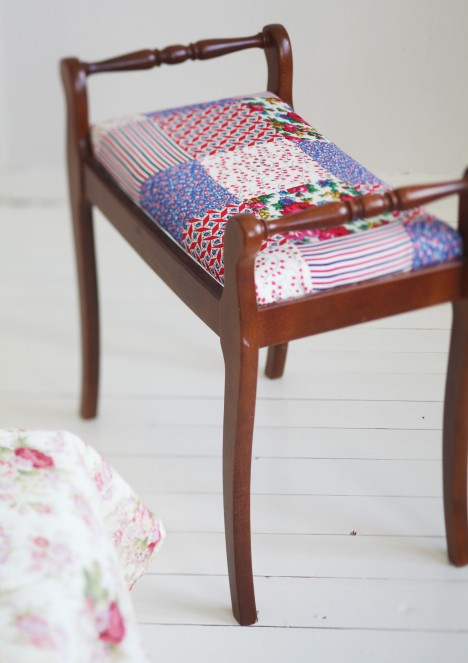
If you have an old chair or a couple of stools, you can easily renovate them using old fabric or clothes – no special skills are required, you just need to like sewing. So, the common instruction is to take off the old upholstery and then measure how much fabric you need. After that just...
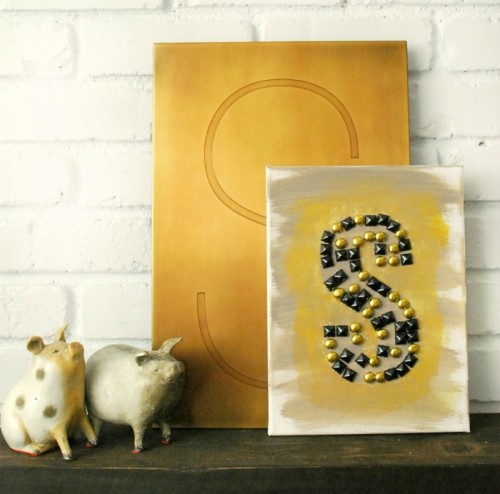
Glamorous DIY Studded Monogram Canvas
Want some glam? Easily! Blitsy blog told us how to do it: just add some studs to a painted canvas to create a glamorous monogram art piece! You’ll need two packages of The Bead Giant 1/2″ Black Pyramid Nail Heads, two packages of The Bead Giant 1/2″ Gold Dome Nail Heads, 9×12 stretched canvas, acrylic...
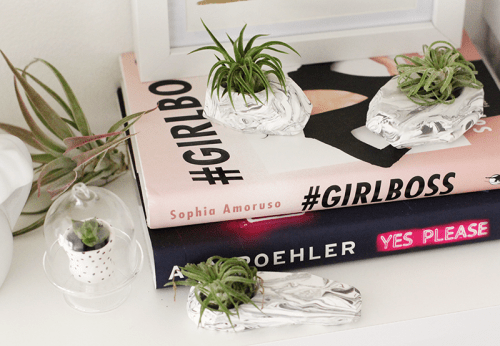
Chic DIY Marble Air Plant Holder
Don’t you think that marble has a luxurious and chic look? You can get this look for your air plants for just a couple of dollars – just look the tutorial that Whydontyoumakeme blog had shared! Prepare two different colored oven-bake clays, an Xacto knife and a clay carving tool. Start by cutting each color...
7 DIY Patchwork Accessories That Will Excite You
Guys, do you like patchwork? If you do, you can always spoil yourself with some super cute patchwork accessories and details that you use in everyday life. Like taking photos? Make a patchwork camera strap, you’ll need just some piece of fabrics. If you have an iPad or just a tablet, you can easily make...
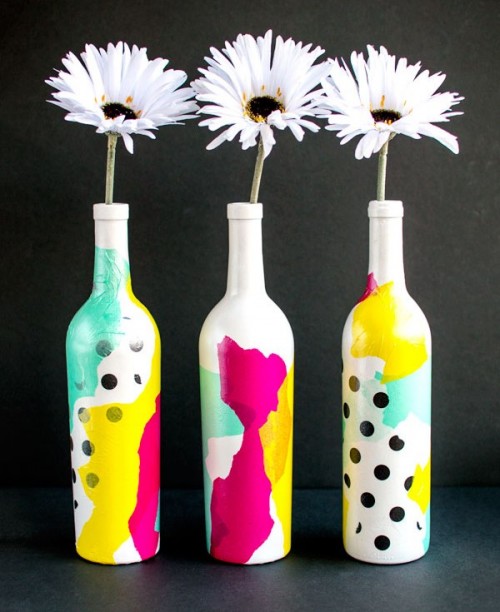
Bright And Cheerful DIY Tissue Paper Vases
These colorful bottles can become a great art piece or a super creative centerpiece for any occasion. The supplies are an empty wine bottle, 1 cup Baking soda, a bucket and hot water for removing labels, white enamel spray paint, rubbing alcohol, Mod Podge in Gloss, foam brushes, tissue paper. To get started, first you...
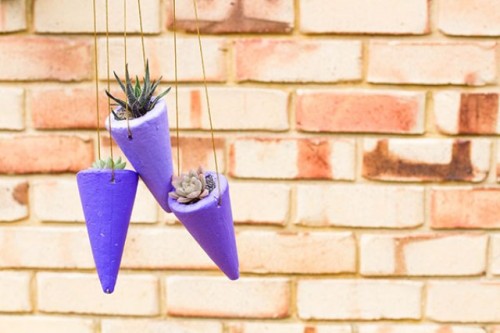
DIY Styrofoam Cone Succulent Planters
These cool colorful cone planters are designed as a summer display. The supplies are styrofoam cones, scalpel, wooden skewers, paint, dirt, symmetrical succulents, string, hot glue guns. Use your scalpel to carve out a well in the middle of the base of the cone. Take your wooden skewer and push it through the bottom of...
