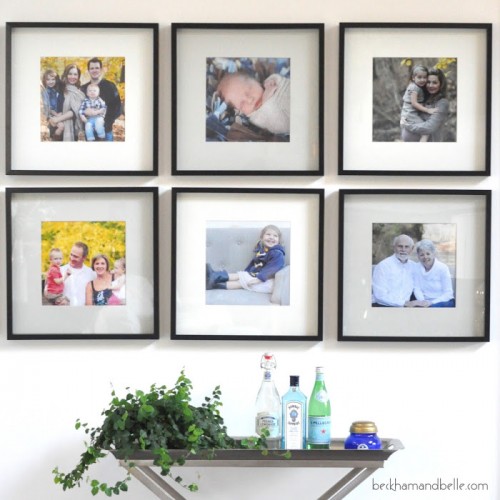
Do you love IKEA hacks as we do? We are always looking for interesting ones on the net, and today we’d like to share RIBBA picture frames hack from beckhamandbelle.com. Prepare paint of your choice, a photo mat, a small foam roller. Start by taking apart your frame. Blow any dust or particles off of the mat....
Everybody loves pizza! Pizzas with mushrooms, meat, chicken, veggies and lots, lots of cheese! If you are going to throw a cool and fun party or even a pizza party, then pizza-inspired décor and details are right what you need, and they will definitely excite everyone! Such a theme is also ideal for a kids’...
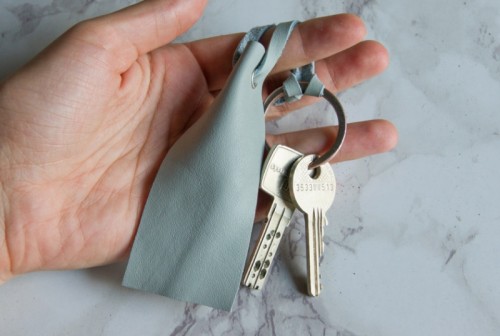
This simple leather key ring from yellowgirl.at will help you to find your keys in the morning. Prepare some leather – faux or natural, scissors, pliers, two eyelets. Cut a piece of leather of the size 4 cm x 10 cm. Make two holes at one end using scissors and folding the leather in two...
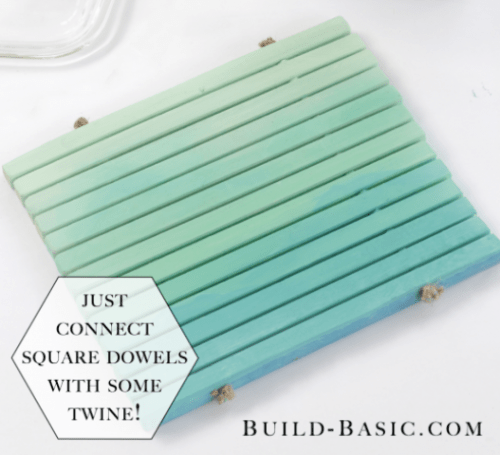
With just a few ½-inch square dowels, some twine and a few nuts, this handy trivet can be pulled together before the dinner bell rings. Using the cut list, cut the square dowels to size using a handsaw or miter saw. Lay the slats side-by-side with their ends aligned. Make a registration mark near one...
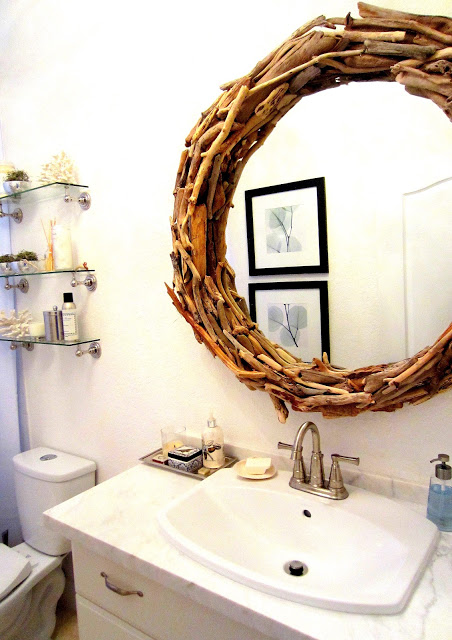
Why is driftwood so perfect for crafting? First of all, it’s wood, and it gives a calm and warm feeling. Second, you can pick pieces of driftwood anywhere you want and choose what you like. Third, it’s free! Prepare your driftwood pieces to make mirror frames and add beach chic to your space. You can...
Remember we’ve just told you of an X leg table? Such a lamp looks no less original and cozy! Have a look at this tutorial from pneumaticaddict.com and prepare a miter saw, a table saw, an oscillating multi-tool or small hand saw, a pneumatic brad nailer, 1″ finish nails, a speed square, wood glue and...
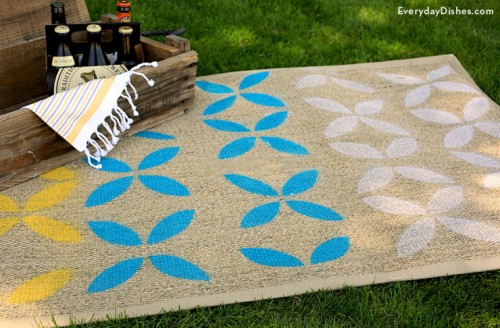
Outdoor rugs can be so expensive, especially the really pretty ones – but you can make this one from everydaydishes.com – it’s cute and cheap! The supplies are an outdoor rug stencil template, card stock, a precision knife, an outdoor rug, a spray adhesive, paper to cover area not stenciled and spray paint. Download the...
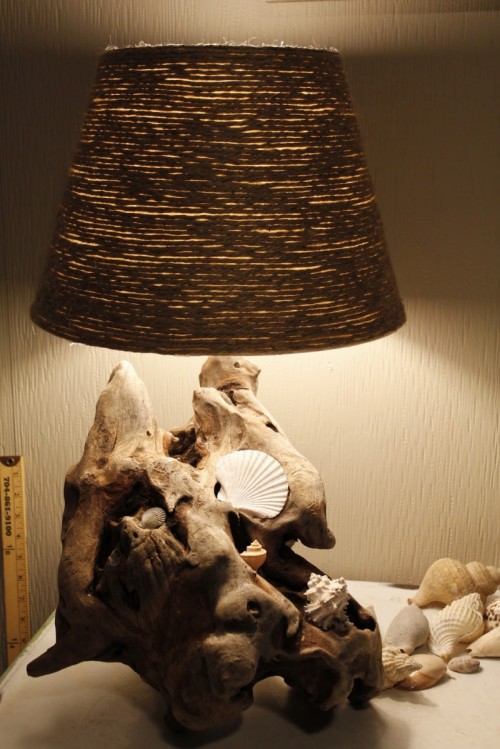
Driftwood is awesome for crafting: it’s easy to find, you don’t need to pay for it and as it’s wood, you can use it for many items, from wall arts to furniture. Today’s roundup is dedicated to driftwood lamps, which will easily bring beach and coastal chic to any interior. Basically, you’ll need some lamp...
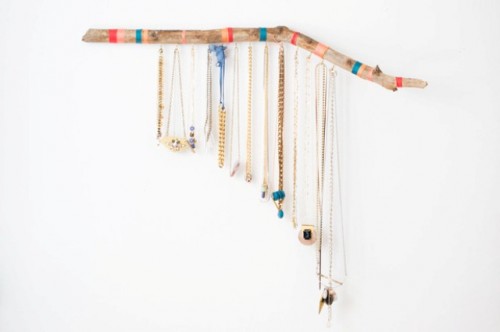
If you’ve been following us, you’ve already seen driftwood craft roundup, and this one from forthemakers.com is also dedicated to the same topic. To make this branch jewelry display, you’ll need a medium/long sized branch, cup hooks, thin-sized drill bits, a power drill, 3-4 different colors of embroidery floss, scissors, a sharpie, pliers and a...
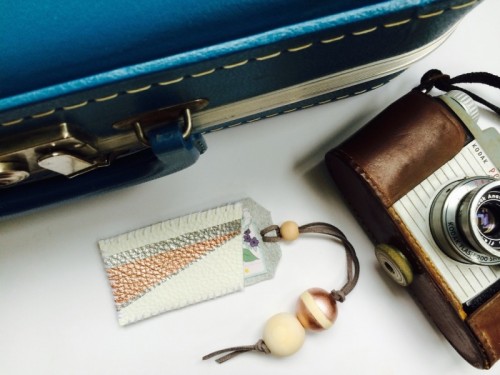
We’ve already told you of luggage tags, and here’s one more idea that wasn’t on the list. Cut your scrap white leather into a tag shape for the back. Then, cut the front into a rectangle and slanted the top for a more interesting look. After you cut the front shape, use painters tape to...
