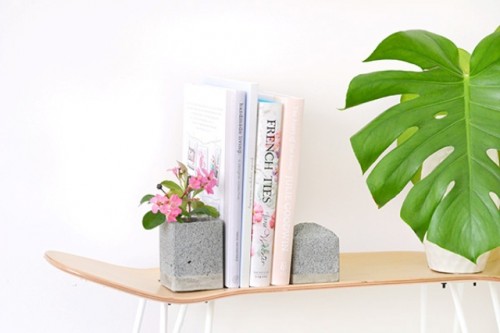
Sometimes we can’t find a place for storing books, and a couple of bookends can help to fix them in any place. The supplies are a milk carton, scissors, packing tape, rapid set concrete, a mixing tub, a stirrer, a cylindrical object, sandpaper, painter’s tape and granite spray paint. Start off by cutting your milk...
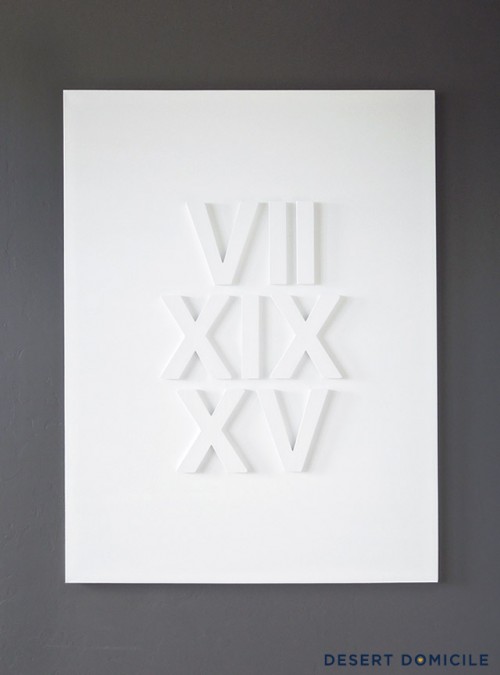
DIY Roman Numeral Wedding Date Art
Getting ready for your big day? Make this wedding date art for décor! You’ll need 36″ x 48″ canvas, wooden letters, acrylic paint, a foam brush, 3 cans of satin white spray paint, E-6000 glue, canned air, 180 grit sanding sponge, 320 grit finishing sandpaper, paper towels, tape measure, a ruler, a pencil, a level,...
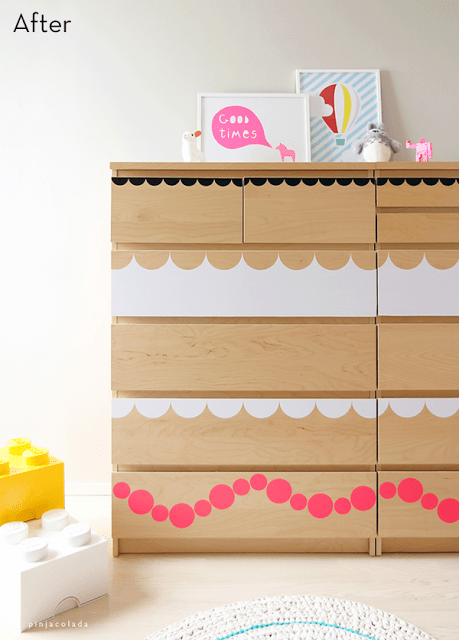
17 Creative DIY IKEA Malm Dresser Renovations
Malm dresser by IKEA really stimulates your imagination! A blank dresser can be renovated into something so personal and original that you won’t take your eyes off! Remember all the crafting techniques and get all materials to change your dresser into a super peculiar one. Paint it, take away some of the drawers, stencil, add...
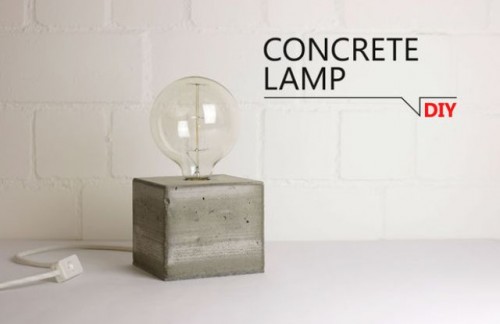
Easy And Minimalist DIY Concrete Base Lamp
A lamp from concrete easily can be made by yourself with quite simple tools and materials. First you will need a wooden board which is 14cm wide and 80cm long. From this board you need to saw five pieces with following dimensions: 4 pieces 14x16cm, 1 piece 14x14cm. Therefore you can use any electric saw...
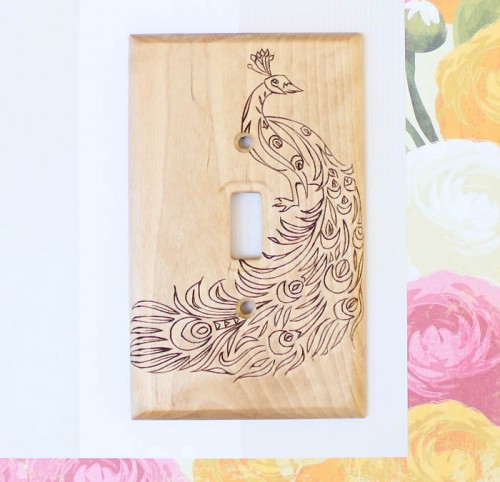
Original DIY Wood Burned Switch Plate
Even a switch plate can be original! Doubting? Here’s a tutorial from gina-michele.com to convince you! The supplies are an unfinished wood switch plate, a wood burner, graphite paper, an image you want to burn, a pencil and tape. Resize and print out your line drawing to fit the switch plate. Place the graphite paper...
15 Creative And Quick DIY Tarva Dresser Hacks
IKEA is famous for simple, affordable and timeless items, which are perfect for developing your creativity: they just make you thinking of personalizing in some way. Such a dresser is like a blank sheet of paper, and you can turn it into a retro, modern, Scandinavian, glam, kids’ or any other piece. Choose colors and...
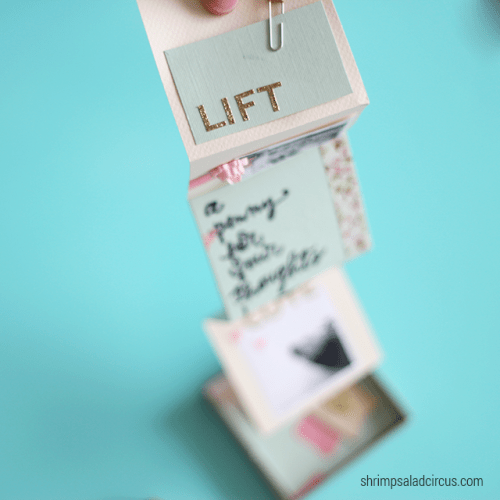
DIY Accordion Book Travel Postcard
Postcards are really fun souvenirs to send while you’re travelling, but you can only do so much personalization, right? Fill it with photos, memories, and little tidbits from your journey, and your recipient will be wonderfully surprised! The supplies are a square kraft gift box, cardstock paper, chipboard stickers, ribbon badge stickers, stamps, embellished paperclips,...
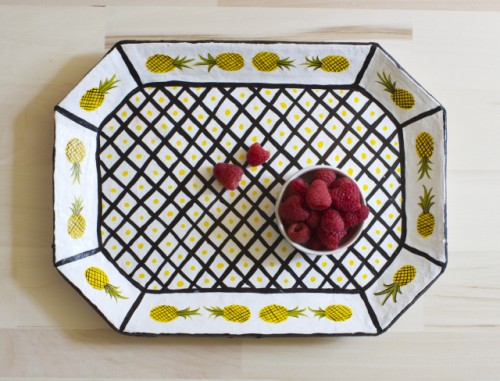
Cheerful DIY Paper Mache Pineapple Tray
We’ve already shared some pineapple crafts to rock and enjoy this summer, and here’s one more tutorial with such a print. The supplies are cardboard and newspaper, flour, water, mixing bowl and whisk, masking tape, a pencil, ruler, and craft knife, acrylic paint, brushes, and palette, gesso, mod podge. Sketch out your tray shape on...
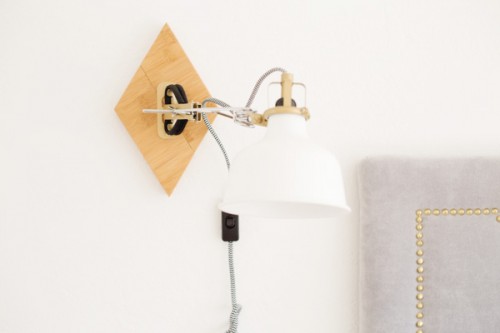
5 Cool DIY IKEA Ranarp Lamp Hacks You’ll Like
Ranarp IKEA lamp is a cool piece suitable for any modern interior. There are several versions of it: pendant, wall, table, which makes it easier to find your own edition. But as all the IKEA items, Ranarp may seem too simple and impersonal to you, so may want to change it a bit and add...
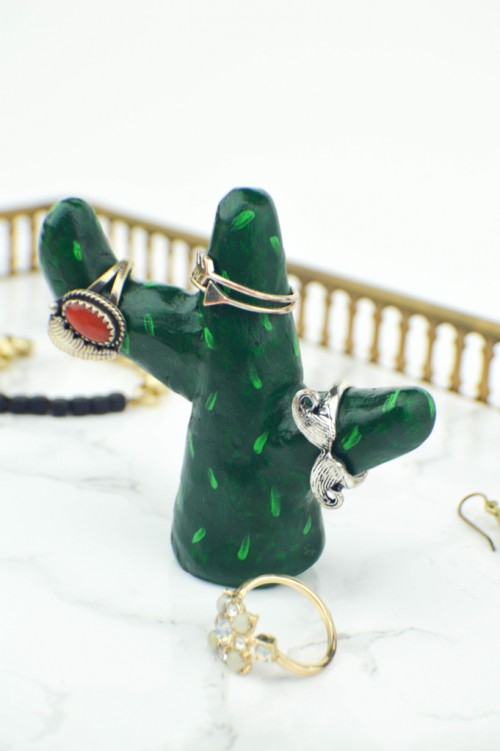
Stylish DIY Clay Cactus Ring Holder
Cacti are amazing and no less trendy than succulents today! Let’s make this one from polymer clay to store your jewelry, you’ll need polymer clay, white, green paint, paintbrushes, clear acrylic spray paint, glossy. First, separate a piece of clay in half and set one aside. With one piece, mold the clay into a cone...
