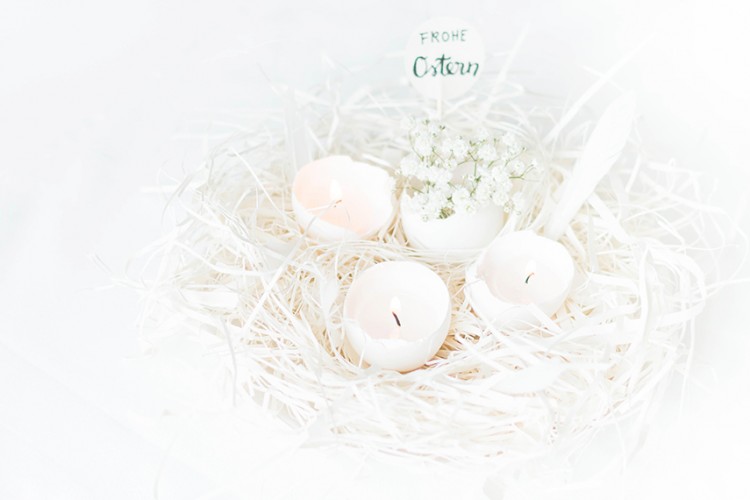
Easter is coming! If you are puzzling over what décor to choose, let’s make this cool Easter candles for it. Prepare eggshells, tealights, toothpicks and clip. Collect eggshells and wash them thoroughly, it’s very important not to have anything inside not to spoil the candles. Next, you have the eggshells ready and it’s time to...
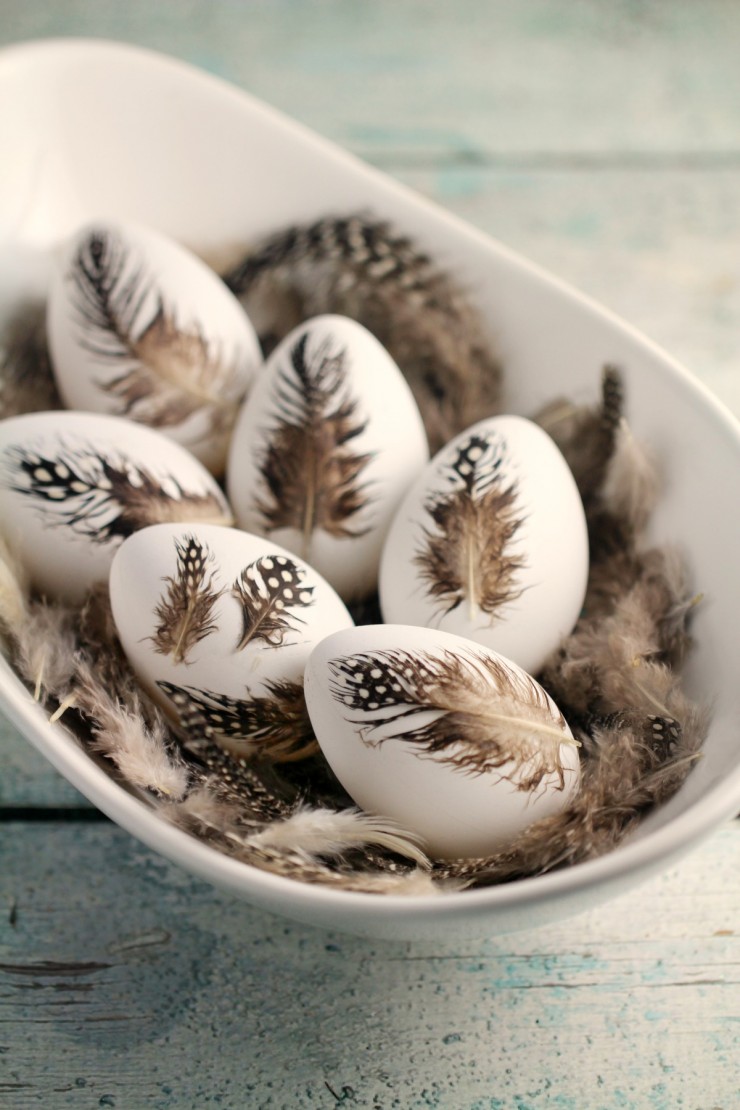
This feather Easter eggs are so calm, beautiful and Nordic-like! Prepare some dyeable, reusable faux Easter eggs, feather and pick carton. The project basically involves pasting down the feather with modge podge and a small foam brush being careful about the direction of the feathers as you brush it on. Apply a second coat after...
Spring is here, and it’s time to decorate your home for it! This fun and cute banner is amazing for spring and it’s so easy to make! Bunnies remind us of coming Easter and moss is so green and so spring-like! Prepare peel and stick moss, a burlap banner, scissors, a bunny template (you may...
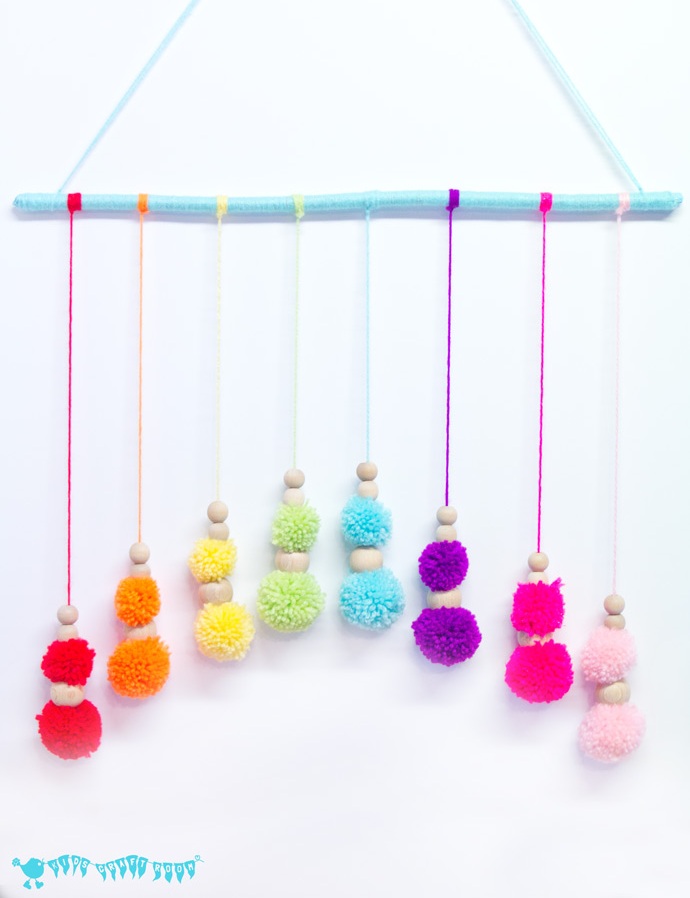
Need a mobile for your nursery? You’ll love this colorful and soft idea! Prepare rainbow yarn, pompom makers, wooden beads, a stick. To make a pompom mobile you’ll need to choose 8 yarn colors and 2 pompom maker sizes. If you’ve never used a pompom maker before and have only made them with the traditional...
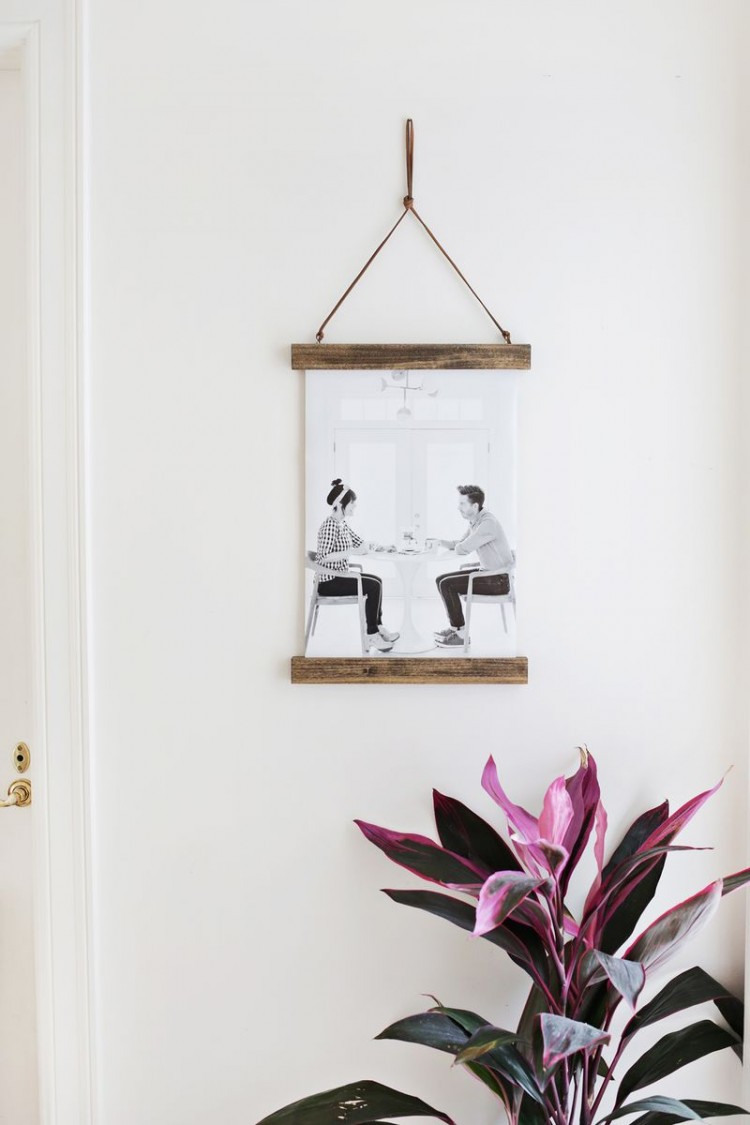
Like big photos? Make an easy hanger! The supplies are 14″ long wood strips that are 1 1/2″ wide by 1/2″ thick (x4), 3/4″ wood screws or nails, small eye screws (x2), wood stain and rags, leather cord, Canon PIXMA iP8720 Crafting Printer. First you’ll want to print your photo. To get the most out...
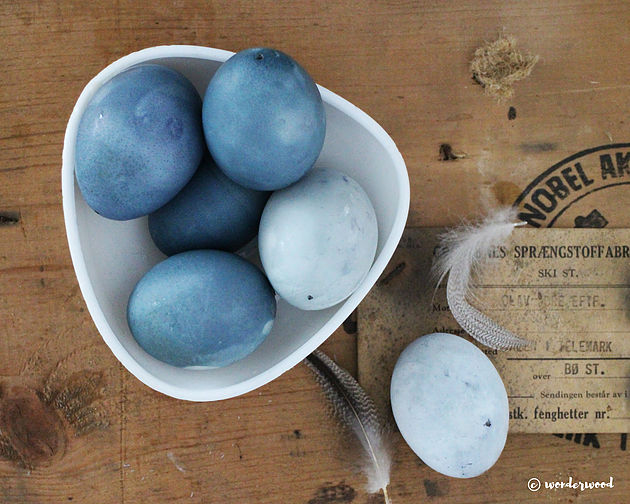
With Easter just around the corner it’s time to think how to decorate the eggs. Here’s a super cool and easy tutorial for blue eggs with all-natural ingredients. Got some blueberry jam? Go ahead! Stir 3-4 table spoons of blueberry jam into boiling water and let it boil for about 10 min. Cool the water...
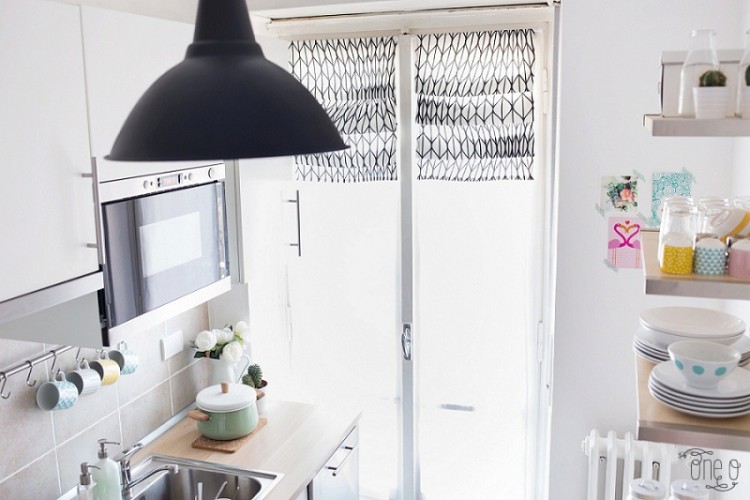
Roman shades are a great thing for window décor, and if you aren’t good at sewing, you may always make no sew ones. Prepare fabric, a ruler, fabric scissors, tailor’s chalk, fabric glue, pins. Take your measurements and double your desired roman shade height. Then fold your fabric in half and use your tailor’s chalk...
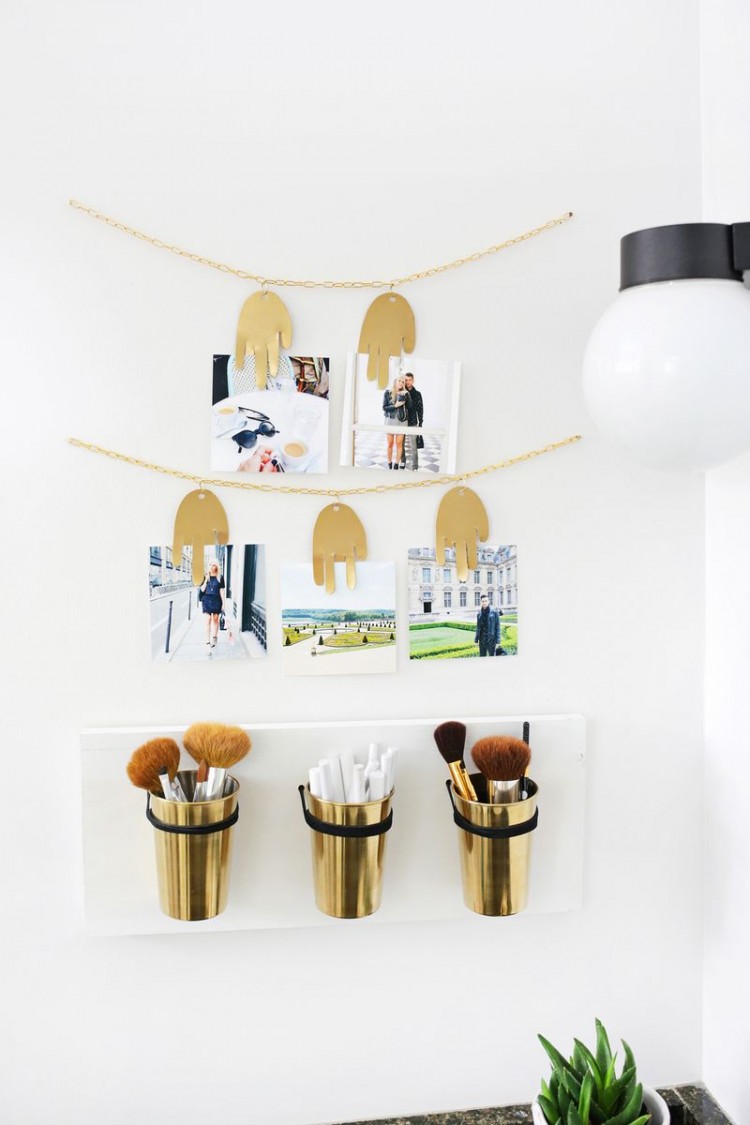
We continue sharing photo display ideas, and today it’s a metal photo garland from abeautifulmess.com. Prepare aluminum roof flashing, a marker and scissors, gold spray paint, gold chain, chain cutters, large jump rings, an X-Acto knife and metal ruler, photo paper, a metal hole punch, Canon PIXMA MG7720 Photo Printer. Print and cut out the...
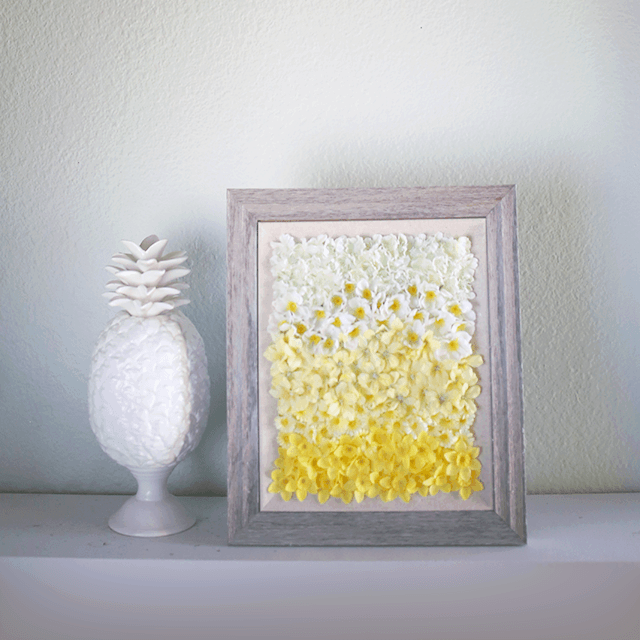
This incredibly beautiful floral wall art is so amazing for spring décor! You’ll need a frame, small artificial flower bunches in a similar color family, acrylic paint to match the flowers, scissors, a hot glue gun, a paintbrush, a paint palette. Mix up three shades of paint to match your flowers. You can even blend...
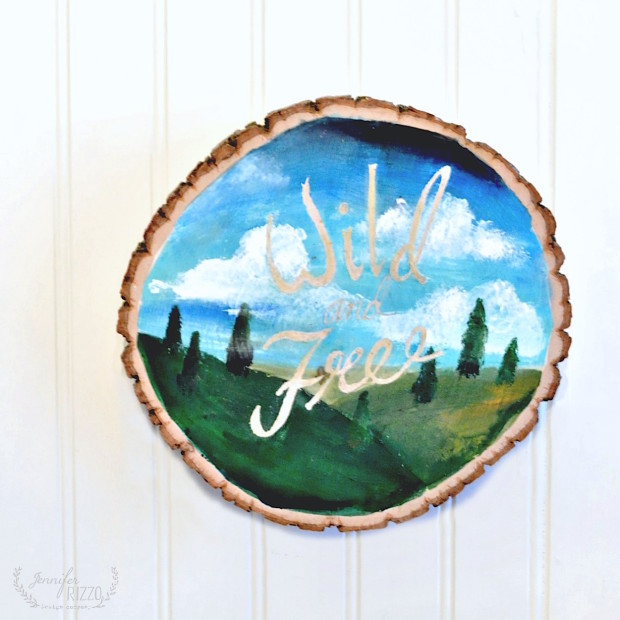
Using acrylic paints and a slice of wood you can create a cool art piece. Do the lettering on my wood slice art so that the natural wood grain would show through on the lettering. After lettering on paper, transfer it to the wood slice so you have lines to follow. Fill in the lines...
