Wooden logs as a part of décor, log tiles and so on are fashionable today and very popular due to the eco-friendliness and cool natural design. But you can create a similar piece yourself, the supplies are: cedarlogs, a long wooden board, a glue gun, oil for wood. First slice the logs according to the...
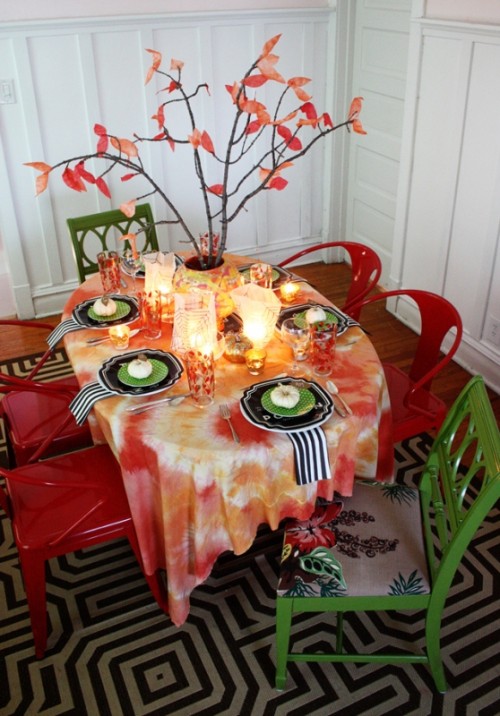
If you invited some guests for a formal dinner and have no ideas how to décorate the table so that it would be descent and formal enough, here’s a nice idea. Take some black “poison” paper plates, white pumpkins, plain white china, plain wine glasses, melamine polka-dot plates, some red leaf glasses, oodles of candles,...
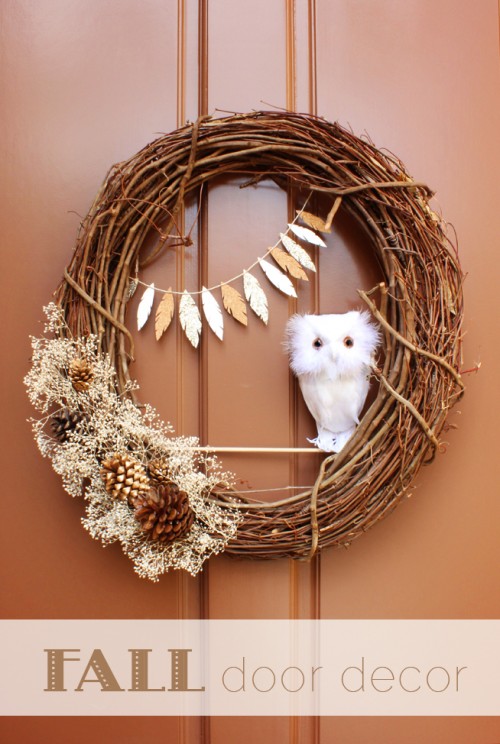
We have told of many autumn wreaths with various decorations but this one is especially cute because it’s with an owl! The supplies are: a branch wreath, pine cones, spray paints, dried flowers, a feathered foam owl and glue. Spray paint pine cones, attach the owl where you want it using glue. Add a combination...
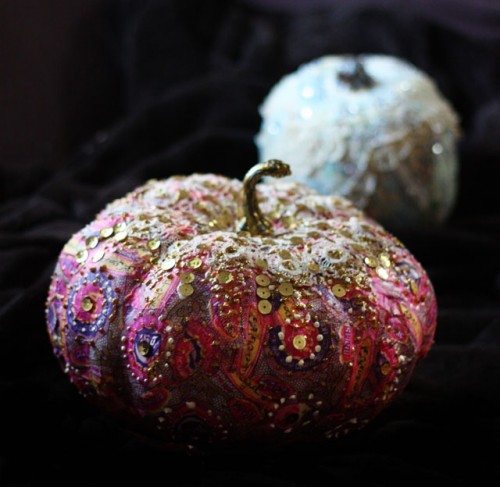
These fascinating and crazy colorful pumpkins will be a perfect Halloween decoration, it’s an unusual approach to the traditional fall or Thanksgiving piece. You’ll need a foam pumpkin, decoupage paper and doily, glitter paint, sequins, rhinestones. Decoupage the pumpkin with decoupage paper, and glue the doily to the top. Add glitter paint to the edges...
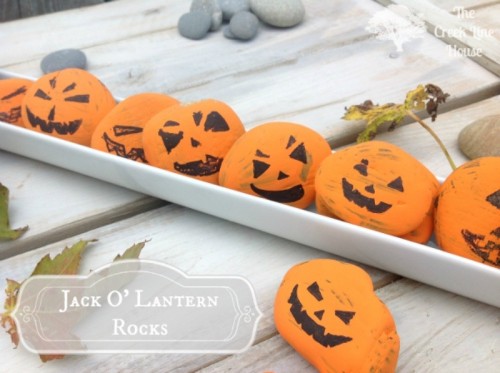
This is a brilliant idea for Halloween! Jack-o-lantern rocks won’t cost you much money and are very simple to make. These rocks would be a perfect idea for table and mantel décor and you can also make this craft with your kids – they would be excited to paint those faces. The supplies are rocks...
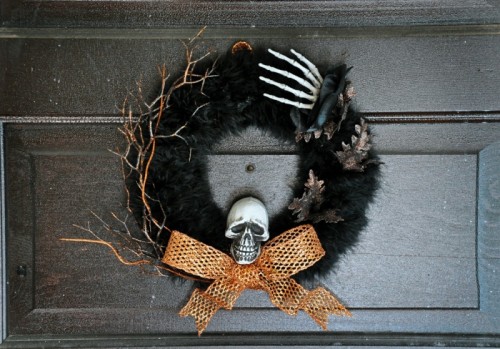
Wreaths and garlands are a necessary decoration at any holiday. Let’s make a stylish spooky wreath for Halloween that won’t take you much time. You’ll need a foam wreath, a feather boa, black spray paint, branches & leaves, tacky glue, spooky skulls or other scary items, a thick ribbon. Spray paint the wreath black and...
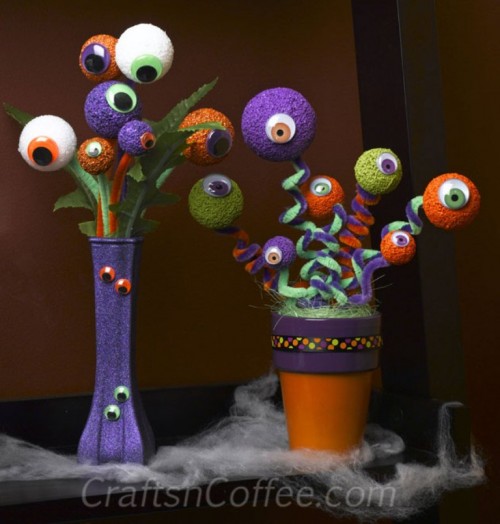
Let’s make a cool Halloween craft for party décor! For a Halloween eyeball bouquet you’ll need STYROFOAM Brand Foam, 5 – 6 balls, a pot or a vase, wiggle eyes, chenille stems, acrylic craft paints, toothpicks, low-temp glue gun, a paintbrush, a pencil, wire knippers. Insert a foam ball or other chunk of STYROFOAM Brand...
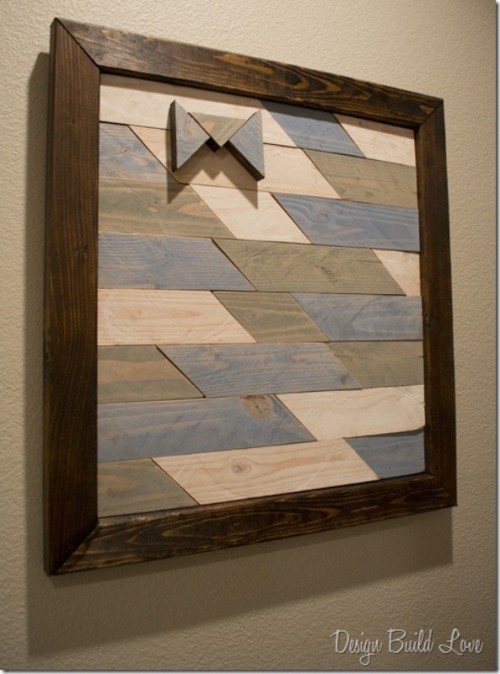
Let’s create a chic and stylish wall art of recycled wood. You’ll need scrap wood, paint samples in various shades, paint brushes, wood stain, liquid nails and caulking gun, some pieces of plywood and picture hanging hardware. First scrap the pieces and paint them with various samples. Cut the 45 degree angles using a saw...
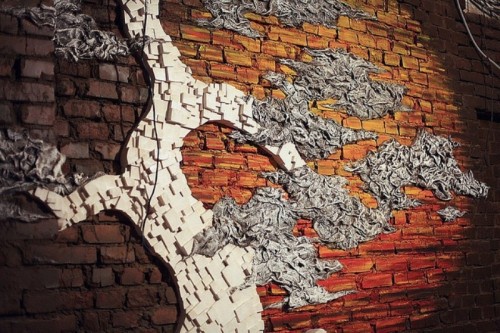
An Eastern-style wall art without wasting much money? Sure! The supplies are linen sackcloth and cedar bars. The author of this wall art just took a brick wall and some coat. First make a silhouette of the tree of coat; cut the bars by hand, changing their size according to the contours. For the branches...
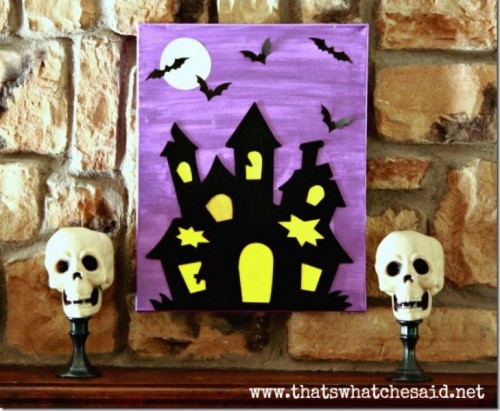
Make a cool craft for Halloween together with your kids! For this picture you’ll need a 16 x 20 canvas, aunted House cut out from Dollar Tree, purple paint, yellow paint, paint brushes, Glow in the Dark Mod Podge, Mod Podge, black and white scrapbooking paper, scissors. Place your house on the canvas and trace...

