Summer is here and it’s time for your kids to play outdoors enjoying fresh air and sunshine, and if you are looking for options to keep them busy, we have a brilliant idea – make a water or sand table or both! A sand or a water table is a wonderful outdoor toy for sensory and imaginative play, it’s great for playing and learning while staying cool in the backyard. Here are some DIYs for such tables!
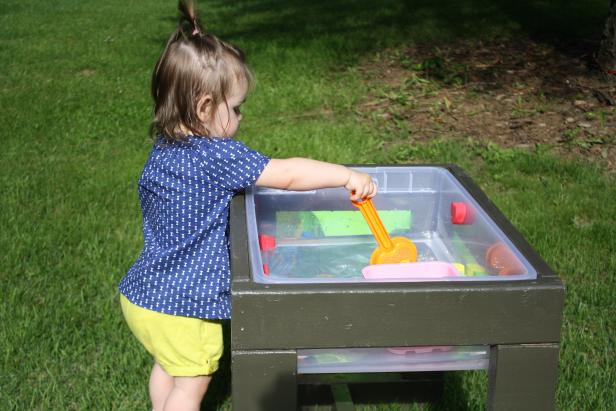
This fun outdoor activity center is a perfect place for toddlers to explore, learn and get their hands dirty. Find out how to build the framework to support a large plastic bin and create a fun activity center for your backyard. Fill the table with sand or water and toys and let your toddler play! The lid that came with your bin will double as a cover to keep sand clean. Empty any water and refresh between uses. The empty bin can be used for convenient toy storage, too.
DIY comfortable water table for toddlers (via www.diynetwork.com).
If you’re looking for a kids’ water table you can DIY, these free build plans for a DIY water table for toddlers are for you! This wooden water table is finished to hold up to the elements and look nice. This DIY kids water table functions great, is a lot of fun for kids, and looks amazing, too! This tutorial contains free plans and a video tutorial to make your crafting easier.
Simple and fast to make DIY water table for toddlers (via www.bybrittanygoldwyn.com).
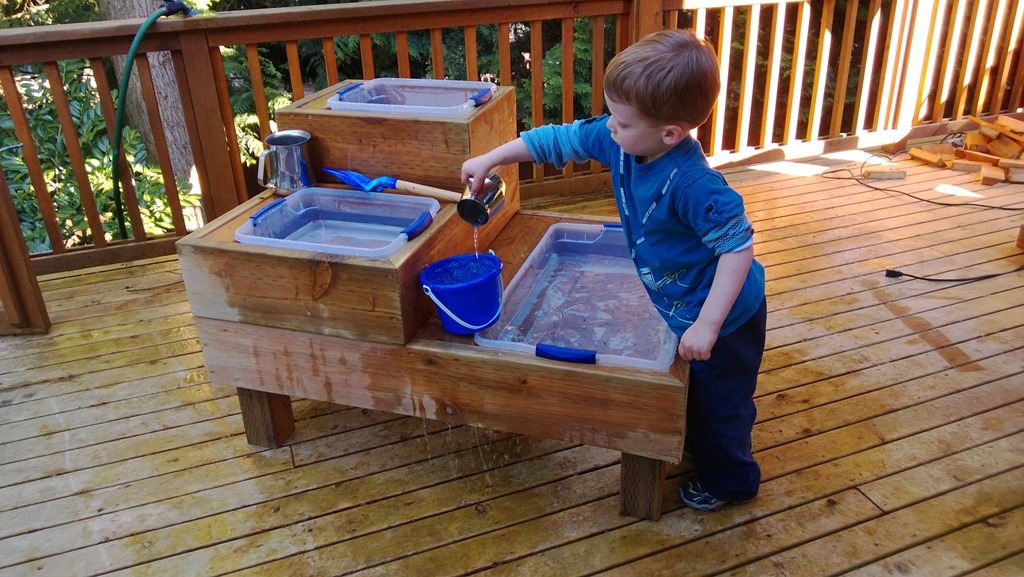
This project will tell you how to make a fairly basic, custom water table. While there were some definite challenges with the construction process but this amazing water table is worth it! Set your child up with a water table on the deck – he or she will play safely and with much fun there. Take a look at the pics and find out how to built this cute sand or water table and let your child have much fun.
DIY custom made water table with three reservoirs (via www.monkeyslaps.com).
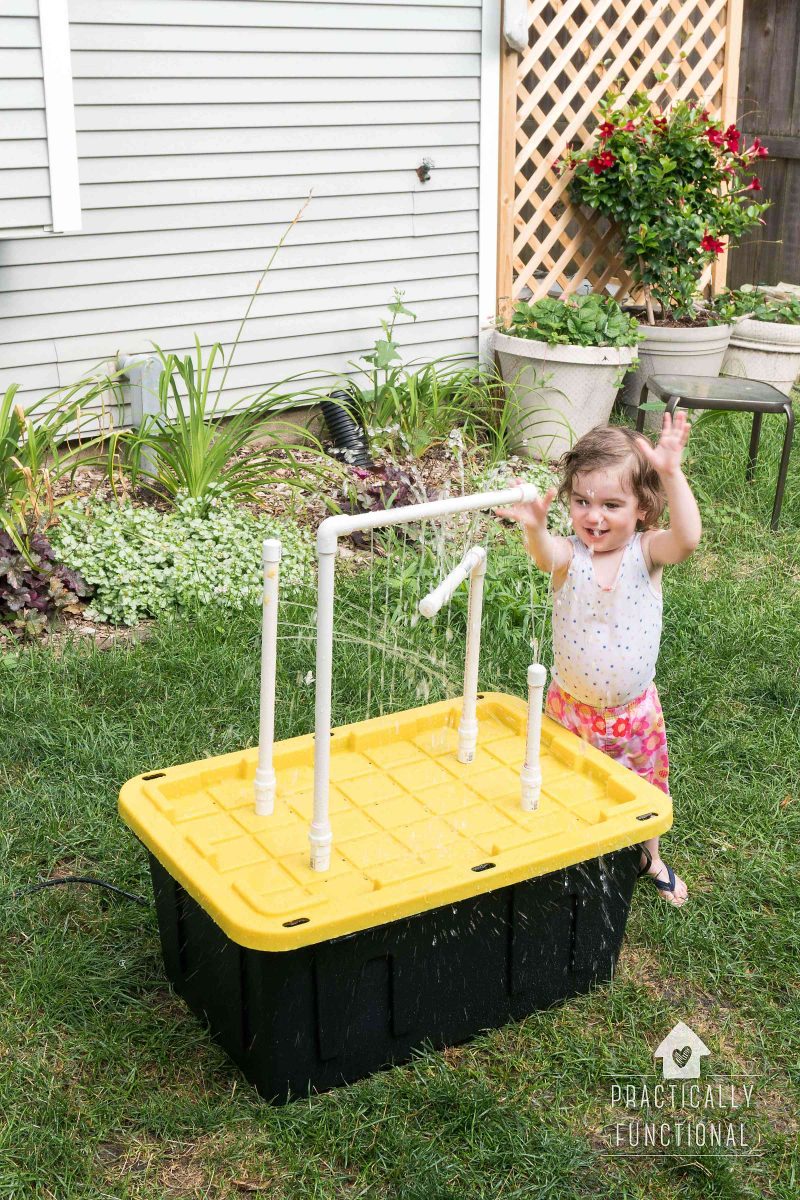
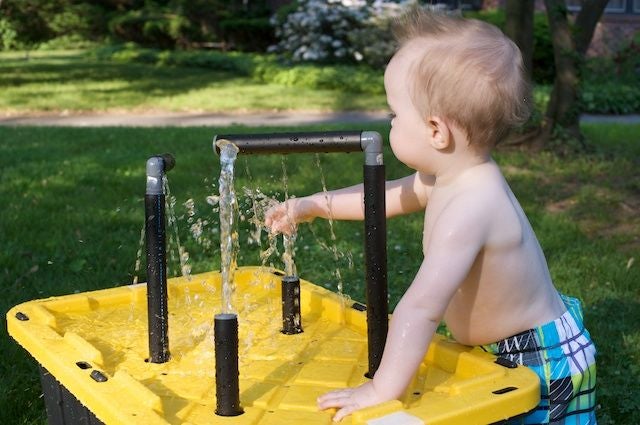
AJ loves to play in the dog’s water bowl; it’s her favorite pastime right now! And while it’s cute to see how much she loves playing in water, I don’t really appreciate having water all over the floors, and I’m Make a DIY water table out of one of the extra plastic storage tubs you may have in the garage. Get a fountain pump and some PVC pipe, and put together a fun water table with fountains and sprayers in under an hour! It’s really simple to make with a few parts from the hardware store, so if your baby loves playing in water, try making this for them! A little bit of the water sprays off the table, but it still works great! It’s too much work to make sure every single drop lands on the lid and drains back into the tote.
DIY water table with fountain sprayers (via www.practicallyfunctional.com).
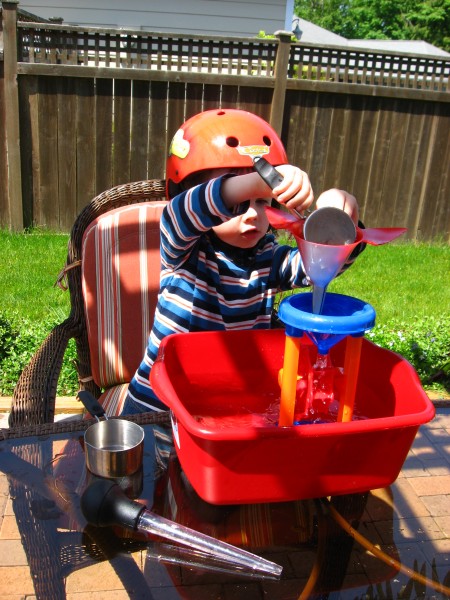
Water tables are not cheap, a pain to store if like up you have short warm months, and for people in smaller houses, condos and apartments bulky even if they are being used. So this is an easy and fun way to play with water with simple toys and tools that can be used for other things as well. You can make this cheap water table for kids in minutes for only a few bucks. The bike helmet is optional!
DIY simple water table for kids using some plastic stuff (via www.notimeforflashcards.com).
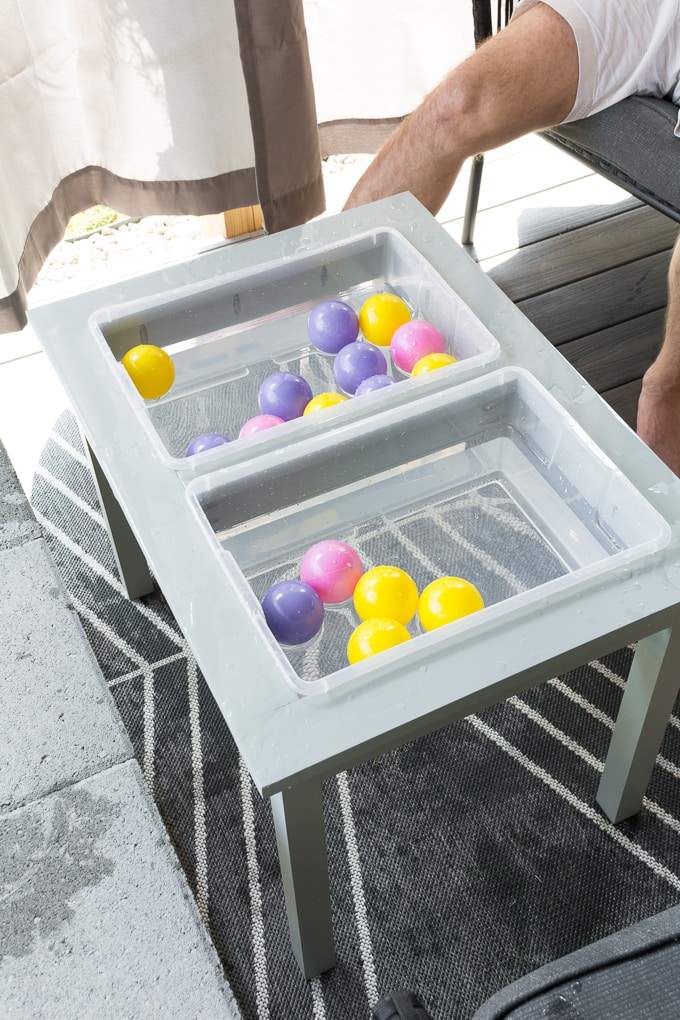
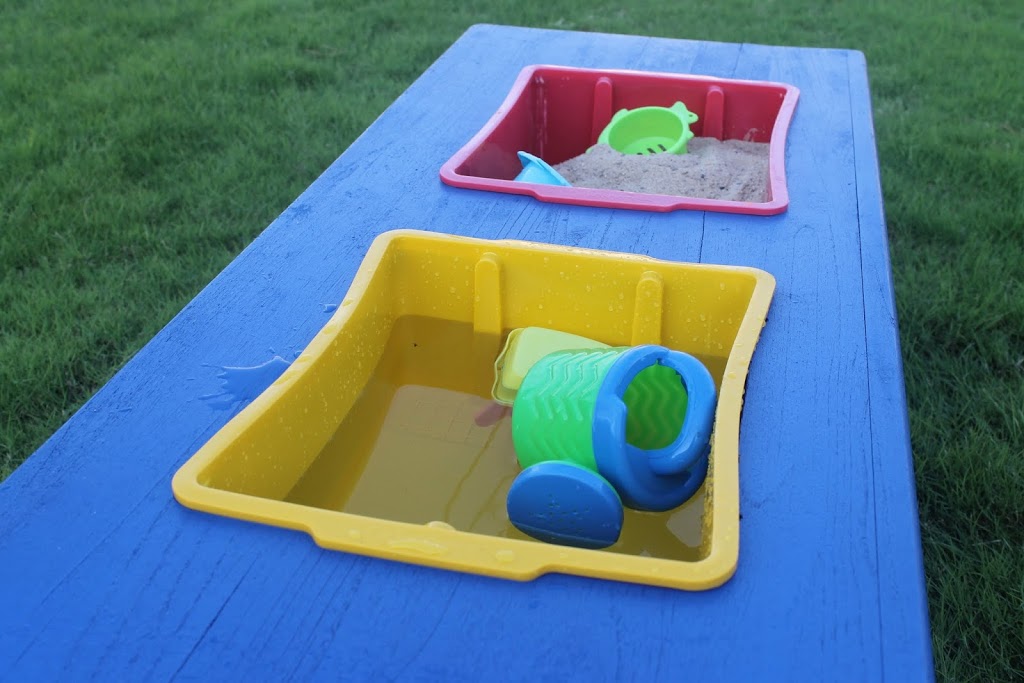
Make a cool water and sand table for your backyard and excite your kids with playing both! This was a very cheap project because the author already had a proper table, even if you don’t have it, buy it at a garage sale. Play with colors painting the table and getting bright tubs to make your kids more excited about this outdoor toy.
DIY sand and water table in bright and cheerful colors (via www.thechildatheartblog.com).
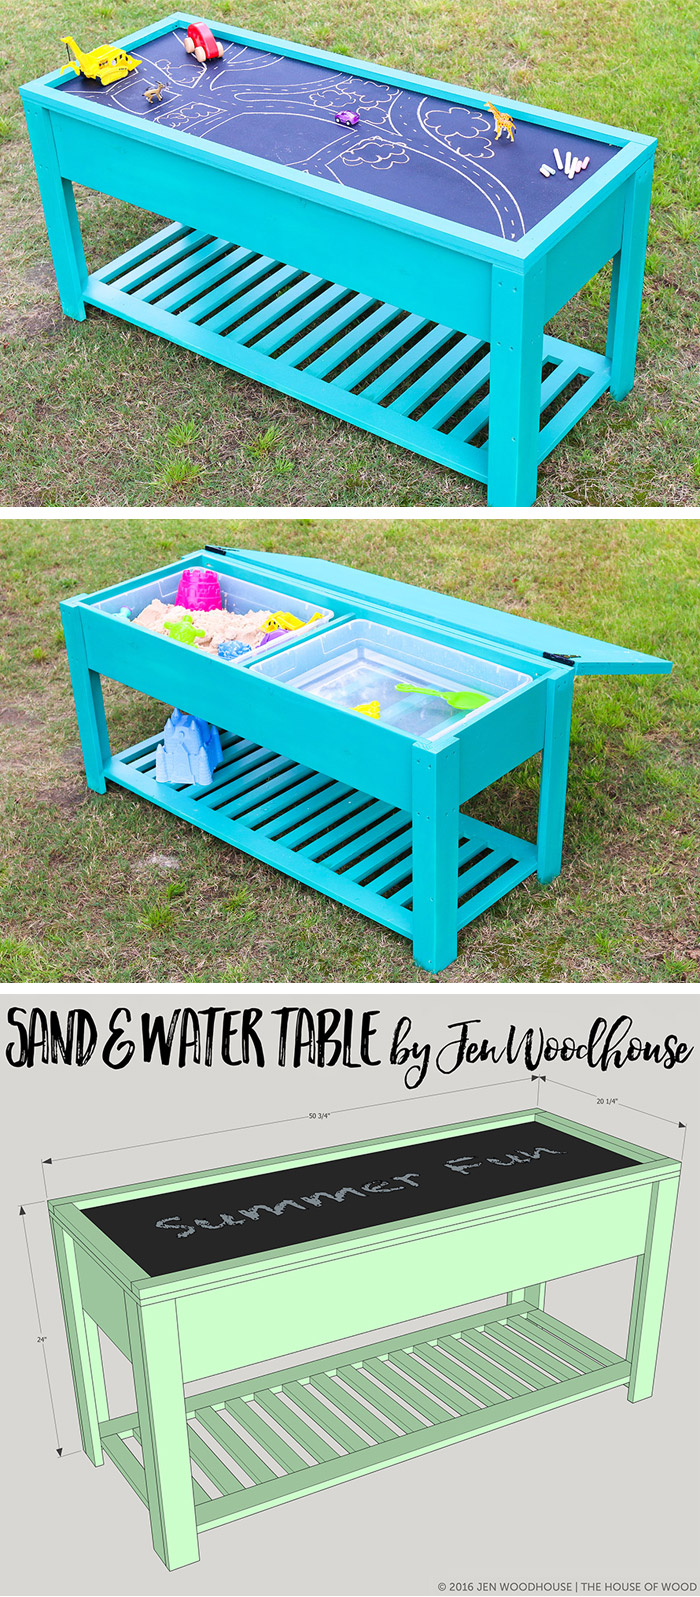
Here’s an awesome sand and water table with a lid, that combines three play spaces into one awesome outdoor toy for kids. I love that this outdoor play table has a lid that doubles as an outdoor chalkboard and keep all the stuff in order when not in use – a bit of organizing is always useful, isn’t it? Get more activities with only one table realizing it with this tutorial!
DIY sand and water table with a chalkboard lid (via jenwoodhouse.com).
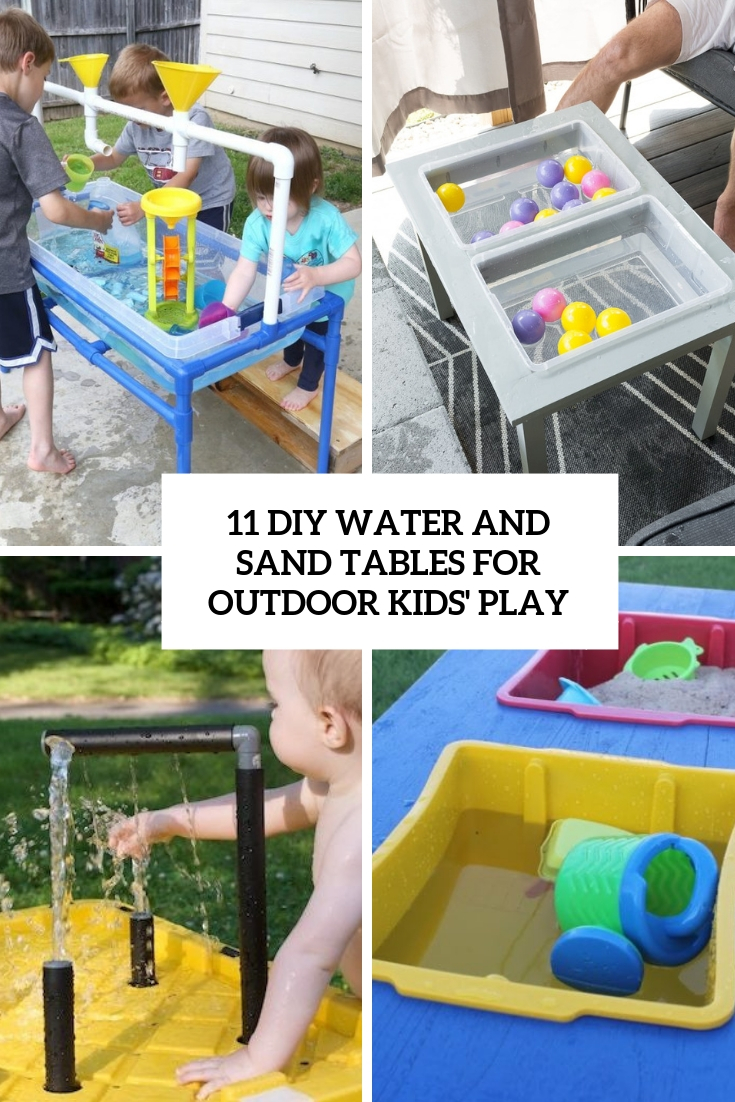
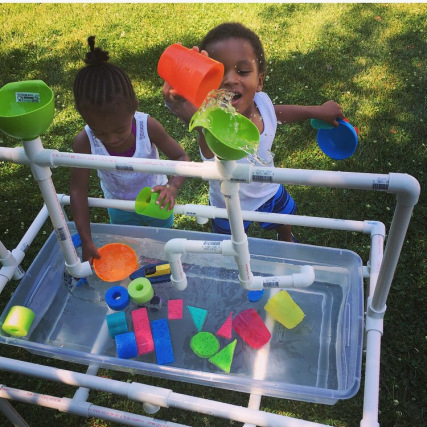
It is finally warm enough to get outside to enjoy the sunshine. One thing many toddlers absolutely love this time of year is water play. Sprinklers, swimming, splash pads… water tables at this time can get pretty pricey! Rather than accept defeat, make a water table yourself using PVC pipes. All of the materials can be purchased at Home Depot or Lowe’s. This is a fairly simple project to assemble and was finished in under an hour. Any left materials can be easily used for other projects, get inspired!
DIY water table with PVC pipes (via mylifewithlittles.wordpress.com).
This water table includes fountains and sprayers and a self-contained reservoir and pump so it wouldn’t need to be attached to the hose. The whole piece can be put together in about 2 hours if you have all the necessary materials. After you finish the craft, plug the pump in to test the water pressure coming out of the fountains. If it’s too much, unplug the pump and increase the size of a hole or two and test it again.
DIY water table with PVC pipes (via www.instructables.com).
Here’s an IKEA hack, and we all love them a lot! this water and sand table was built using IKEA Trofast bowls for sand and water, and there’s a storage space inside the table where you can put more Trofast bowls for storing all kinds of stuff. Take a look at this easy hack and get inspired!
DIY water table with storage using IKEA Trofast bowls (via www.ikeahackers.net).
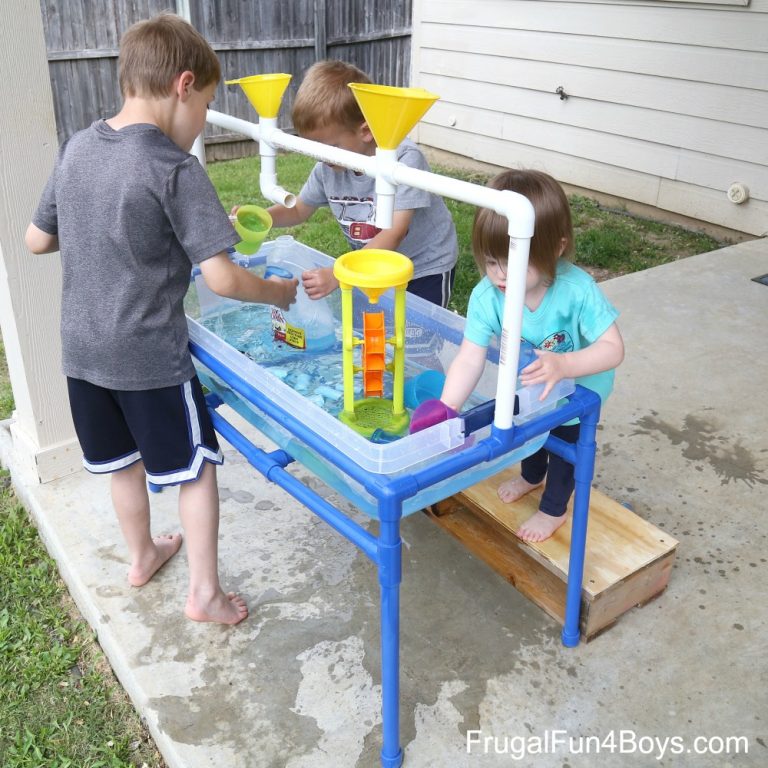
Here’s a stylish water and sand table with PVC pipes! It will keep all your kids busy playing and having fun for a long time. For storage of the water tub, dump the water out and then set the tub and toys in thegarage to dry. For the sand tub, snap the lid on to keep out rain and neighborhood critters. Read up to find out how to make this cool table!
DIY PVC pipe sand and water table (via frugalfun4boys.com).
