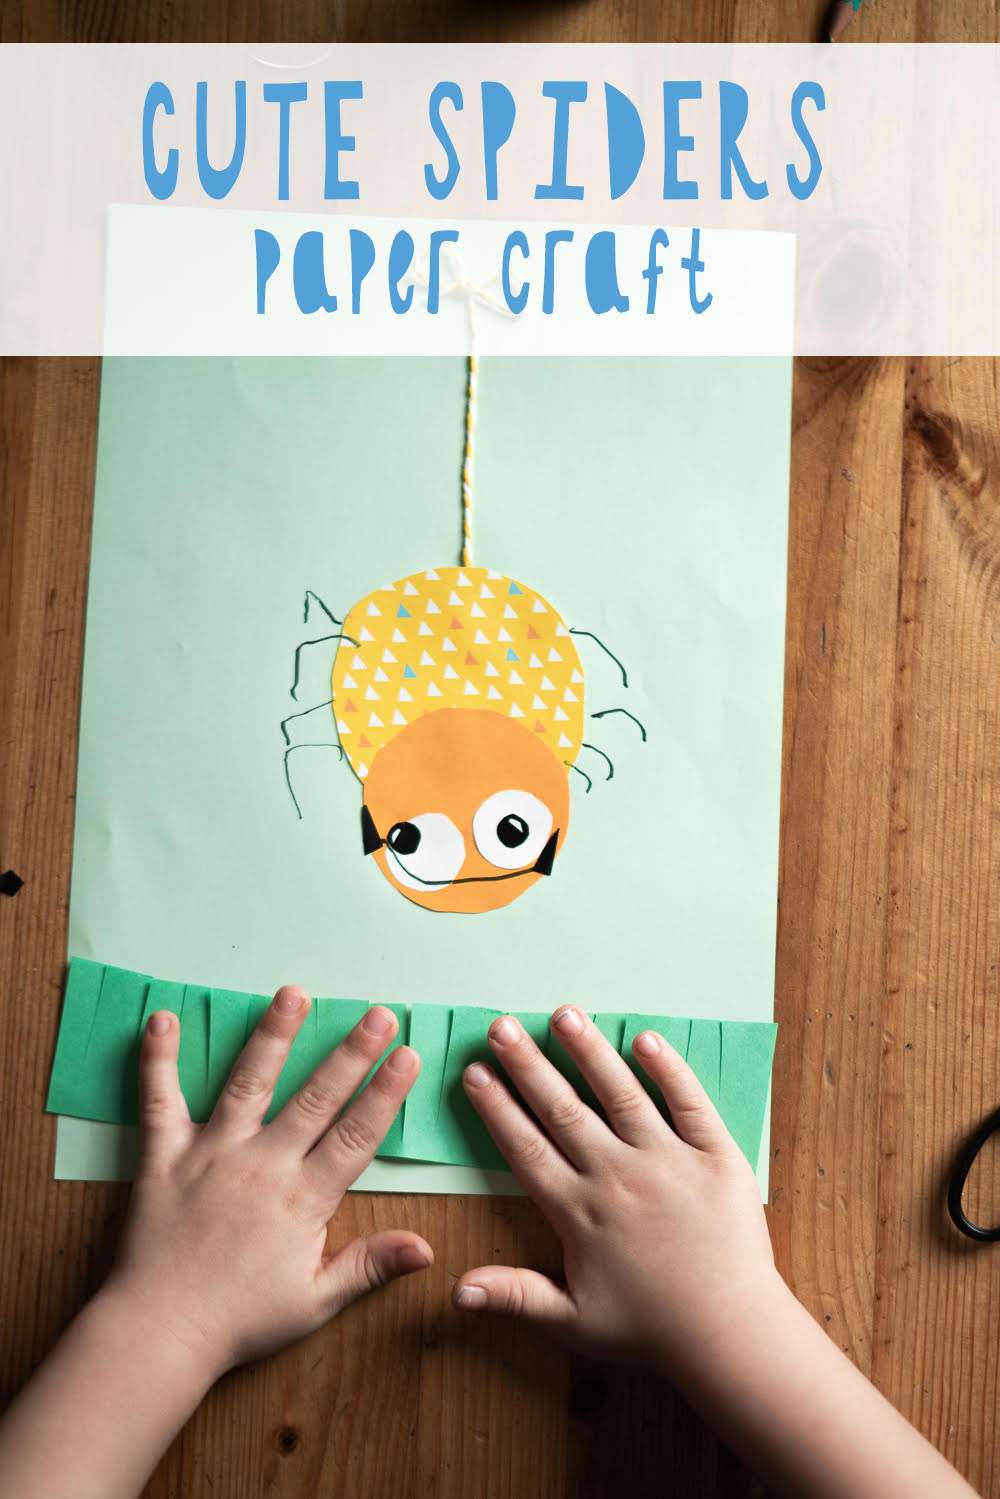
What can be more pleasant than spending time with your kids? Of course, crafting with your kids! Today we are sharing a cool and very easy DIY project, which is great for children of many ages depending on how much adults are going to help them. These are fun and whimsy paper spiders that can be framed and hung on the wall as an artwork, let’s get started!
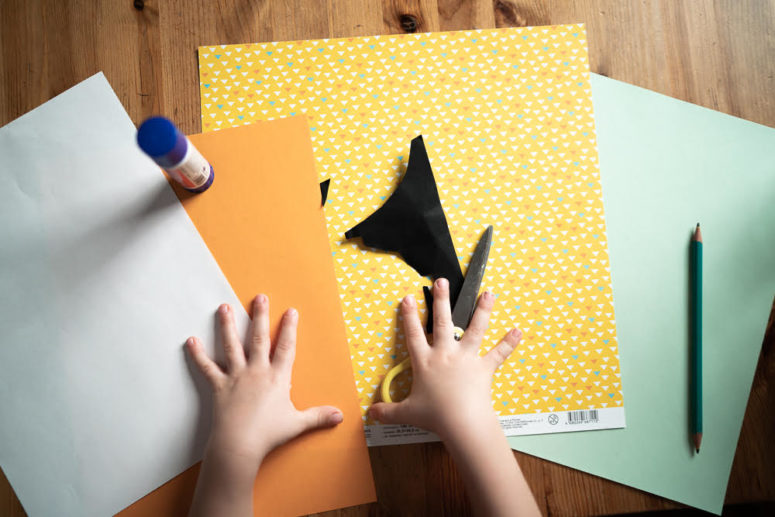
The Supplies Needed to Make Paper Spiders
- Scrapbooking paper
- Color paper
- Colored paper twine
- Scissors
- A pencil
- A sharpie
- A glue stick
Directions to Make Paper Spiders
Grab all the supplies you need.
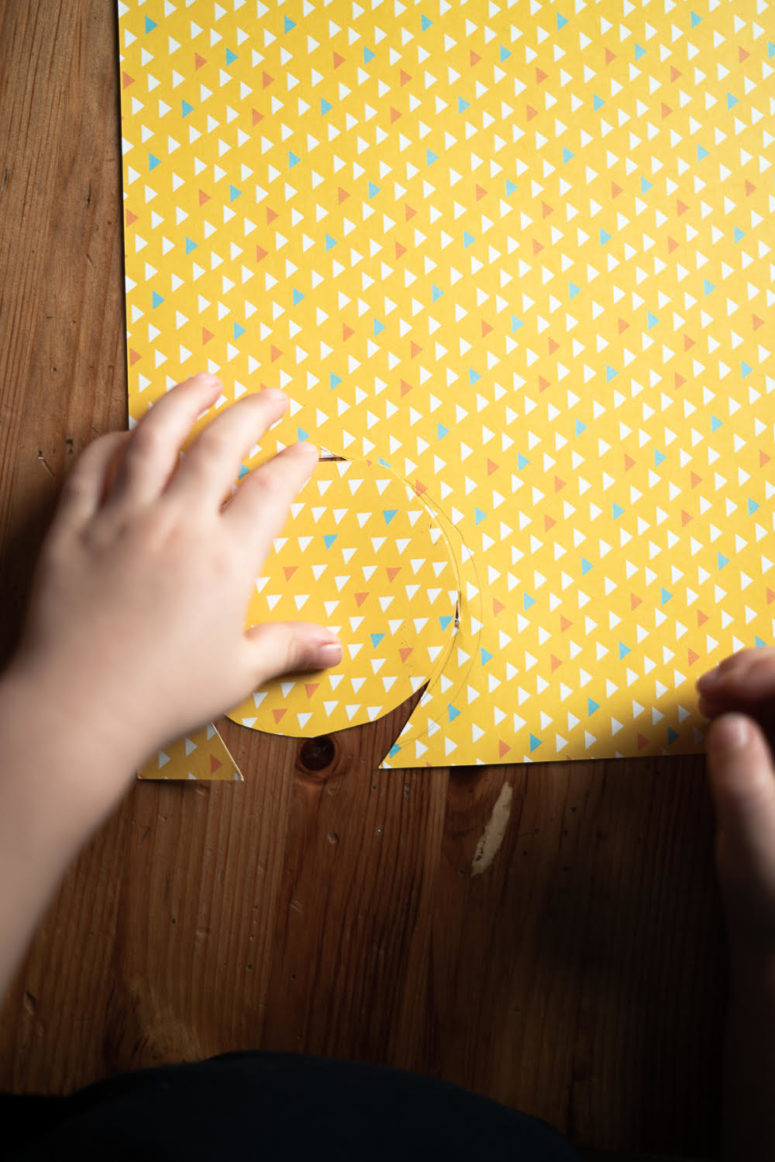
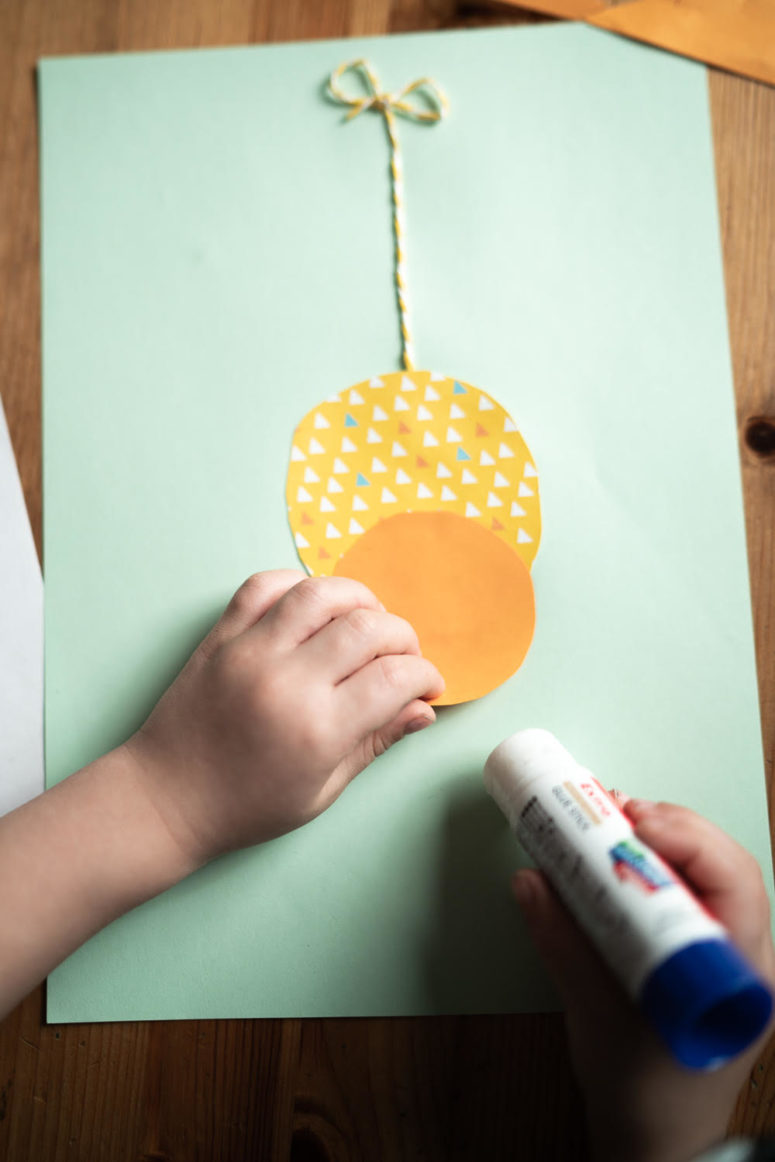
Cut a large circle for the spider’s body; to draw an even circle, you can use a glass. Cut a small circle for the head.
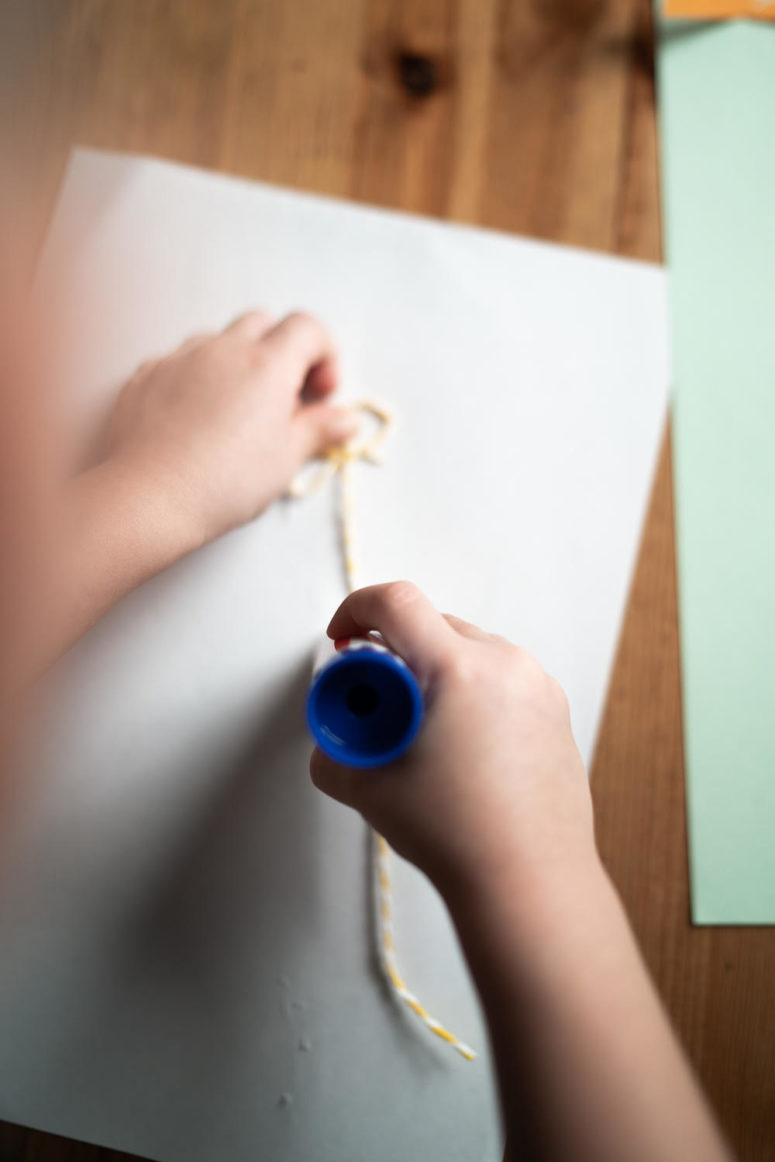
Cut off a thread of the desired length, tie a bow and glue it on the sheet.
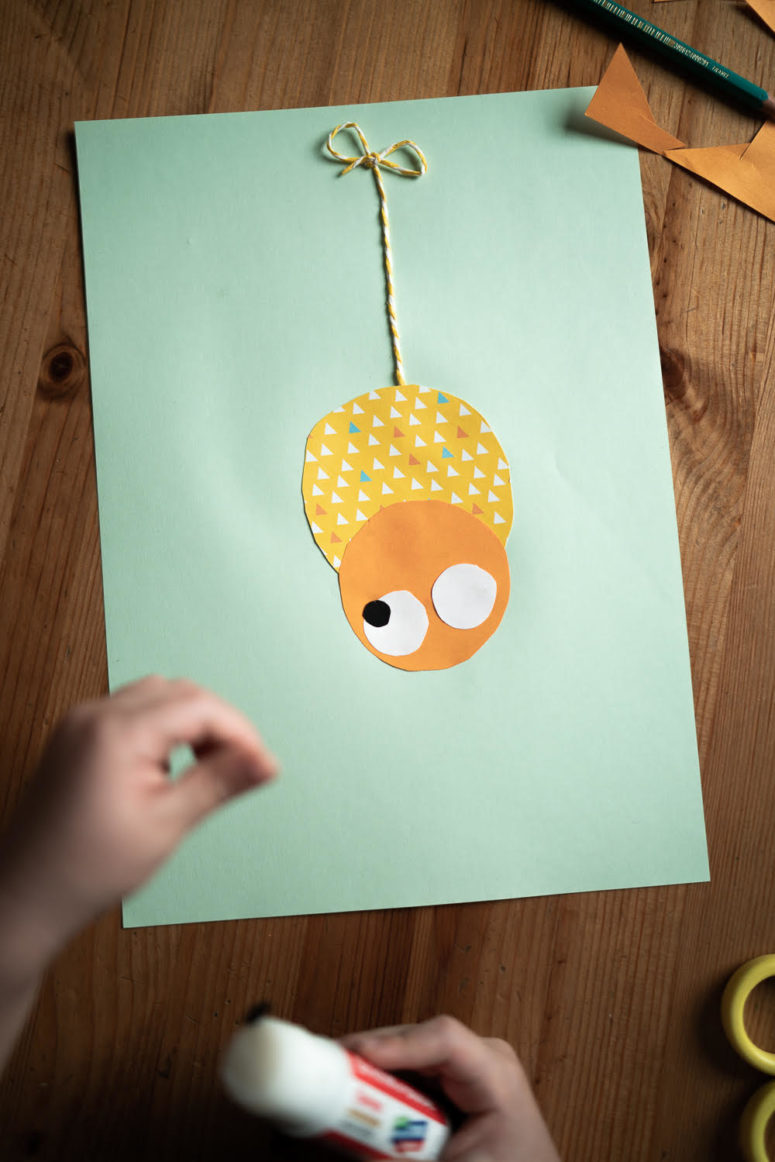
Glue the body and then glue the head.
Cut out white circles for the eyes, small black circles for the pupils and white highlights, glue them on the sheet.
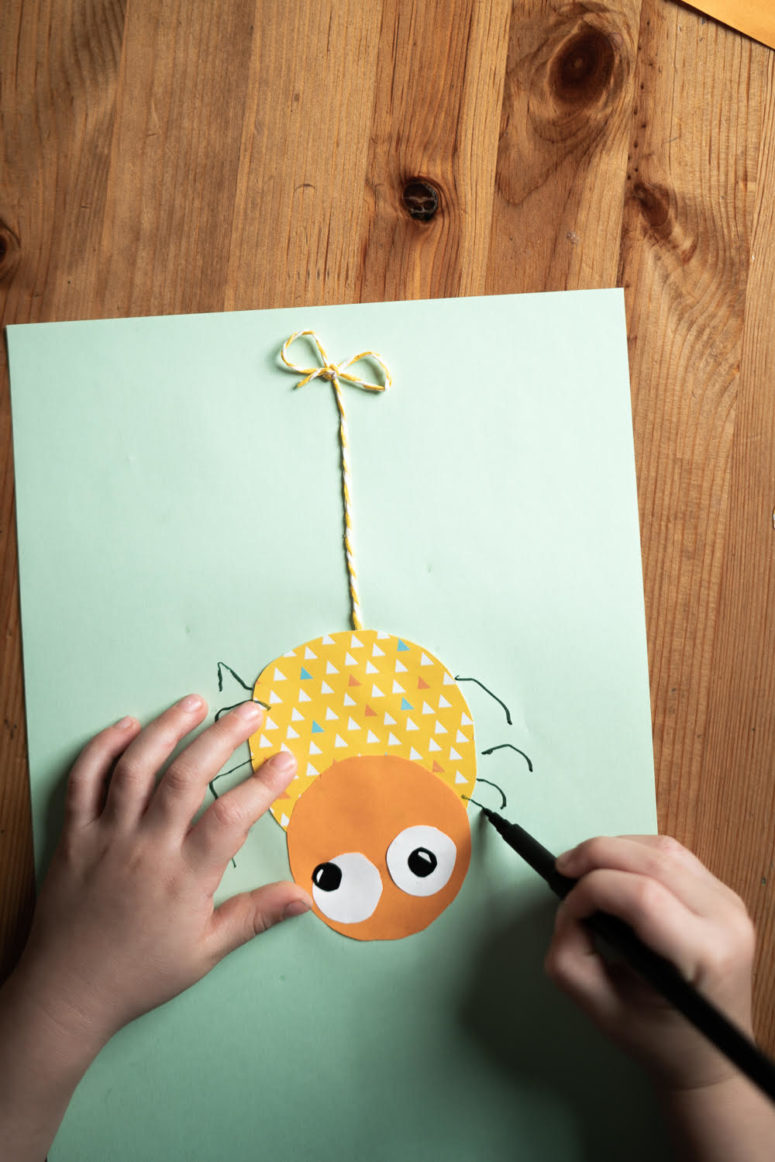
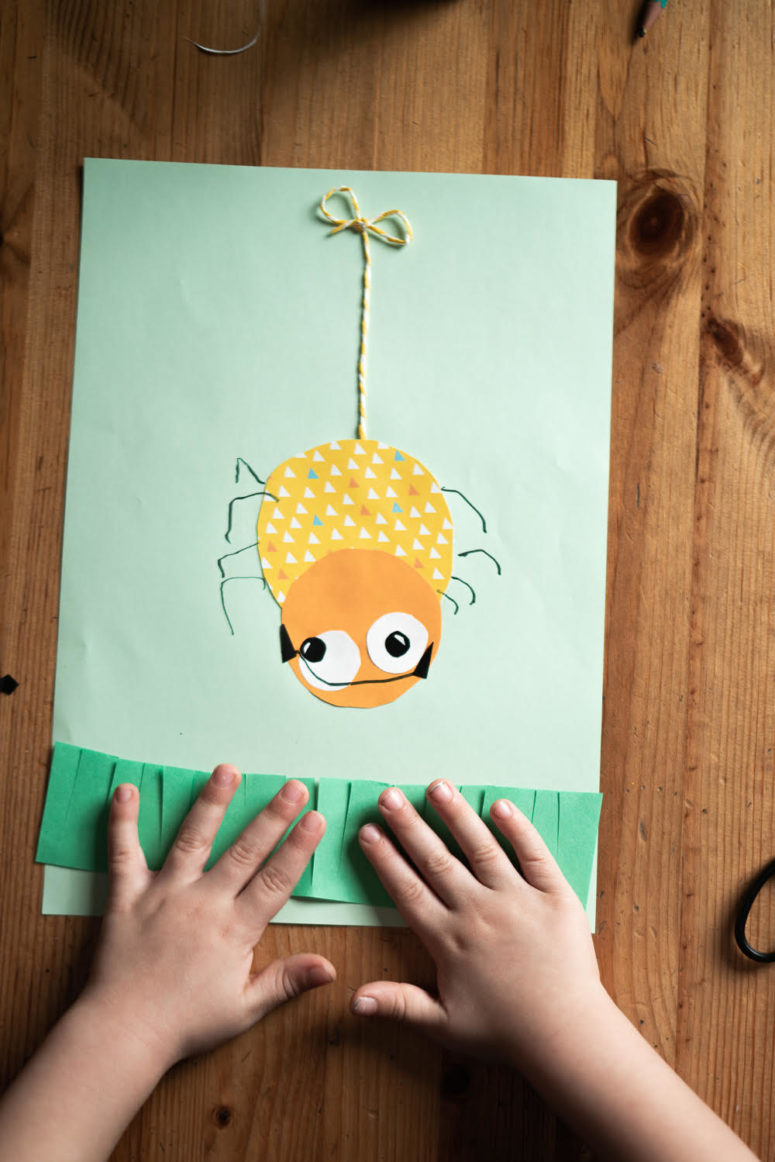
Draw a mouth. Cut out small black triangles for the fangs and glue them. Draw the legs.
If you want, you may add white clouds or green grass to the picture. And voila, it’s done!.
