Framing a photograph or piece of art is almost as important to the display as the image itself. While the actual picture is what you want to display, without a good frame, the art will not be shown to its best advantage. Picture frames create visual space around a photo, separating it from its surroundings and drawing attention to the artwork itself.
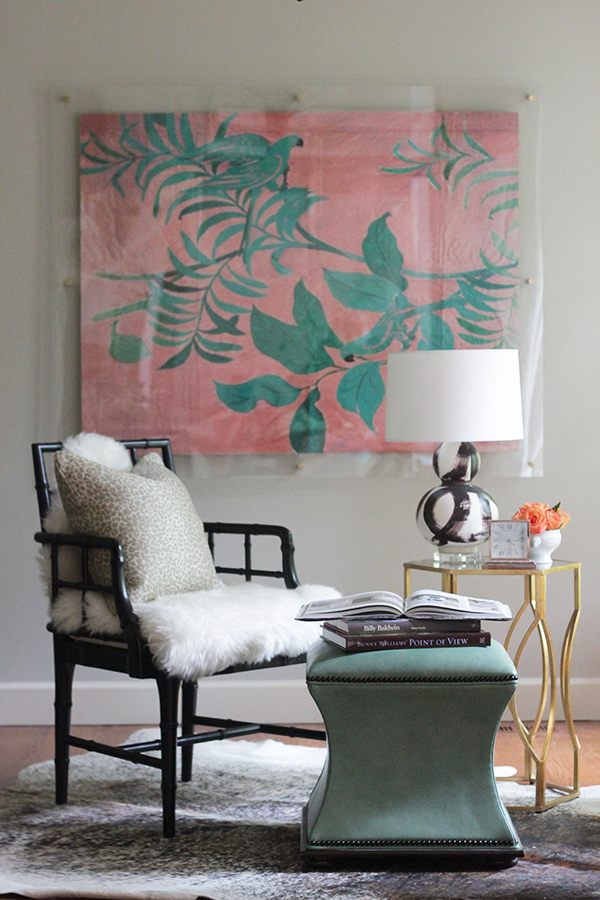
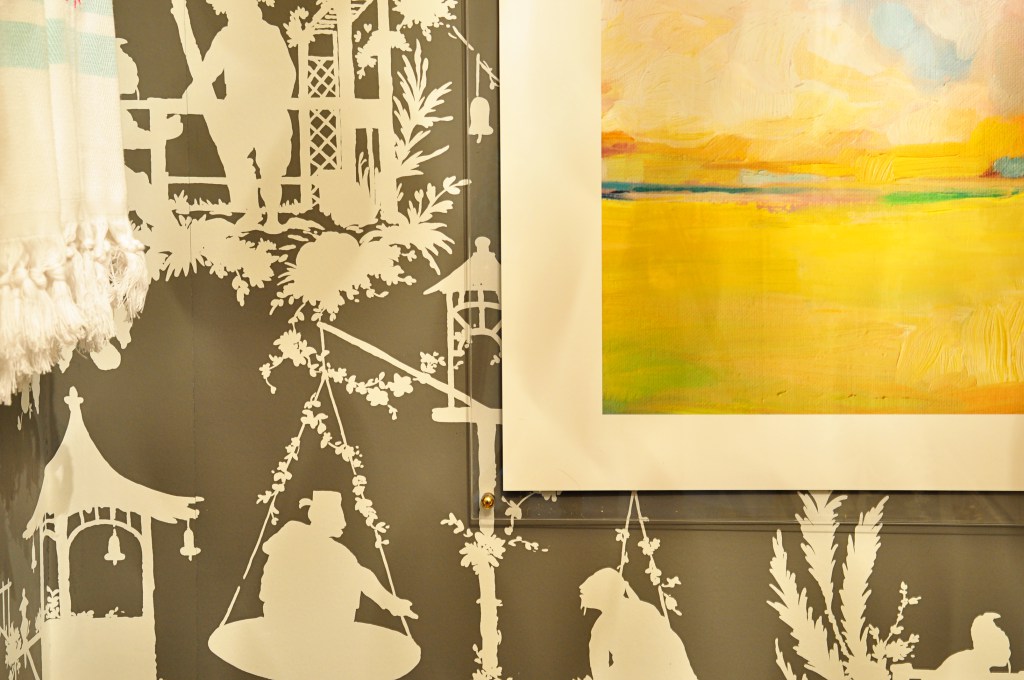
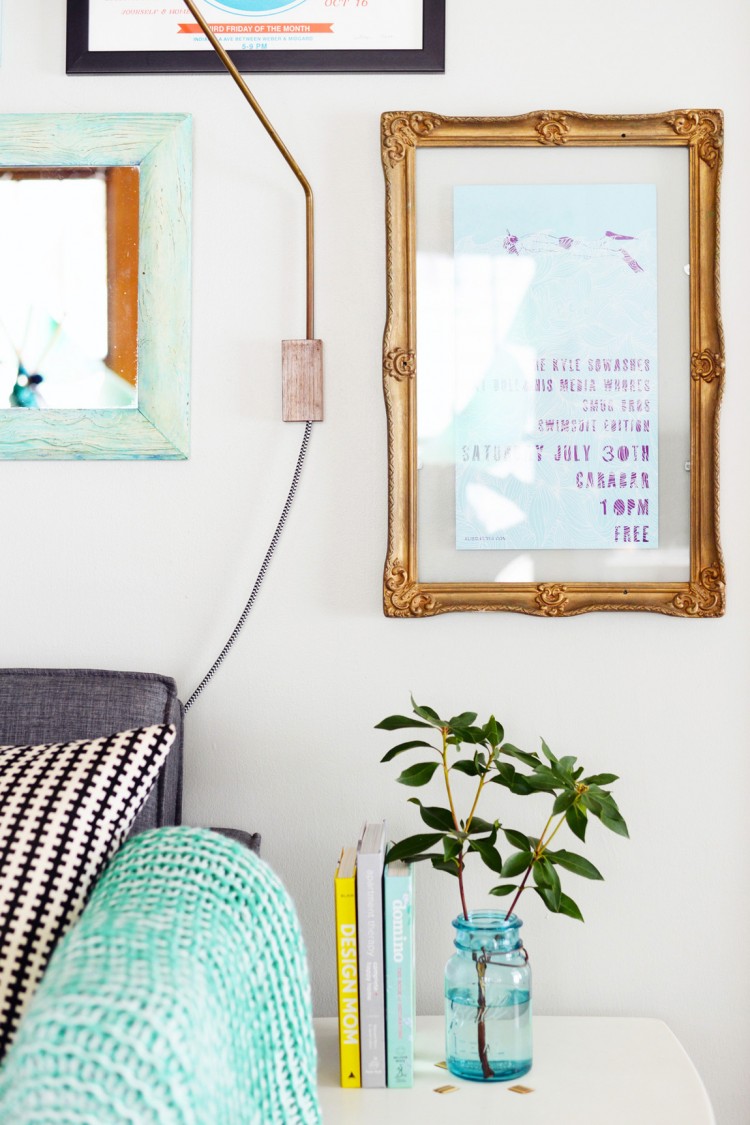
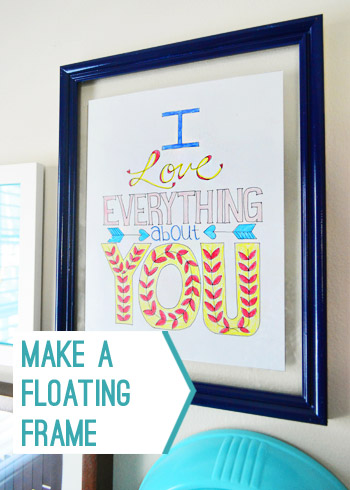
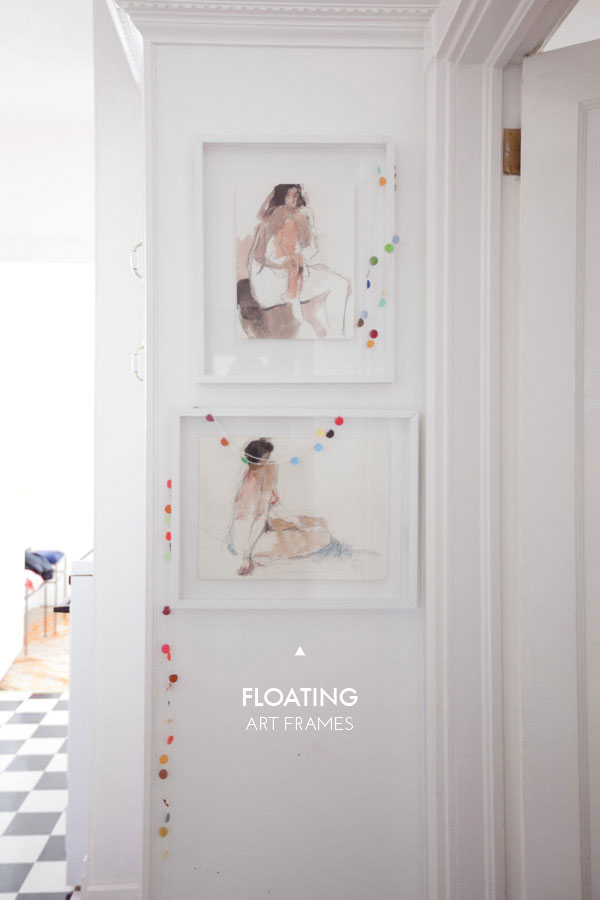
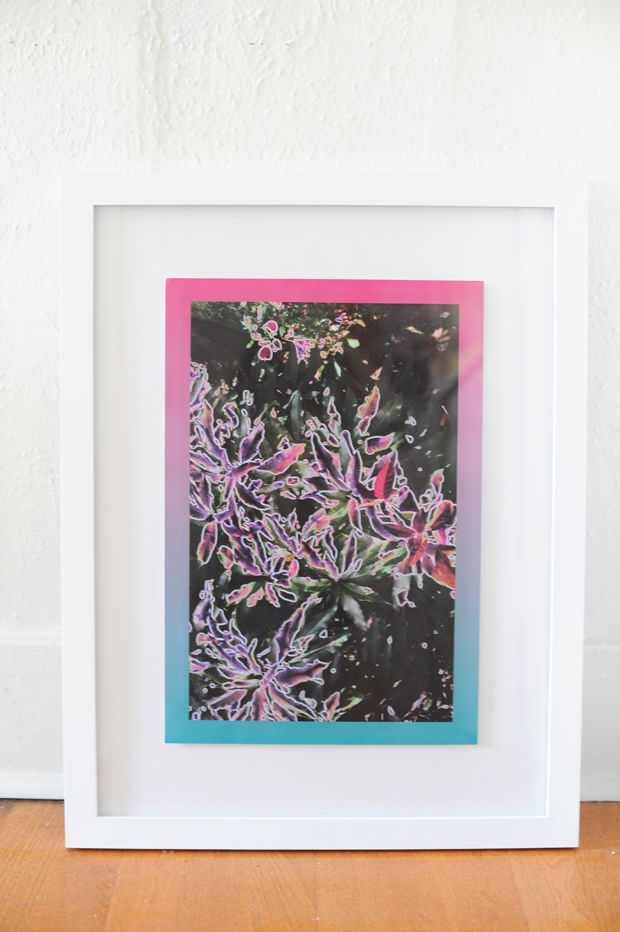
There are many types of picture frames to choose from: wooden, metal, plastic, fabric and from other materials but today I’d like to speak about a new frame type that is gaining popularity right now – a floating frame. Such a frame gives art the illusion of floating inside the picture frame or right next to the wall without touching it, which creates an interesting visual detail and a sense of three-dimensional depth in the overall display.
Such a solution may be rather expensive but don’t worry – you can make it yourself! Such frames can be with edges or without, so first find out which one you want.
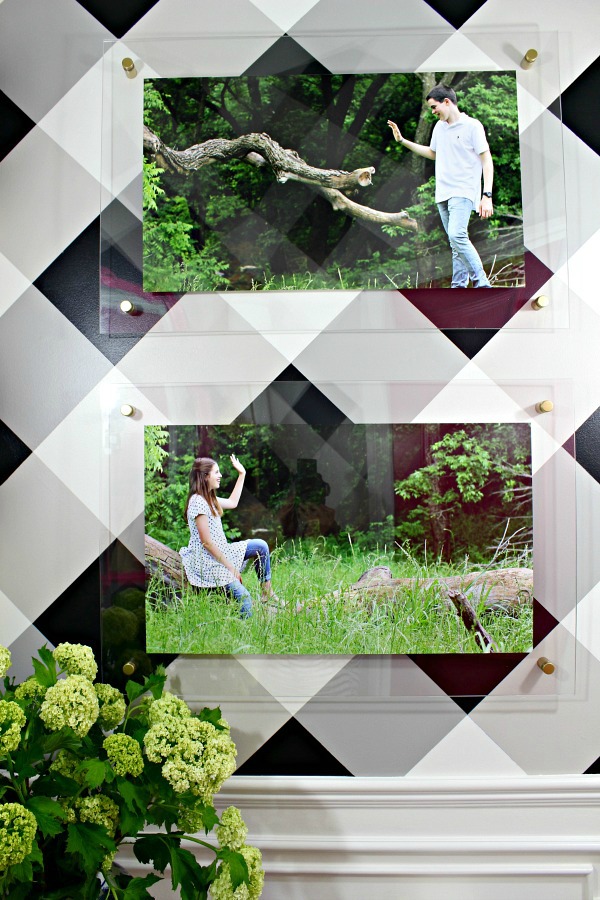
For a non-edge floating frame cover the corners of your acrylic, front and back, with painter’s tape. Mark on top of the tape where you want the holes to go. Use a small drill bit to drill a hole into the acrylic. You’re trying to avoid cracking the acrylic, so going backwards and basically melting through the sheet is the best way to go. Keep switching to bigger and bigger bits until you have the right hole size drilled for your hardware. Remove the tape and the protective film from your sheet. Use glue dots to attach your photo face down onto the acrylic. Hold your photo and center it on the wall where you want to hang the frame. Mark where each hole should be drilled (try and be really precise, there’s not a whole lot of wiggle room if the holes are really off), and pre-drill each hole with a small drill bit. Paint your mounting hardware gold and let it completely dry. Mount the tube part of the mounting hardware into your predrilled holes with a screw and screwdriver. Line up the holes of your frame with the hardware and screw in the front screws to secure the acrylic in place.
If you are going to have some framing, center your poster or art in the center of the frame. Stick double-sided tape (or a couple of loops of masking tape) on the backside of the poster. Hold the poster in place and gently slip the second piece of glass down on top of the poster. Secure the glass in place with the attachments on the back of the frame. Voila!
DIY floating acrylic frame (via abeautifulmess).
DIY oversized floating frame (via blog).
DIY lucite floating frame (via dixiedelightsonline).
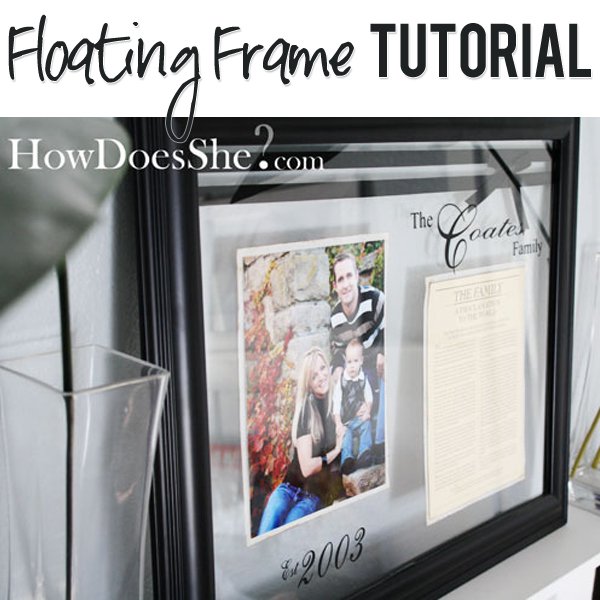
DIY modern black floating frame (via howdoesshe).
DIY floating frame with no edges (via dimplesandtangles).
DIY vintage floating frame (via shelterness).
DIY dazzling blue floating picture frame (via younghouselove).
DIY floating frame with white edging (via ohhappyday).
DIY floating picture frame with white edges (via cupcakesandcashmere).
DIY large floating picture frame (via alwaysrooney).


