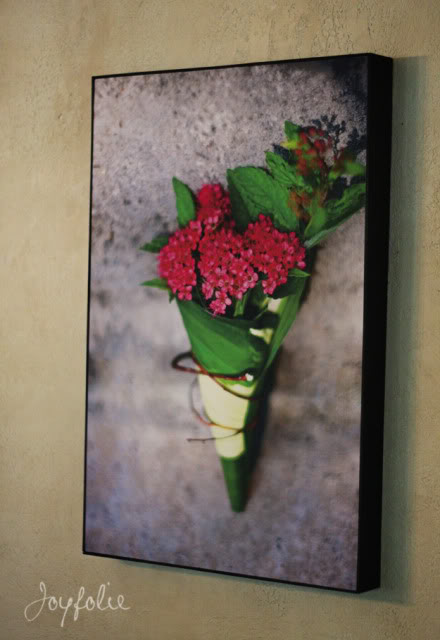
Canvas will make any art more refined, and it will make your décor outstanding, especially if we are talking about your personal photos turned into canvas art. To be in trend, go for your Instagram pictures and turn them into such canvas art, they’ll look super fashionable on the wall. Do you think that making such artworks is difficult? No, I’ll prove you that no!
If we skip wrapping your canvas with pictures printed, there are two basic ways to create such art. The first is about ironing using transfer paper, and the second is about sealing your image to the canvas, let’s have a look at both for you to choose the best idea.
The First Way
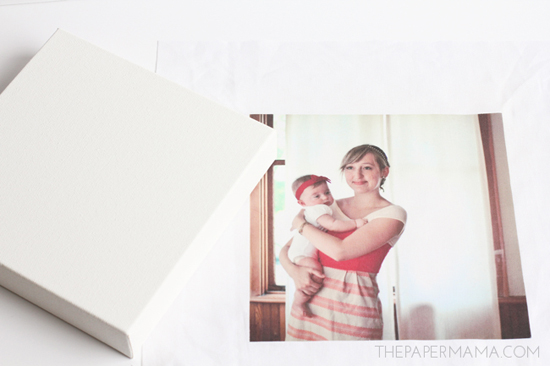
Print your photo onto the iron-on transfer paper. Set it up on your computer. The image will iron-on the correct way when transferred to fabric. Iron-on the image onto the fabric (following your iron-on transfer paper instructions). Let cool and peel back paper. Trim the fabric to the size you want. Center the image on the front of the canvas. Carefully flip over and staple the fabric onto the back of the frame. Fold fabric corners on the top and bottom of the frame. Note: if you mess up and the image isn’t even over the canvas, just pull out a staples and start over.
The Second Way
Let’s prep the picture. Carefully smooth out and tape the white tissue paper onto the printer paper (you’re printing onto the tissue paper). Put it into the printer and print your image. Let the printed image dry completely. Note: while taping the tissue paper onto the printer paper, make sure the tissue is very smooth. If it’s too wrinkly it will print weird.
In a well ventilated area wearing a mask and eye protection, spay a very light layer of acrylic sealer spray onto the printed tissue image. Let dry for an hour. Carefully remove the printed tissue paper from the printer paper. Trim the sides of the tissue paper (leave a 1/4 inch border around the image).
Grab your canvas and apply a very light layer of Mod Podge. Very carefully place the printed tissue image onto the mod podged canvas. Carefully smooth out the image from the center out. Apply one more coat of Mod Podge over the tissue image to seal the picture. Let dry for a couple of hours.Use the white acrylic paint to cover the side of the canvas (to cover any excess tissue
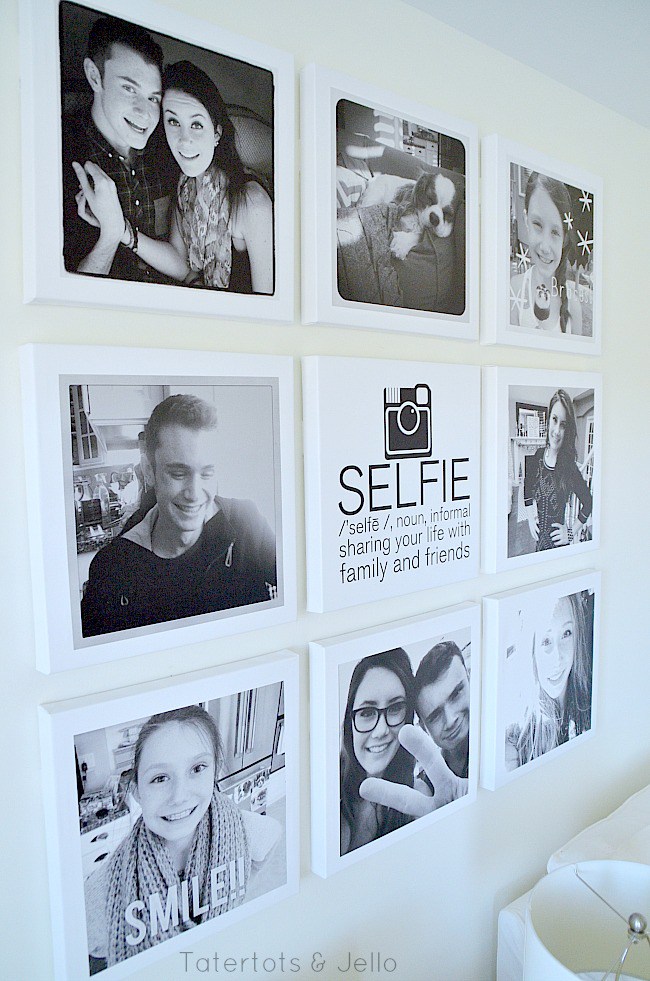
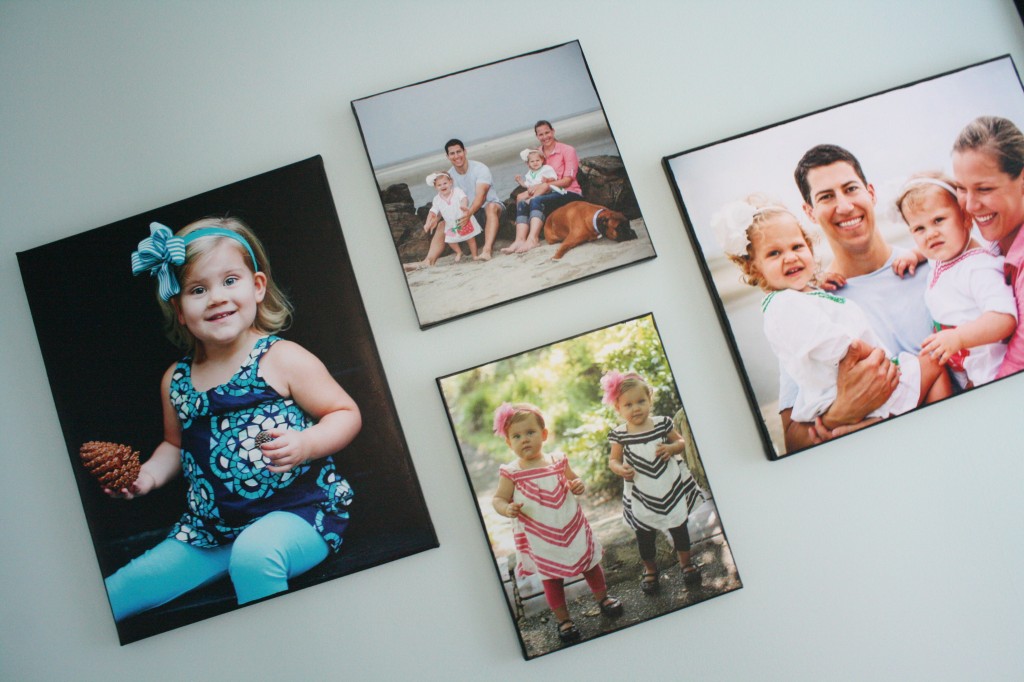
DIY canvas portraits (via tatertotsandjello).
DIY photo canvas two ways (via bhg).
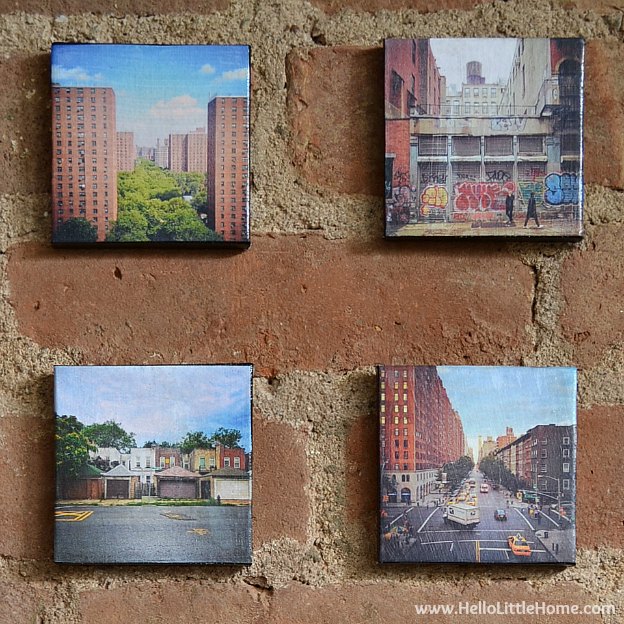
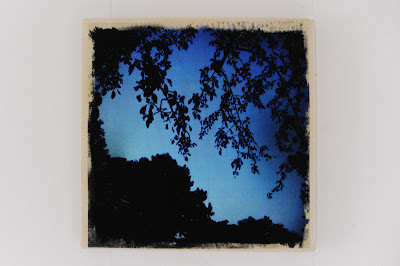
DIY canvas mounted Instagram pics (via hellolittlehome).
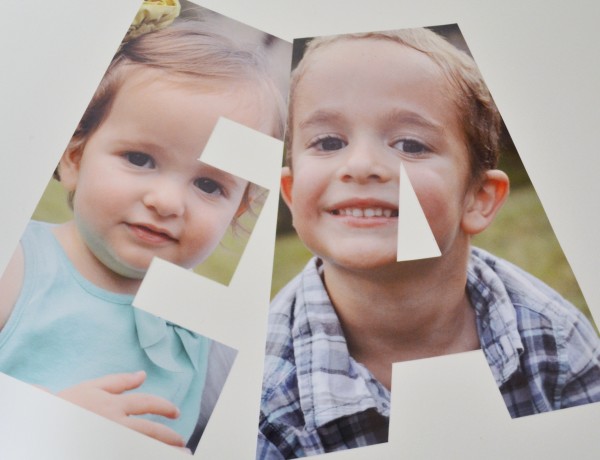
DIY initial photo canvas (via burlapandblue).
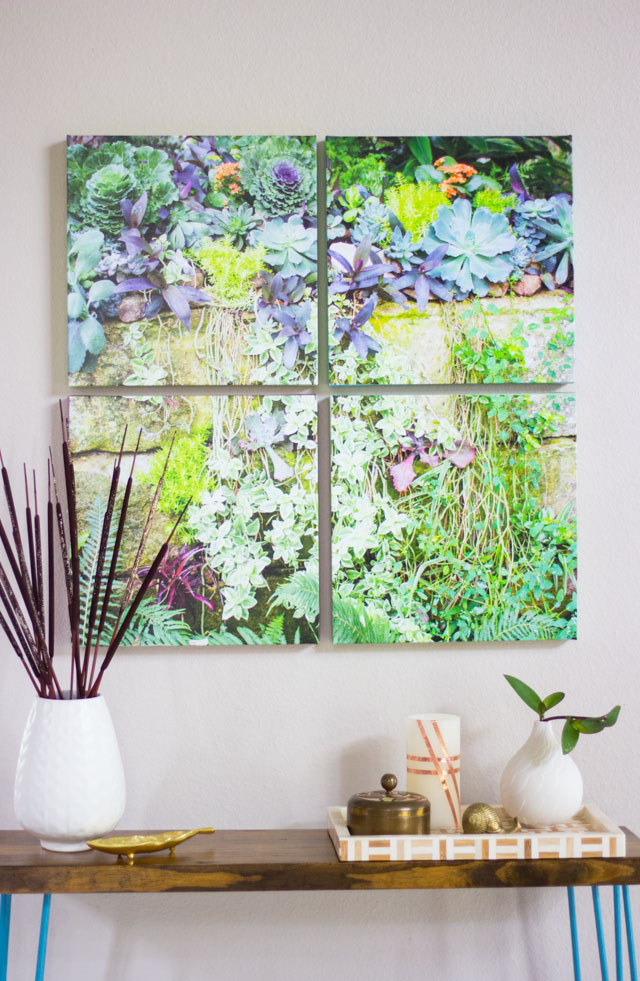
DIY photo canvas wall art (via designimprovised).
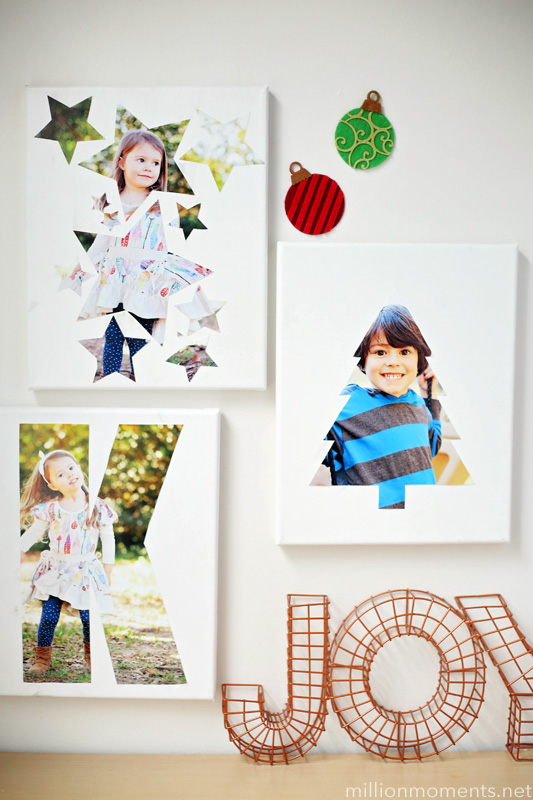
DIY cutout photo canvas (via millionmoments).
DIY photo canvas (via designertrapped).
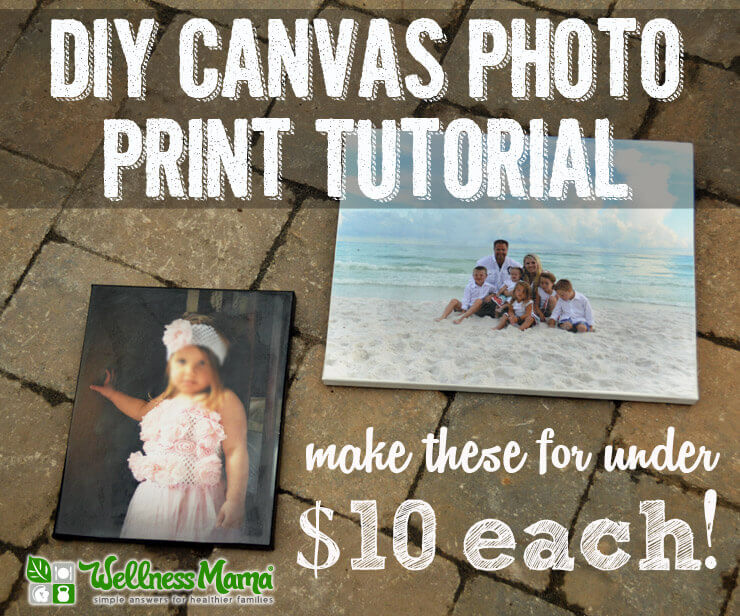
DIY canvas photo print (via wellnessmama).
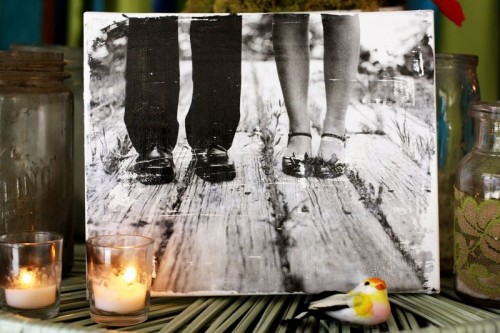
DIY photo vintage canvas (via shelterness).
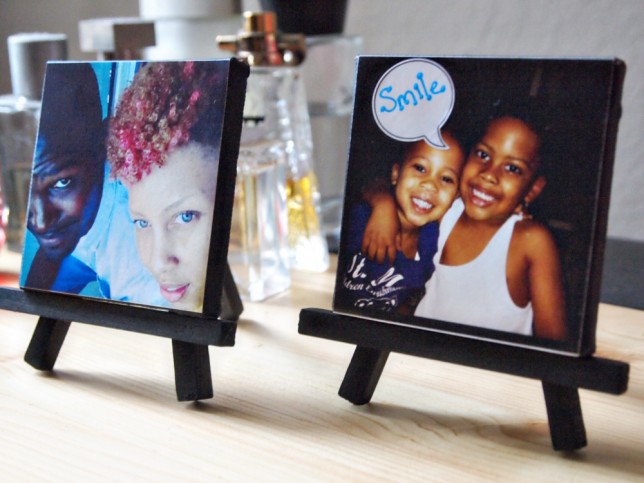
DIY mini Instagram photo canvas (via sparklecollective).
How to transfer a photo on a canvas (via rustandsunshine).
DIY botanical and floral photo canvas (via shelterness).
