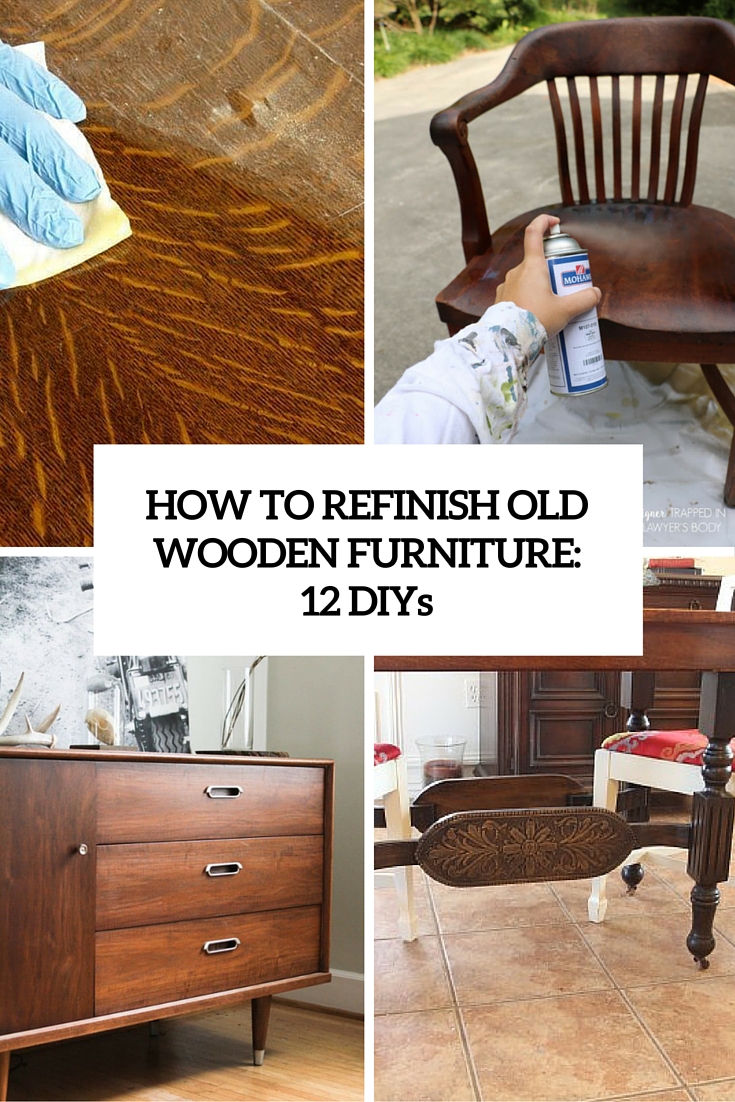
If you have some wood furniture that requires a new finish or you want to extend the life of a dreary-looking piece of wooden furniture and you’re sure it needs more than just cleaning, your next step should be to refinish it. Stripping and refinishing furniture isn’t complicated or expensive, but it is messy and time-consuming, so here’s how to.
Stripping
Stripping and refinishing wood furniture in a clean, well-ventilated place is the best way to minimize the accumulation of dust and fumes. Wearing protective gloves, brush on the furniture stripper and let the piece sit. After the chemical stripper has softened the old finish, scrape the finish with a wooden scraper. Use a soft brass brush on crevices. Then reapply the stripper and repeat the process until all the old finish is gone. Sprinkle sawdust on your furniture piece just after you’ve rinsed it down with TSP or another product containing trisodium phosphate. Then brush or wipe off the muck immediately so that the sawdust doesn’t dry and cake on the wood. Let your furniture dry, scrape with a cabinet scraper.
Sanding
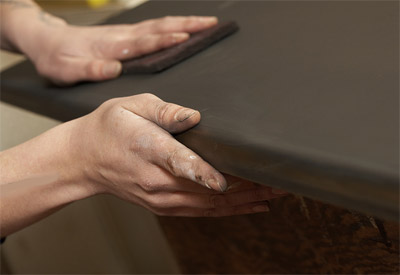
Sand the wood until it is smooth. Some veneers are so thin that, by sanding the surface, you actually wind up sanding through the veneer at the same time. If you are fortunate enough to have a piece with a 1/4-inch veneer, the piece will respond perfectly to this refinishing process. Use an orbital sander with 80 or 100 grit sandpaper to remove most of the finish. Once that’s done, switch to a higher grit to get rid of any remaining stain or paint. For areas that are awkward or impossible to reach with the sander, you will need to use sanding block, or a small piece of sandpaper.
Repair Before Refinishing Wood Furniture
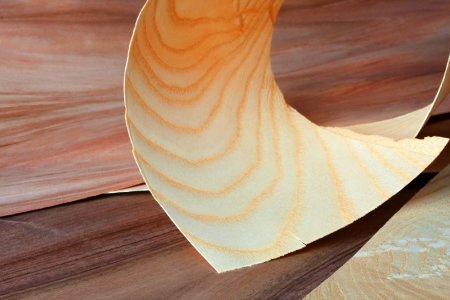
If your piece of furniture needs repairs as well as refinishing, make the repairs after stripping and before refinishing. Check to be sure the joints are tight because stripping can melt glue and thus cause joints to loosen. If that happens, be sure to tighten the joints before proceeding with the refinishing. As you are regluing the areas, you may find that the veneer has swelled from water infiltration. If this is the case, carefully slice both sides of the damaged veneer until the piece lays flat. For water-damaged and scratched areas, if the damage is on the surface, it will be handled when you sand to remove the veneer finish. For areas with missing veneer, you must create a veneer patch of the same grain and glue it in place.
Staining
There are several options when it comes to staining wood. You can choose between water-based, oil-based, gel stains, and one-step stain/finishes. When you apply the stain, you should wipe off the excess immediately and then continue to apply thin coats, wiping the excess off each time. If you need to stain both sides of a piece of wood and want to save time by doing the second side before the first dries, just tip the piece gently against a wall or another support so that only the edge of the wood is touching. This will prevent blotches or smears from ruining one stained side while you do the other.
Varnish Furniture after Staining
After staining a piece of furniture, brush on a coat of varnish. Let the varnish dry, then sand the piece with fine-grit sandpaper. Repeat the process until you have three or four coats. Use thin coats of varnish, and sand progressively more with each coat to bring down “high” areas and fill in “low” areas. The sanding will even out the surface, making it smoother.
Get a Smooth Finish
For a smooth surface on your refinished piece, sand the last coat of varnish with wet 600-grit wet-or-dry sandpaper. Then make a muddy mixture of 3/4 cup of pumice, a squeeze of lampblack and enough paraffin oil to make the mix soupy. Brush the stuff on with an old toothbrush or, for wider areas like tabletops, a small floor brush. Use long, continuous strokes. Immediately clean up behind your strokes with rags. The lampblack will hide any white grit in the crevices. Switch to a clean rag for a final pass over the furniture to make sure you wipe off any residue. Then buff with the high-quality polish or wax of your choice.
This is the whole tutorial for refinishing an old wooden piece of furniture, we hope that it’ll be of source for you. if you need more details or some exact projects like refinishing tables or chairs, look below and read these DIYs. Good luck!
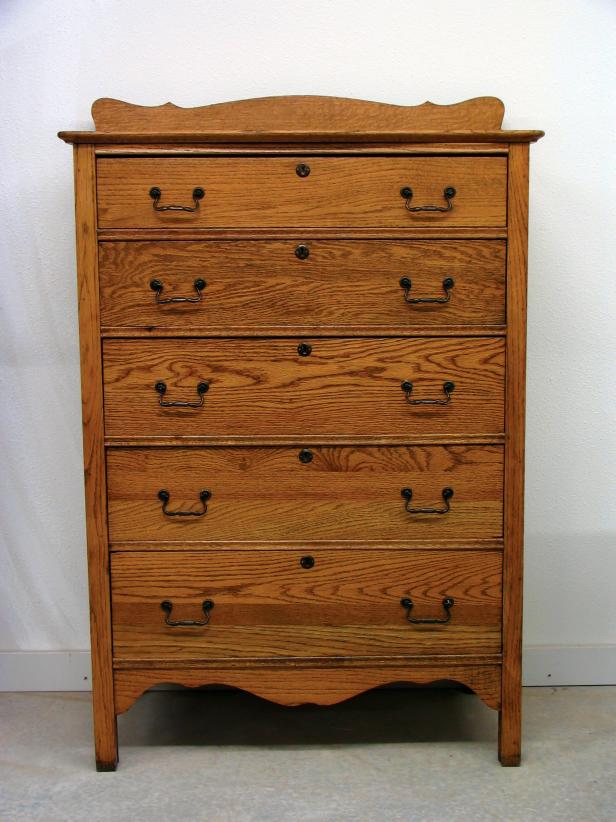
DIY cabinet refinish (via diynetwork).
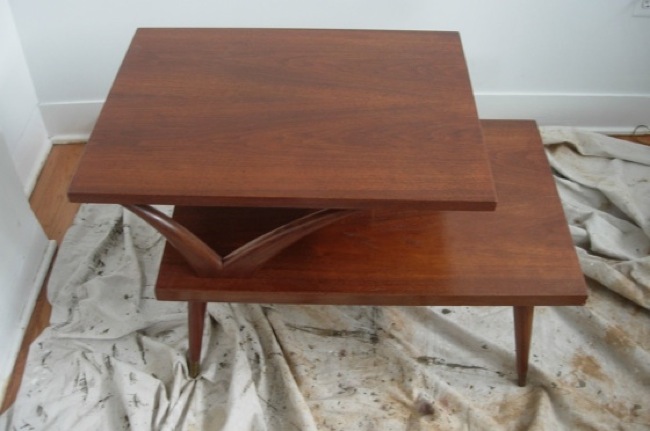
How to refinish a wood table (via bobvila).
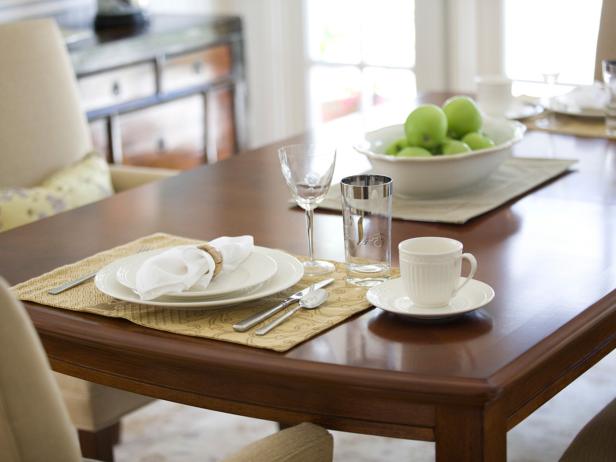
How to refinish a dining table (via hgtv).
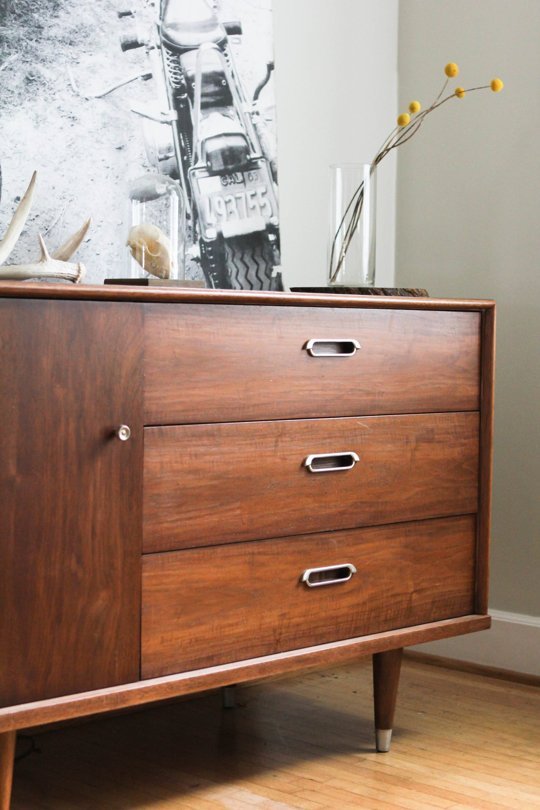
How to refinish an old cabinet (via apartmenttherapy).
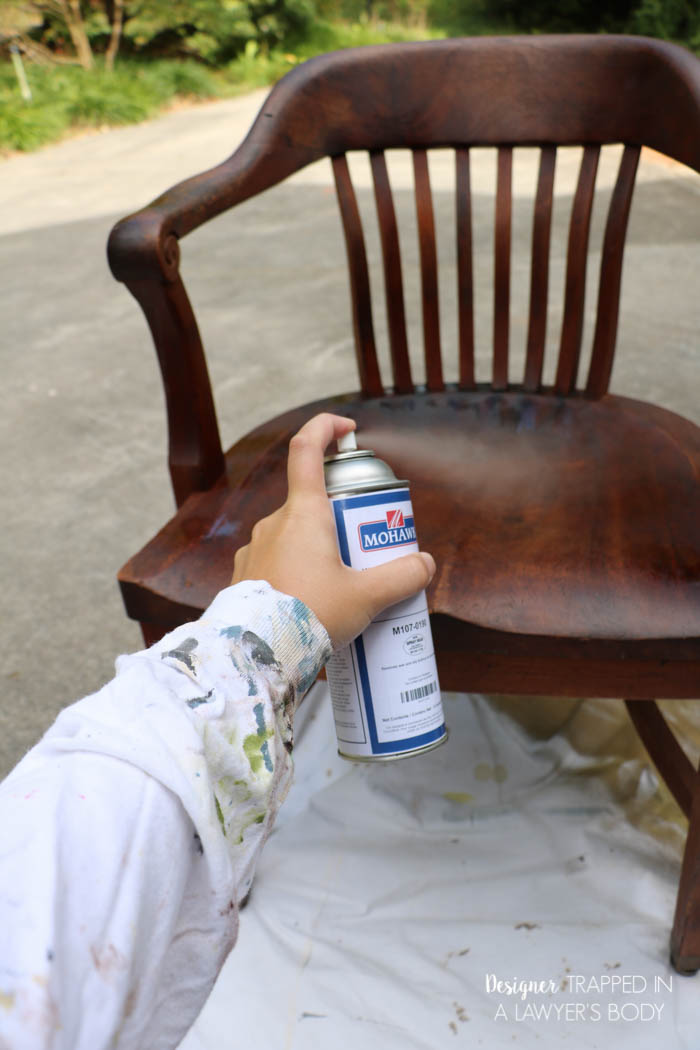
How to refinish old wood chairs (via designertrapped).
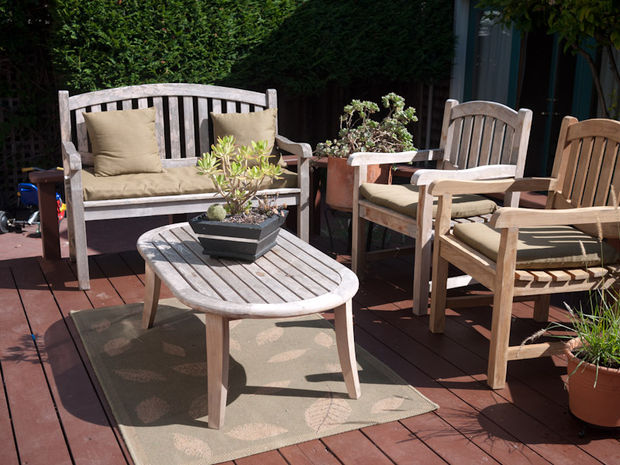
How to refinish outdoor furniture (via instructables).
How to strip and refinish wood furniture (via diynetwork).
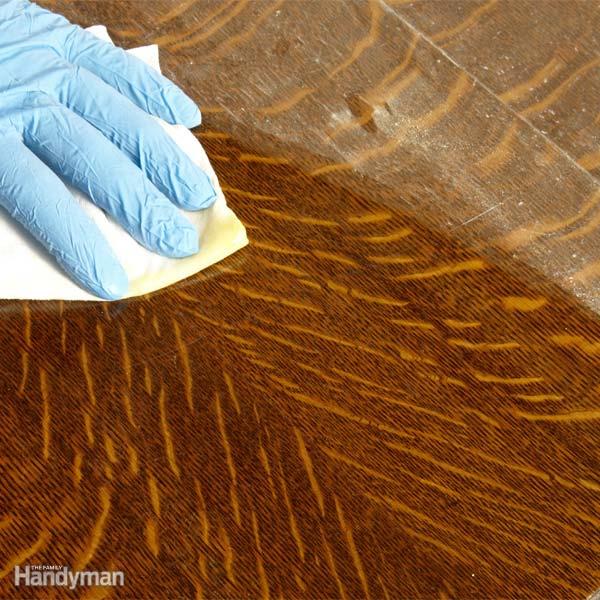
How to refinish old furniture (via familyhandyman).
How to refinish wood furniture (via yankeemagazine).
How to refinish wood veneer furniture (via doityourself).
How to restore a wooden table (via instructables).
How to refinish an old dining table (via remodelaholic).
