Concrete planters are great because they’re easy to make and super durable. They last much longer than plastic or wood planters, making them a fantastic investment. Their heavy weight keeps them stable, even in strong winds, which is perfect for big plants or trees. Plus, they have a cool, modern look that blends well with greenery. You can make them in all sorts of shapes and sizes and customize them with colors, patterns, or textures. Best of all, they don’t rot, warp, or attract bugs, making them low maintenance and easy to clean with just water and mild soap.
How To Make Them
Making concrete planters is pretty easy. Here’s what you need: concrete mix, water, molds (like plastic containers or buckets), cooking spray or oil (to prevent sticking), and sandpaper (for smoothing edges). First, choose a mold and spray the inside with cooking spray or oil. Mix the concrete with water until it’s thick like pudding. Pour the concrete into the mold, tapping the sides to eliminate air bubbles. Place a smaller mold inside the larger one and fill it with rocks to keep it stable. Let the concrete dry for at least 24 hours, then gently remove it from the mold. Use sandpaper to smooth any rough edges. Now you can decorate your planter with paint to add color and patterns.
Planter Decorating Ideas
Decorating concrete planters is one of the best parts of making them. It lets you add an unique touch to each piece. Here are just some ways you can upgrade them.
You can use spray paint for a smooth finish or acrylic paint for detailed designs. Pick colors that match your garden or home to make the planters pop. Painter’s tape helps create cool geometric designs, stripes, or chevrons, and stencils are perfect for intricate patterns.
For texture, dab on paint with a sponge or brush, layering different colors. Add glitter to wet paint or use metallic paints for a shiny finish. Glue small pebbles, shells, or mosaic glass around the outside for awesome texture. Draw patterns or write quotes with permanent markers or paint pens to make your planters personal.
Wrapping planters with twine, rope, or fabric gives a rustic look, and secure it with glue. Use decorative paper or napkins to create designs, sticking them on with decoupage glue and sealing with waterproof varnish. Applying chalkboard paint to part of your planter lets you write messages, plant names, or seasonal greetings with chalk, perfect for planters under a roof.
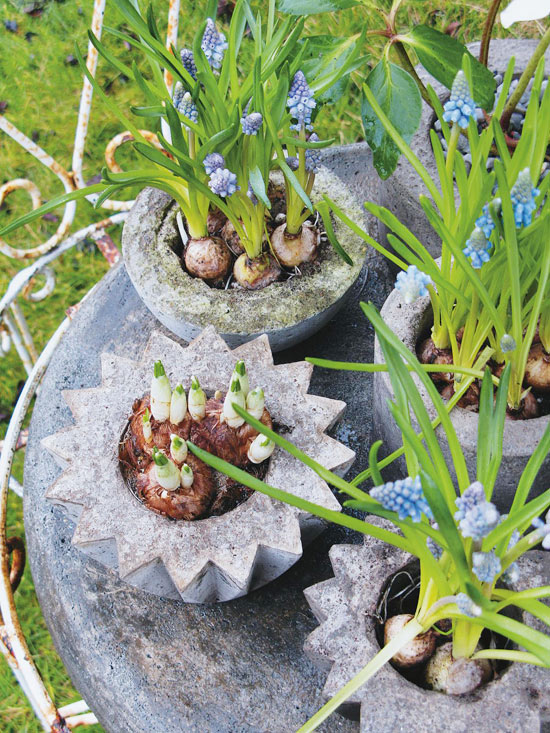
Concrete planters with zigzag edges hold feauture blooms. These unique shapes add character to any garden. Experiment with different mold shapes to create eye-catching designs. (via bhg).
A round, textured concrete planter created using a balloon mold. The rough surface adds a unique, artistic touch to any garden. This method allows for creative, spherical planters. (via artsyprettyplants.com).
A large, durable cement planter created over a weekend. Its size makes it ideal for bigger plants or small trees. Create a sturdy mold with plywood for a robust and lasting planter. (via houzewize.com).
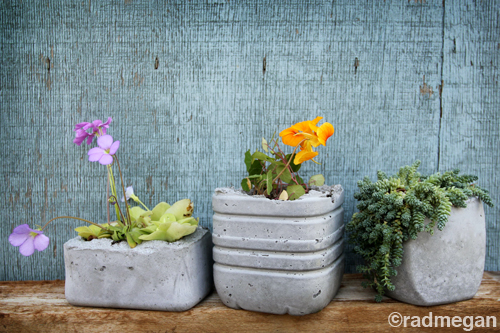
These compact designs made with bottles and boxes are ideal for small spaces. Group planters of various shapes for an eclectic look.
A large, fluted cement planter with elegant vertical grooves. This design adds a sophisticated touch to any garden space. Use corrugated plastic planter as a mold to achieve the fluted pattern. (via www.jennasuedesign.com).
Mix round and rectangular concrete planters. Rough texture is perfect for a rustic look. Use different molds to create varied shapes and sizes.
A round cement planter with a smooth finish, perfect for various plants. Its simple design fits well in any garden. Use a plastic bucket as a mold for easy shaping and smooth edges. (via theroostingplace.blog).
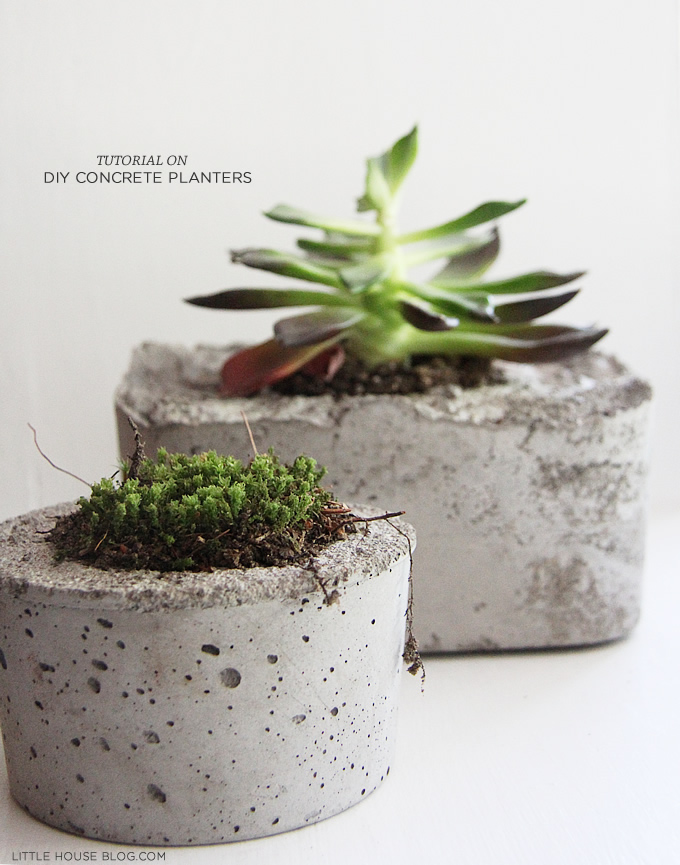
A straightforward cement planter with a smooth finish and minimalist design. It’s perfect for small plants or succulents. Use a plastic container as a mold for easy shaping. (via meagannichole.
A vibrant dyed cement planter that adds a splash of color to your garden. The dye gives the cement a unique, custom look. Mix concrete dye into the cement mix to achieve the desired color for a personalized touch. (via atcharlotteshouse.com).
A stylish concrete and wood planter combining modern and natural elements. The wooden base adds warmth to the sleek concrete top. Use a wooden box mold for the base and a plastic container for the concrete insert to create this unique design. (via makeandtakes.com).
A simple DIY concrete plant pot with a smooth, clean finish. It's perfect for small to medium-sized plants. Use plastic cups or containers as molds for easy shaping and consistent results. Paint them to match your outdoor decor (via www.cravingsomecreativity.com).
An elegant concrete planter crafted for showcasing succulents. Its sleek design enhances the beauty of the plants. Use silicone molds or legos to achieve a smooth and stylish finish. (via www.destinationeichler.com).
A modern concrete planter with a sleek, minimalist design. Spray paint to add a golden touch or with the color of your choice. (via homemadebycarmona.com).
A unique faux concrete planter made using paint techniques to mimic real concrete. This lightweight design is perfect for indoor plants. Apply layers of gray and white paint to achieve a realistic concrete look. (via notinggrace.com).
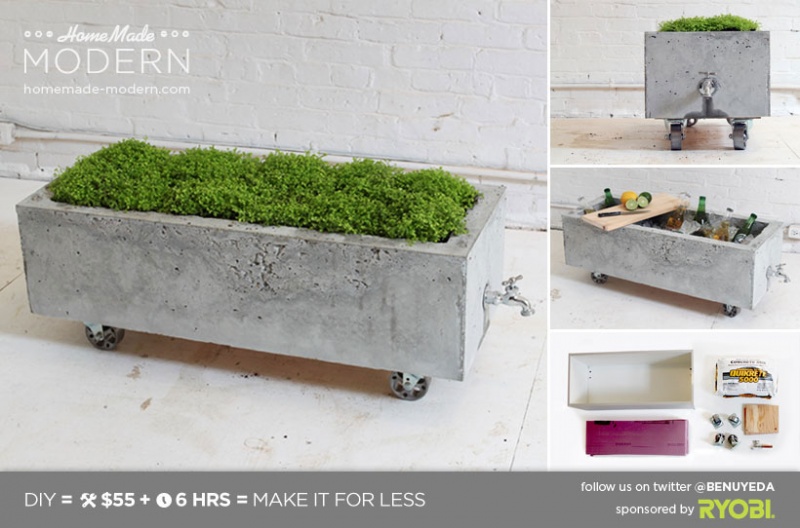
A large concrete planter on wheels filled with greenery, with a DIY instruction set. This movable design is perfect for flexible garden arrangements. Add wheels to large planters for easy mobility.(via homemade-modern).
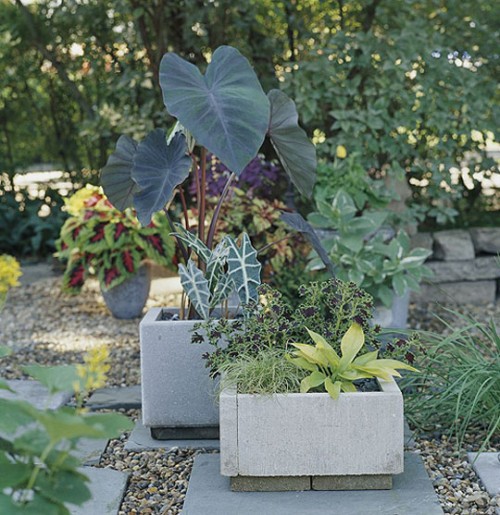
Square concrete planters with lush green plants in a garden setting. These planters blend well with natural surroundings. Place planters on gravel for good drainage and a clean look. (via shelterness).
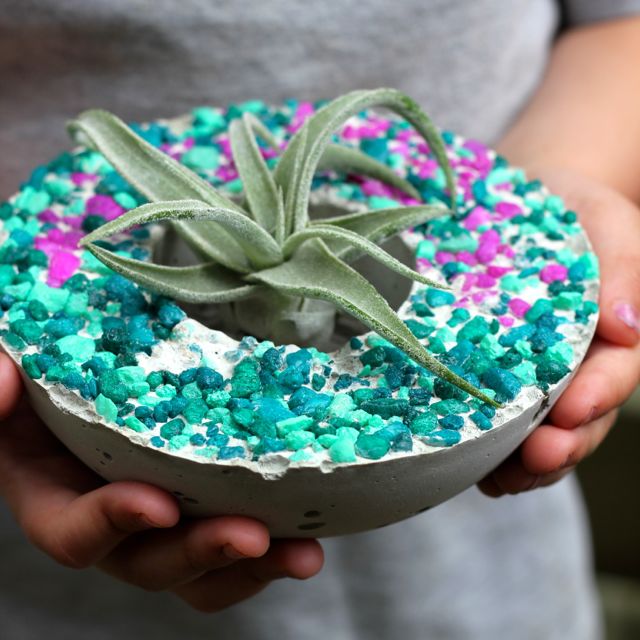
A small round concrete planter decorated with colorful gemstones holding a tiny plant. This adds a vibrant touch to your garden. Use mosaic stones or gems to decorate planters for a unique finish.
Concrete blocks painted with bright geometric patterns serve as planters. They add a fun and lively feel to the garden. Use painter's tape to create sharp lines for geometric designs. (via modernlywed).
A small concrete planter as a part of a concrete wall. The simple design highlights the plant's natural beauty. Use succulents for low-maintenance.
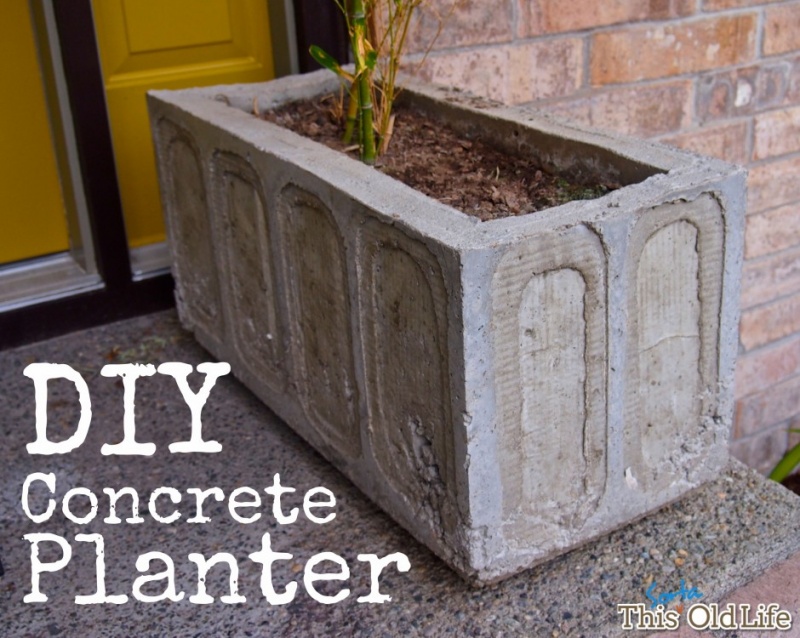
A rectangular vintage-inspired concrete planter with a classic design holds a plant on a doorstep. Its simple look suits any home entrance. Seal the concrete to protect it from weather damage.
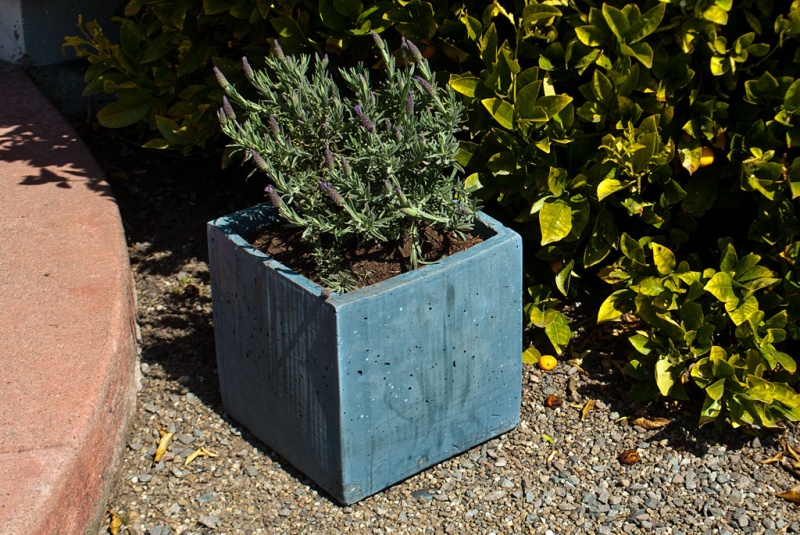
A square concrete planter painted blue made with a cardboard box. It sits on gravel, adding a pop of color to the garden. Paint your planters to match your garden theme. (via instructables).
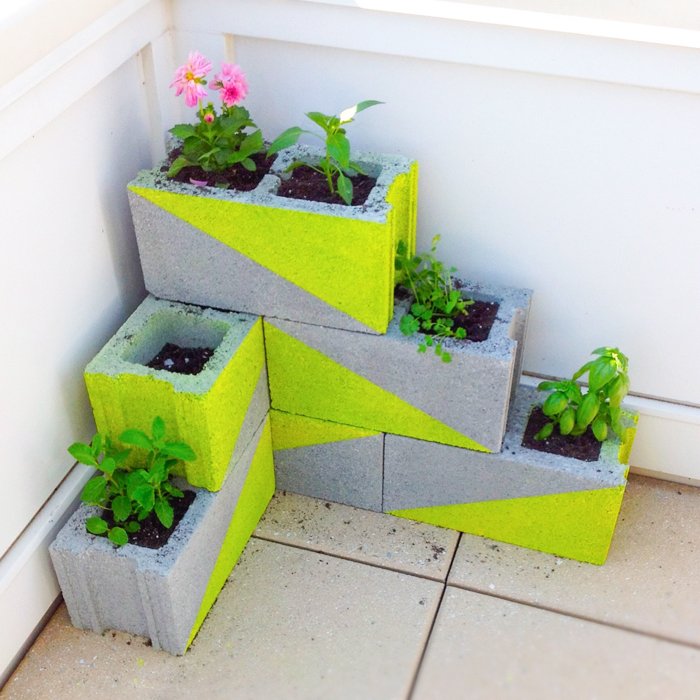
A creative setup of stacked cinder blocks used as planters in a corner. This sturdy design makes a great spot for colorful flowers. Use blocks with different sizes for added visual interest. (via handsoccupied).
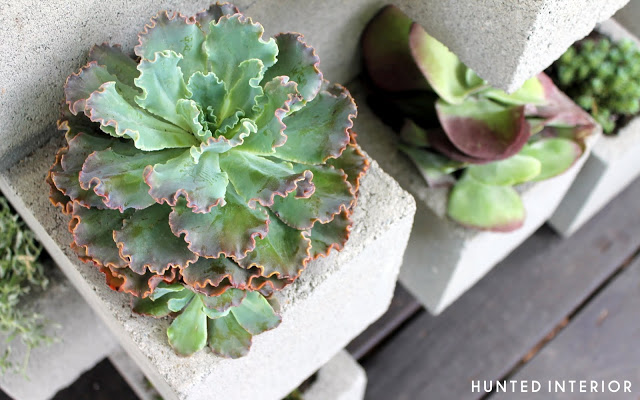
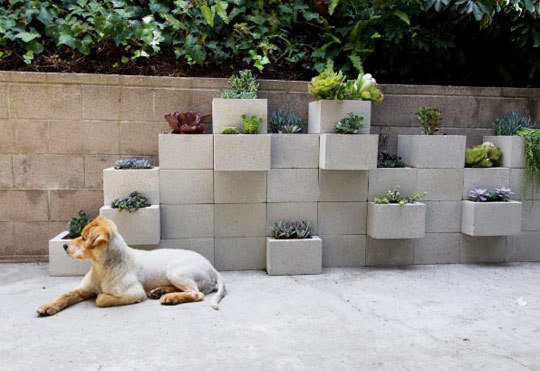
A stepped wall of square concrete planters filled with various succulents. This design is perfect for a modern look. Arrange plants by height to create a layered effect. (via curbly).
Answering Your Questions
- If you want to make colored concrete planters, add concrete dye to the mix or paint the planter after it has cured.
- To add drainage holes, insert small tubes or dowels into the bottom of the mold before pouring the concrete.
- Sealing isn’t necessary but recommended to protect the concrete from moisture and harsh weather.
- You can use leftover concrete mix as long as it’s in good condition and hasn’t started to set.
- For big planters, use a sturdy mold and allow extra curing time, adding reinforcement like wire mesh if needed.
- For wall thickness, aim for at least 1/2 inch for small to medium planters and 1 inch or more for larger ones
Hypertufa Planters
Hypertufa planters are a great alternative to regular concrete planters. They are lighter and have a cool, rustic look that fits well in any garden. Hypertufa is made by mixing cement, peat moss, and perlite (or vermiculite). This mix makes planters looks like natural stone ones.
You can use molds similar to those for concrete planters. Prep the mixture and pack it firmly into the mold, pressing it into the sides and bottom. The walls should be at least one inch thick even for small planters. For bigger planters, the they should be three inches thick. Don’t forget about drainage holes.
The first step of curing process for hypertufa planters is at least 24 to 48 hours. You should cover it with plastic to keep moist. The next step is to take the planter out of the mold and put it in a shady spot. Again, cover it with plastic and occasionally mist with water to keep it from drying out too quickly. This step takes another two to three weeks.
Once the planter is fully cured, you can smooth any rough edges with sandpaper. It would be quite light and easy to move around. Hypertufa planters are better for plant roots and blends in beautifully into any garden.
A hypertufa stone planter that mimics the look of aged stone, ideal for garden displays. To enhance its stone-like appearance, add a layer of PVA glue to your mold before applying the hypertufa mixture. (via bloominglucky.com).
A freeform hypertufa planter with an organic, natural shape that blends seamlessly into any natural area. Sculpt the hypertufa mixture into any form you like for a one-of-a-kind planter. (via hearthandvine.com).
A hypertufa stone trough with a natural, stone-like appearance is a great addition to a porch's decor. Make a mold from foam insulation boards. (via artsyprettyplants.com).
A DIY rustic hypertufa pot with a textured finish always looks unique. This lightweight planter mimics the look of stone, ideal for a garden. Mix cement, peat moss, and perlite to make it. (via www.jennasuedesign.com).

